Overview
If you have specific configurations of eligibility requirements that you use frequently, you can save these configurations as “Eligibility Presets” so that you can easily copy them to Programs, Funding Sources, Sites, Buildings, Unit Configuration Types, or Units without having to reconfigure them each time you need them.
Configuring an Eligibility Preset
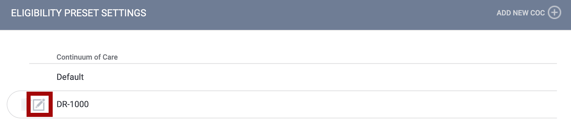
To set up one of these configurations, navigate to SETUP > SETTINGS, then select Eligibility Preset Settings in the Advanced Options sidebar. The ELIGIBILITY PRESET SETTINGS page appears.
You can designate distinct Eligibility Preset settings for each CoC. If a particular CoC has no unique Eligibility Preset Settings, the system applies the “Default” settings to that CoC.
To add a new Eligibility Preset, begin by selecting where you want to add the preset:
- To add the preset to the "Default" settings, click the Edit icon next to “Default.”

- To add the preset to a CoC that is already listed on this page, click the Edit icon next to that CoC.
- To add the preset to a CoC that is not yet listed on this page, you’ll need to add that CoC to this page:
- Click ADD NEW COC.

-
- The add NEW PRESET SETTING page appears. Select the desired CoC from the CoC drop-down menu, then click SAVE CHANGES.
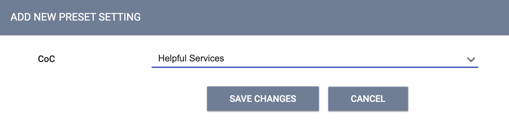
Note: You cannot change the CoC after you save your selection.
After you make one of the above selections (selecting "Default," selecting a CoC, or adding a new CoC), the page shown below will appear.
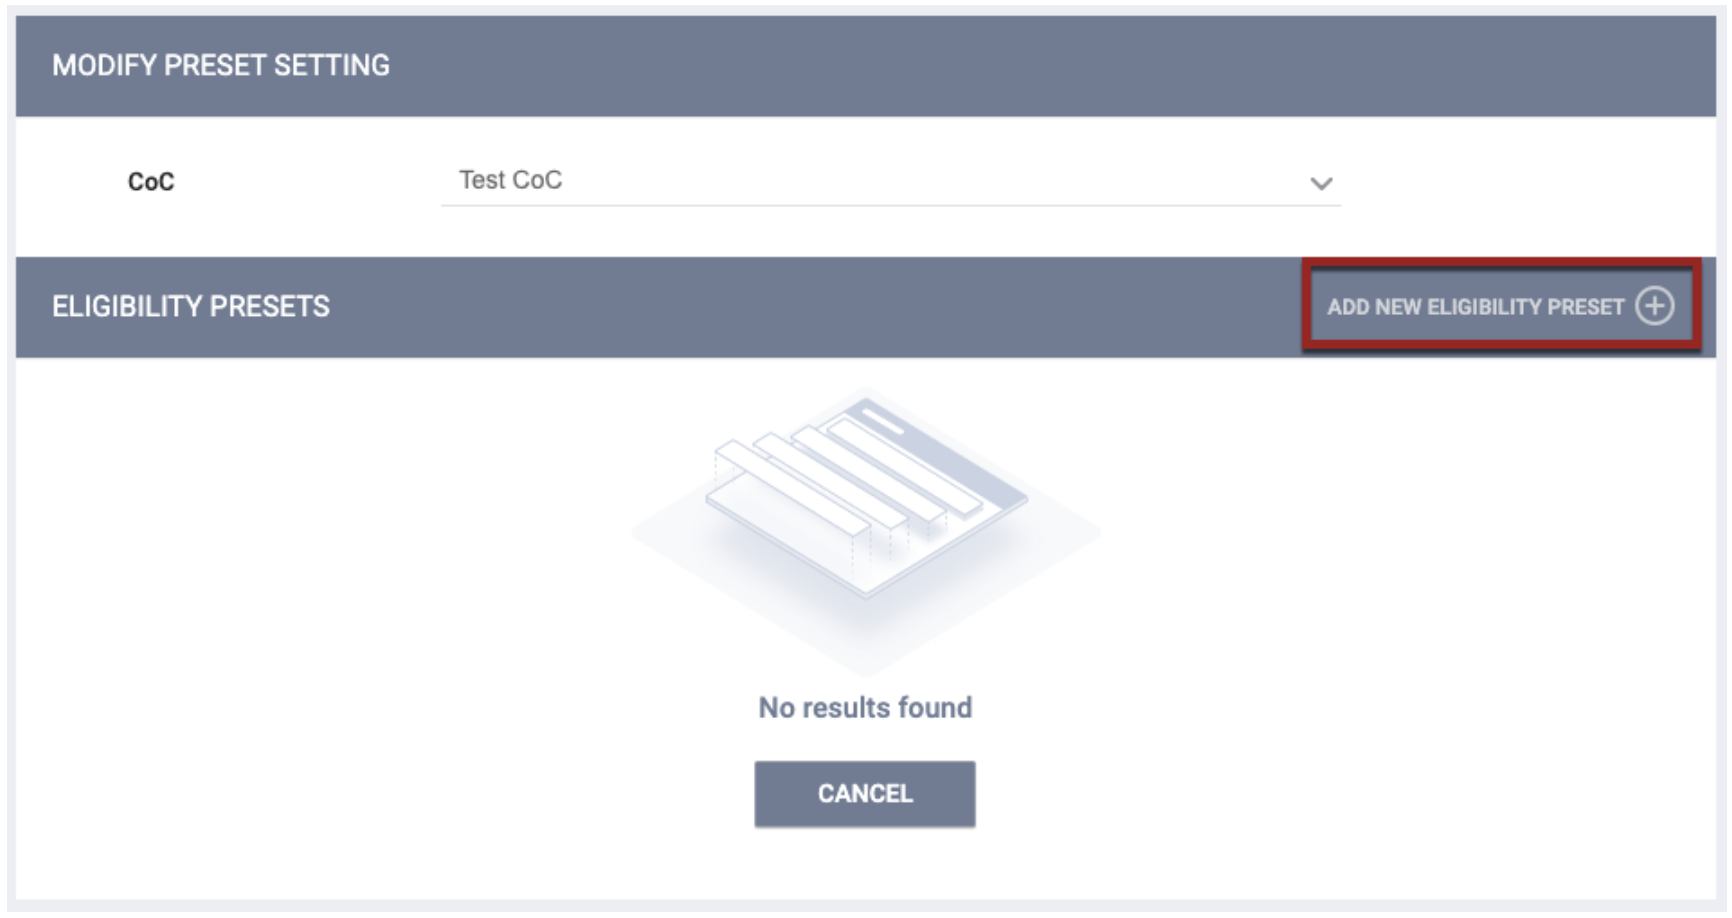
Note: If you selected “Default” in the previous step, the MODIFY PRESET SETTING section will not be displayed; only the ELIGIBILITY PRESETS section appears.
In the ELIGIBILITY PRESETS section, click ADD NEW ELIGIBILITY PRESET.
The ADD NEW ELIGIBILITY PRESET page appears. Enter a Name for the preset, then click SAVE CHANGES.
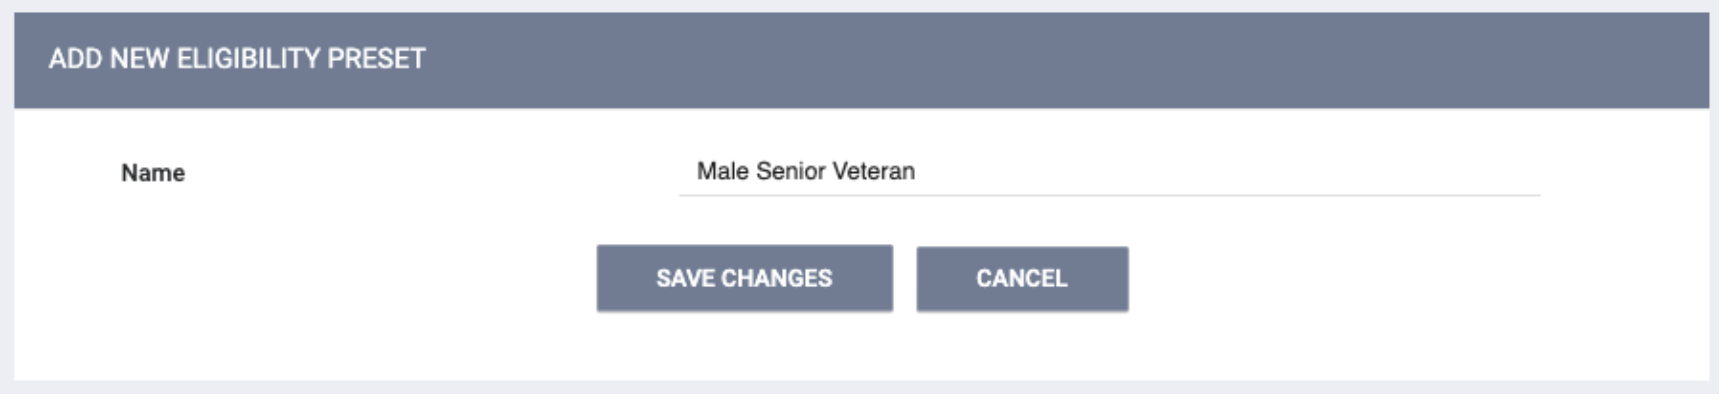
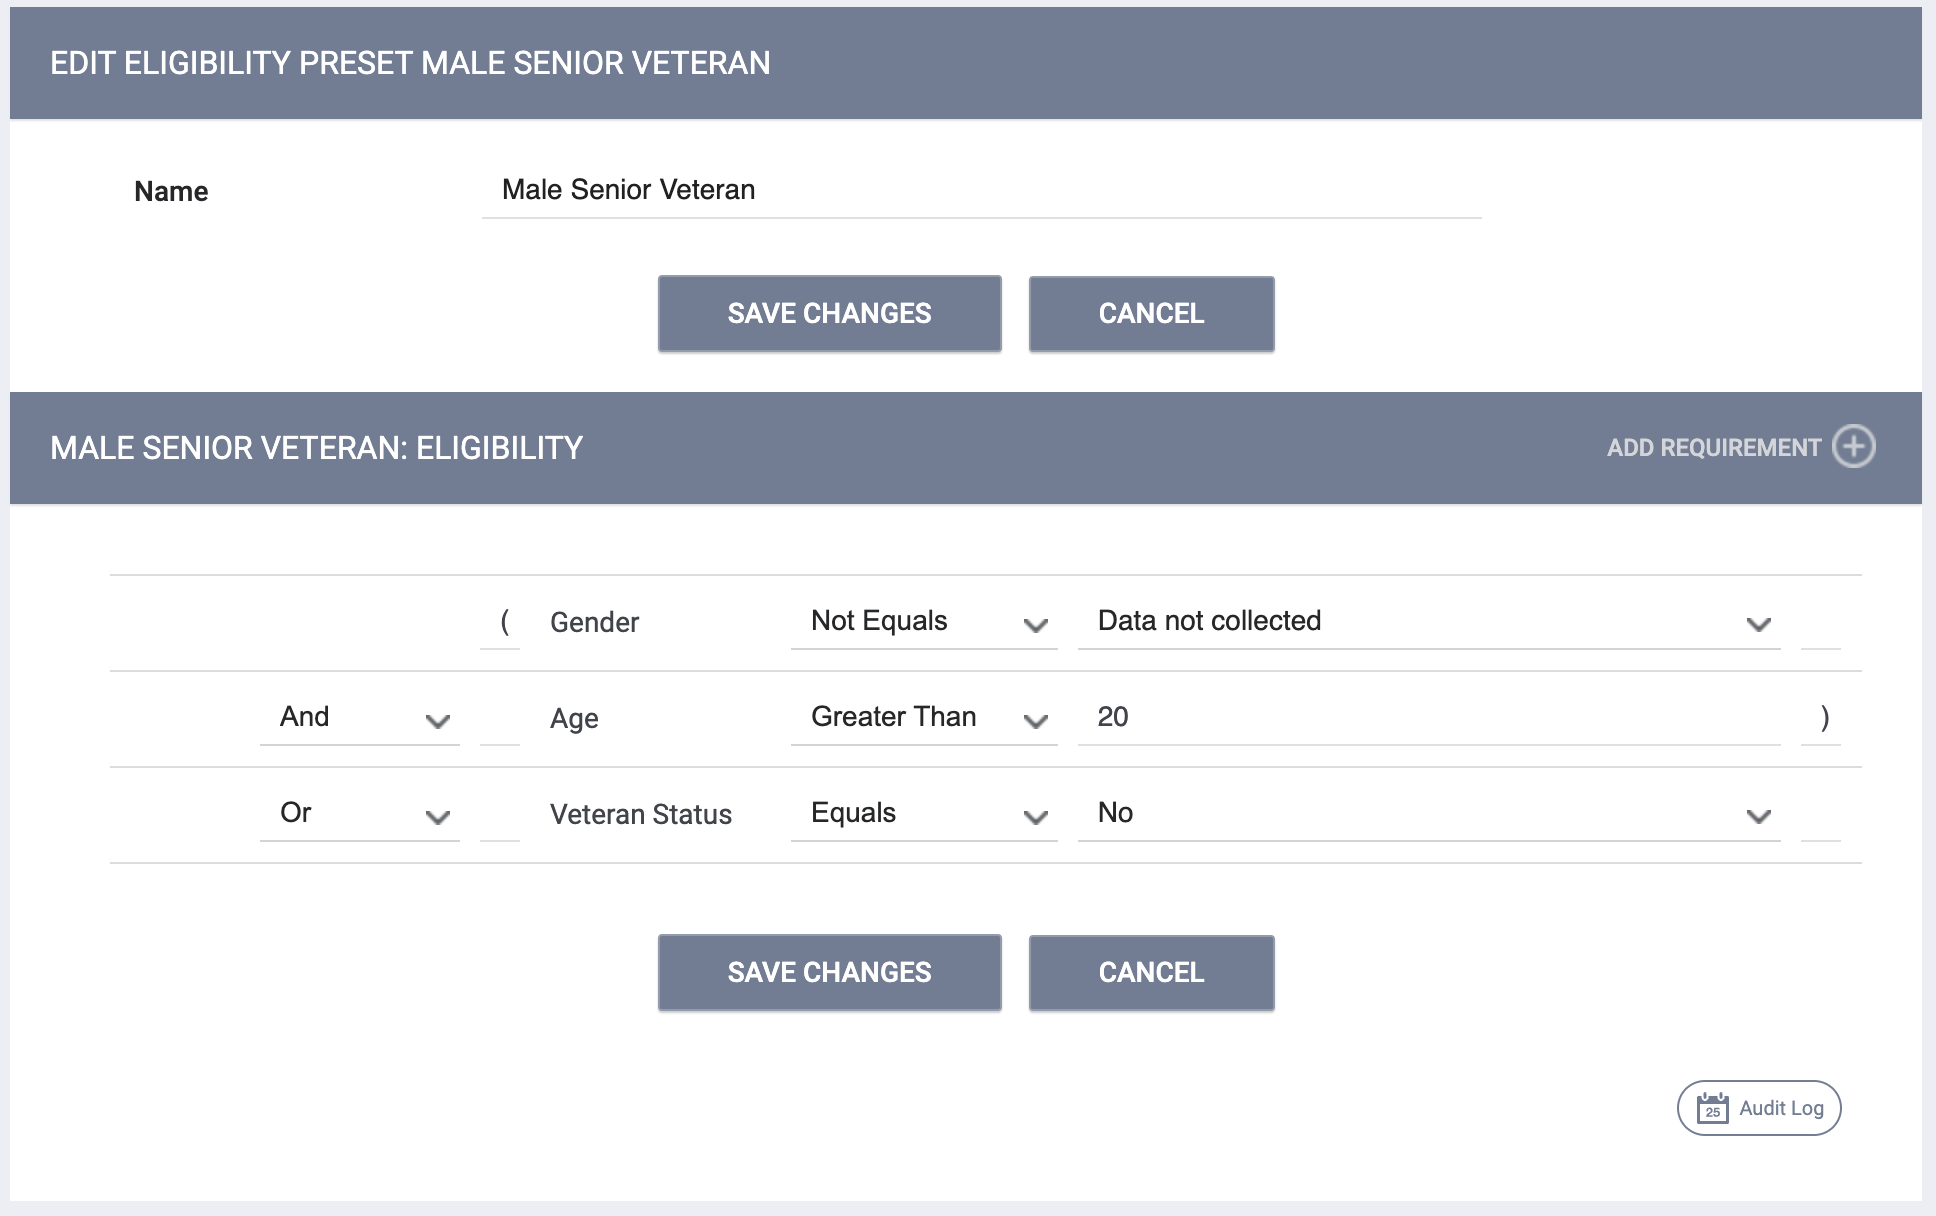
You can then add eligibility requirements as described in Program Setup: Eligibility and save the preset. For example, in the image below, we have configured a “Male Senior Veteran” preset with requirements of “Gender = Man (Boy, if child)” and “Age Greater than 64” and “Veteran Status = Yes.”

Then, whenever you want to add this preset to a Program, Funding Source, Site, etc., you can click ADD PRESET on the associated ELIGIBILITY page.

Select the desired preset and click ADD.

So, in this example, if we want only male senior veterans to be eligible for this building, we can add the “Male Senior Veteran” preset instead of having to complete the ADD REQUIREMENT step three times (once for “Male,” once for “Senior,” and once for “Veteran”).
After adding the preset to the ELIGIBILITY page, you can edit or delete the conditions on that page as appropriate. Your edits will not affect the original System Setup-level configuration in Eligibility Preset Settings. Likewise, changes made in Eligibility Preset Settings will not affect any records where the preset had been applied.
In our example, if we change the age requirement from 64 to 70 for this building after applying the preset, the age value will remain at 64 in the original “Male Senior Veteran” preset (in Eligibility Preset Settings). If we then change the age to 55 in Eligibility Preset Settings, the building eligibility will remain at 70.
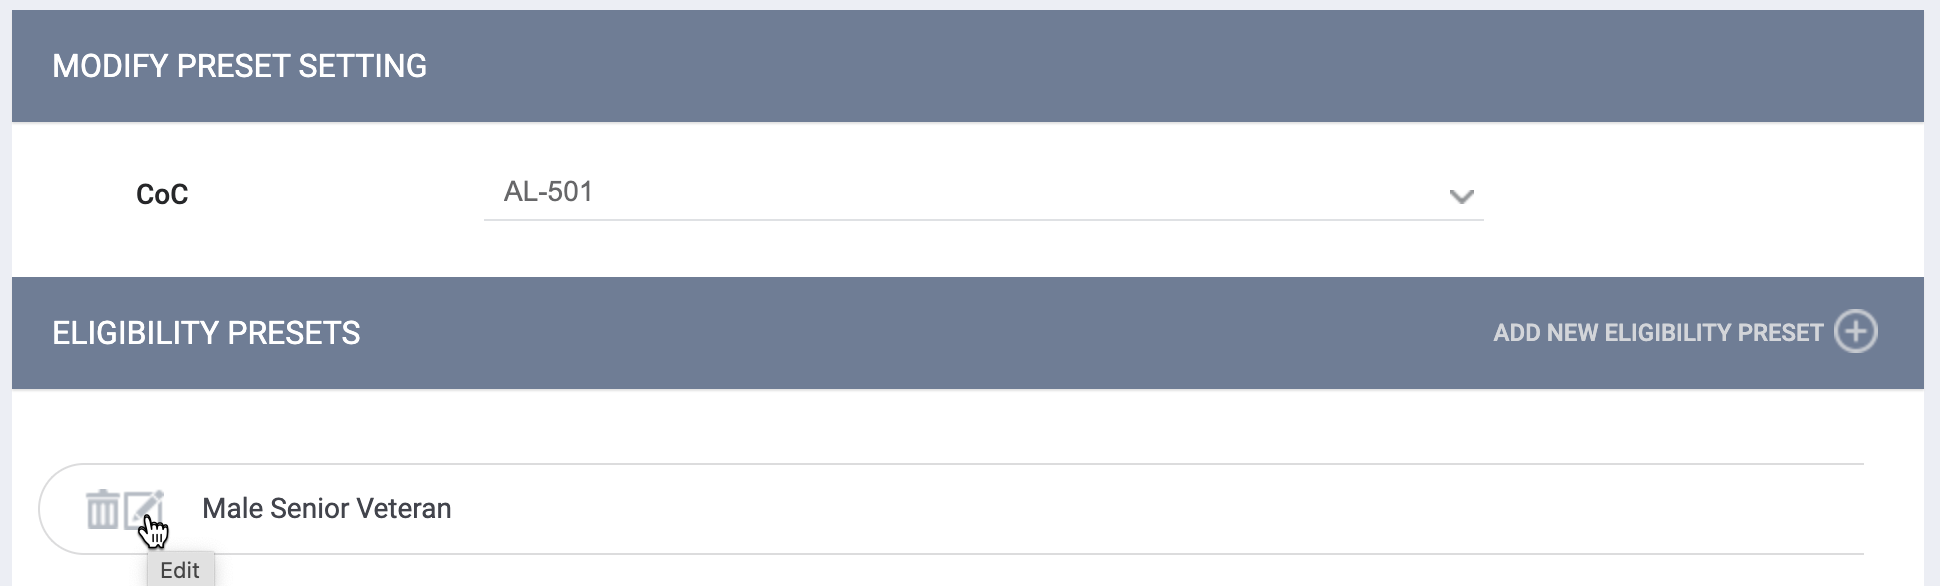
Editing an Eligibility Preset
To edit an Eligibility Preset, click the Edit icon on the ELIGIBILITY PRESET SETTINGS page for the appropriate settings (Default or a CoC), then click the Edit icon for the preset that you would like to edit.
The EDIT ELIGIBILITY PRESET page appears. Edit as needed, then click SAVE CHANGES.
Note: If you click SAVE CHANGES on an address or field location on the EDIT ELIGIBILITY PRESET page without making any changes, the system will not display the green "Changes successfully saved" banner, will not record the action in the Audit Log, and will not update the last_updated and ref_user_updated fields.
Audit Log
An Audit Log is available at the bottom of the page for admin users with Audit Log permission enabled in their access role.

Updated: 10/25/2024