Overview
Once you set up a Unit Configuration Type (UCT) with the appropriate information, you can then assign it to a physical Unit.
A UCT record should only be adjusted directly if a UCT assigned to a Unit has incorrect information, such as an incorrect number of Beds due to a data input error. This UCT adjustment will recalculate all historical Bed/Unit inventory records for Units associated with this UCT assignment with the adjusted information.
Managing Unit Configuration Types
To manage an agency's UCTs, navigate to SITES > Housing Inventory, then click on the Edit icon next to the appropriate Site. Under Site Resources, select Buildings & Units, then click on the Edit icon next to the appropriate Building. Under Building Resources, choose Unit ConfigurationType.
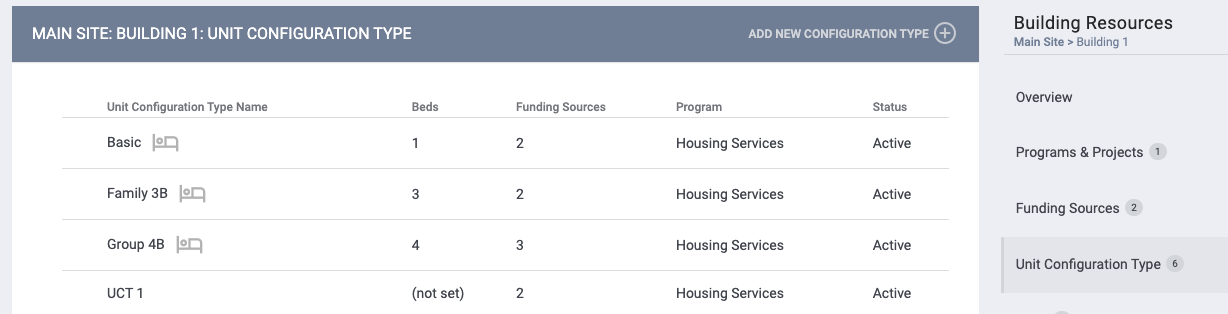
UCTs are listed alphabetically by Unit Configuration Type Name, but you can sort by Beds, Funding Sources, Programs, and Status if desired by clicking those column headers.
A “Bed” icon indicates that the “Beds” functionality is enabled for that Unit Configuration Type.
To add a new UCT, click on ADD NEW CONFIGURATION TYPE. The ADD NEW UNIT CONFIGURATION TYPE page will appear.
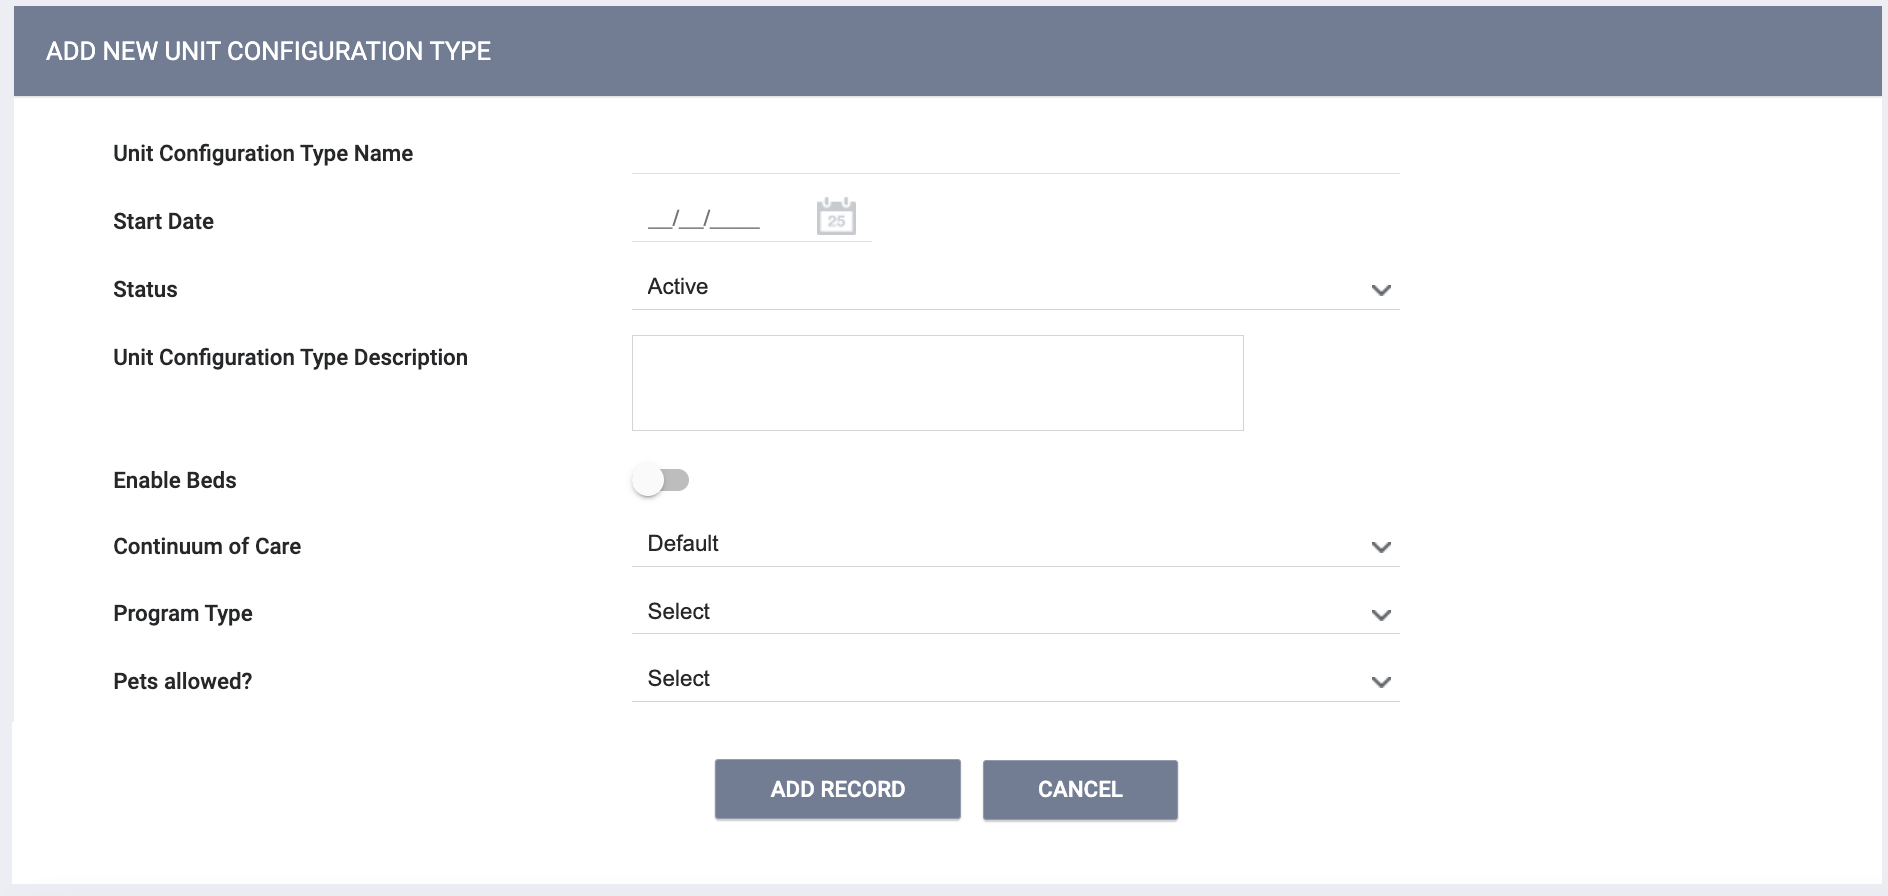
Start Date
- In the Start Date field, you may enter a past, current, or future date.
- The system will display a pop-up warning if you attempt to enter a Start Date that is earlier than the Start Date for the associated Site or Building.
- You will not be able to edit the Start Date if the UCT is in the Current Configuration or Upcoming Configurations section for any Unit(s).
Enable Beds
The Enable Beds toggle enables Bed functionality for this UCT. Refer to INVENTORY: Beds for details.
Program Type
The Program Type picklist will only display only HUD residential project types.
Once you select the Program Type, fields will appear for collecting HMIS Data Dictionary 2.07 Bed and Unit Information.

Note: If Enable Beds is turned ON, the collection of Bed Types will happen at the Bed level instead of here at the UCT level. Refer to INVENTORY: Beds for details.
After completing the fields on this screen, click ADD RECORD. The Program Type field will become read-only after you save the Unit Configuration Type.
Note: If you attempt to save a new Unit Configuration Type with the same name as an existing Unit Configuration Type in that Building, the system will underline the name field in red and display a “Please correct errors” banner. You cannot save the new Unit Configuration Type until you change the name to something other than the name of an existing Unit Configuration Type in that Building.
Once a Unit Configuration Type is saved, the UNIT CONFIGURATION PHOTOS section appears at the bottom of the page. Refer to the Adding Housing Inventory Photos article for details on adding photos.
The Unit Configuration Type Resources sidebar appears and is described below.
Unit Configuration Type Resources Sidebar
Clicking the Edit icon next to a Unit Configuration Type will display the MODIFY UNIT CONFIGURATION TYPE page, along with the Unit Configuration Type Resources sidebar, where you can make additional configurations. Badges indicate the number of Programs & Projects, Funding Sources, and Eligibility in each section.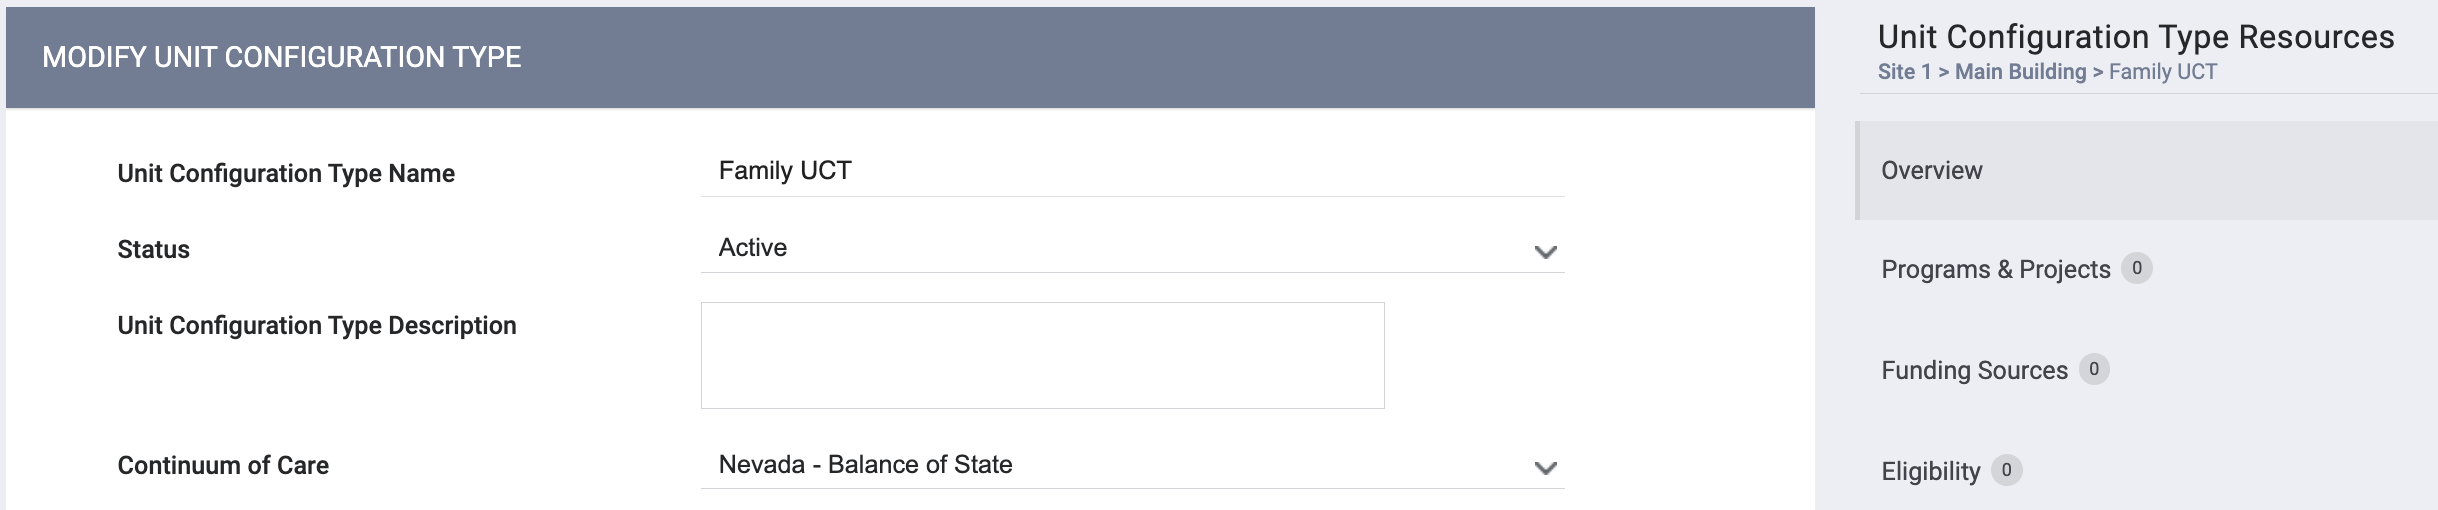
Beds
When Enable Beds is turned on, a Beds section appears in the Unit Configurations Type Resources sidebar for use in adding Beds to the UCT. Refer to INVENTORY: Beds for details.
Programs & Projects
The Programs & Projects section of the sidebar displays any programs assigned to the Unit Configuration Type.
Connecting programs at the UCT level provides the flexibility to switch Units between funding sources or programs. This is a helpful option when there are multiple programs within the same building.
To assign a program to a UCT, click ADD NEW PROGRAM.
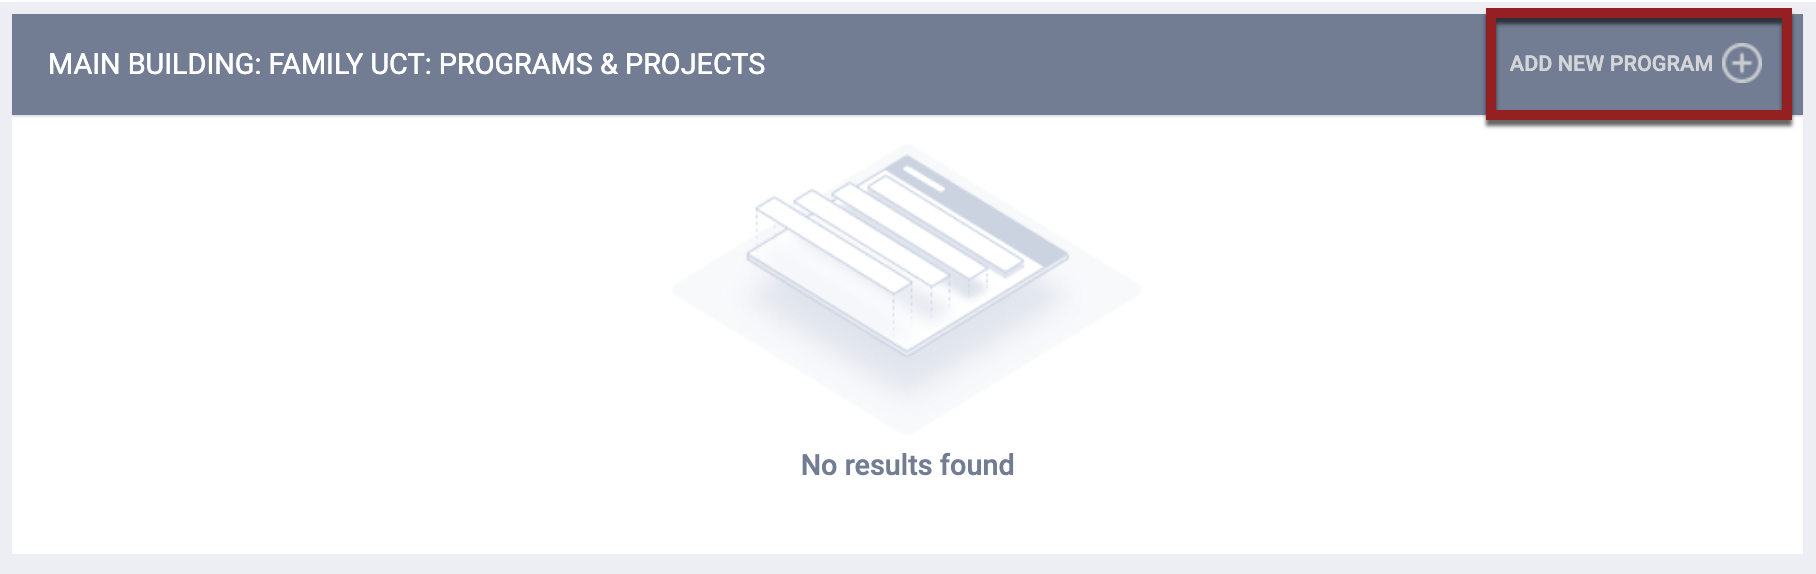
The ADD PROGRAM pop-up appears.
- Users with Agency Inventory - Add Any Agency Program enabled will see both an Agency drop-down and a Program drop-down on the ADD PROGRAM pop-up when adding a program to the Unit Configuration Type.
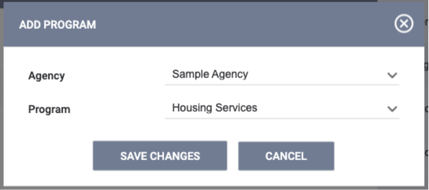
- Users with Agency Inventory - Add Agency Program enabled but not Agency Inventory - Add Any Agency Program will not see the Agency drop-down because they will only have access to associate a Program from their own agency.
Select the Agency (if applicable) and Program, then click SAVE CHANGES.
If the program you are adding has a project type that does not match the Program Type that you selected for this Unit Configuration Type, you will see the following banner alert:
”Alert: The Project Type associated with the Unit Configuration Type assigned program does not match the Unit Configuration Type’s assigned project type. This needs to match for reporting purposes.”
Note: ADD NEW PROGRAM will be required if a program was not previously added at a higher level. If a program has been added at a higher level, the ADD NEW PROGRAM option will not be visible in the UCT setup.
You will not be able to remove a program assigned to a Unit Configuration Type in either the Current Configuration section or the Upcoming Configurations section of a Unit setup. The trash can icon for the assigned program will not be visible at whichever level the program is assigned (Site, Building, or Unit Configuration Type).
Eligibility
Like Sites and Buildings, UCTs can also have Eligibility by toggling on Eligibility.

Note: If Eligibility has been enabled at any parent level, the Eligibility toggle will automatically be enabled and read-only.
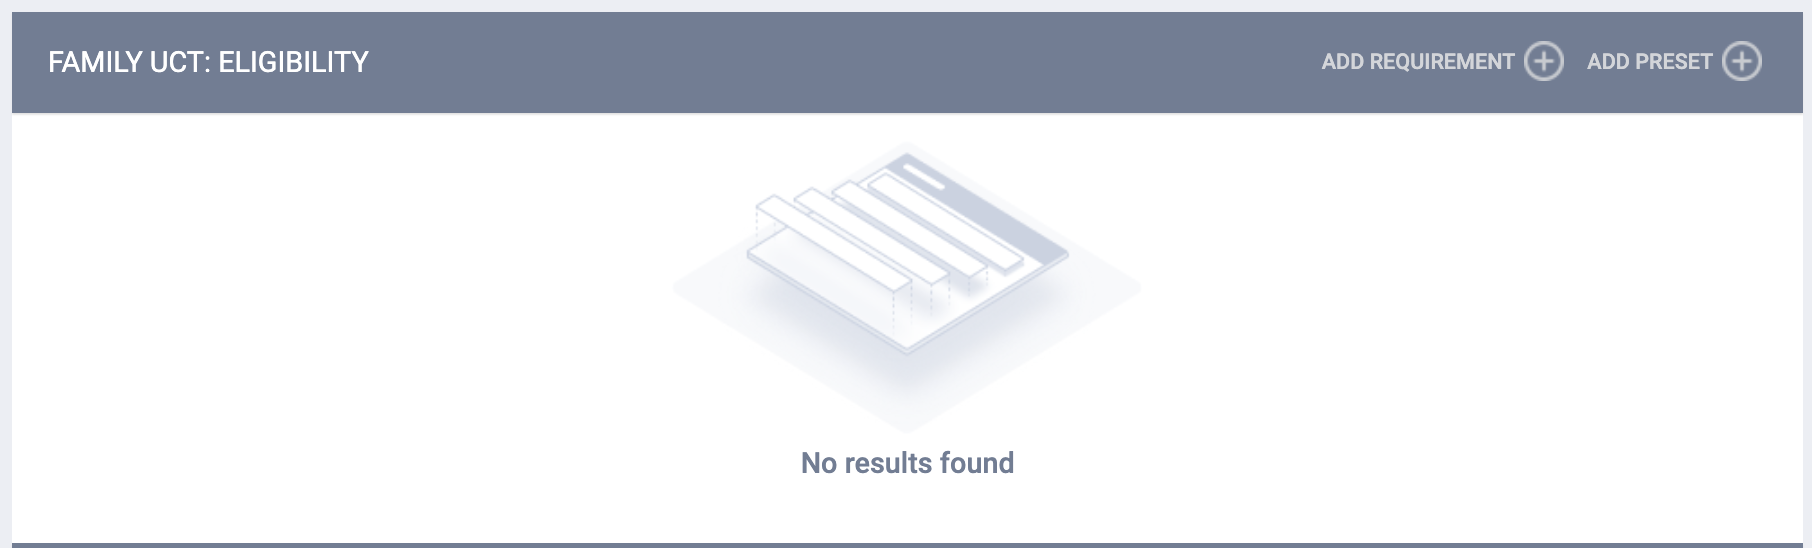
To add new eligibility requirements specific to this Unit Configuration Type, click ADD REQUIREMENT (or click ADD PRESET to add a pre-configured Eligibility Preset).
The system will display the following pop-up warning whenever an eligibility criterion is added or edited: "Please note that modifying eligibility may impact clients already associated with this [site/building/funding source/program/etc] eligibility setting. Please confirm."
Inherited Eligibility
Unit Configuration Types inherit the Eligibility criteria set at any parent level. For example, an Eligibility criterion such as “Age Greater Than 17,” as shown below, will automatically apply to the Unit Configuration Type from the parent level.
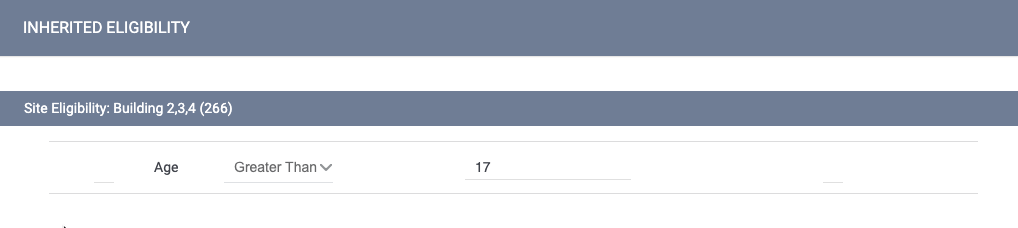
You can hover the mouse over the information icon for an inherited funding source to display a tooltip showing the source(s) of inherited Eligibility criteria. The listing will also include any eligibility inherited from assigned sub-grants.

Funding Sources
Note: All reports (including federal reports) related to INVENTORY will pull Funding Source information from the program level. Therefore, Funding Sources will need to be attached at the program level in order to be included in those reports. Funding Sources attached at the Unit Configuration Type level will not be pulled into reports.
To view or add funding sources for a Unit Configuration Type, click the Funding Sources section of the sidebar.
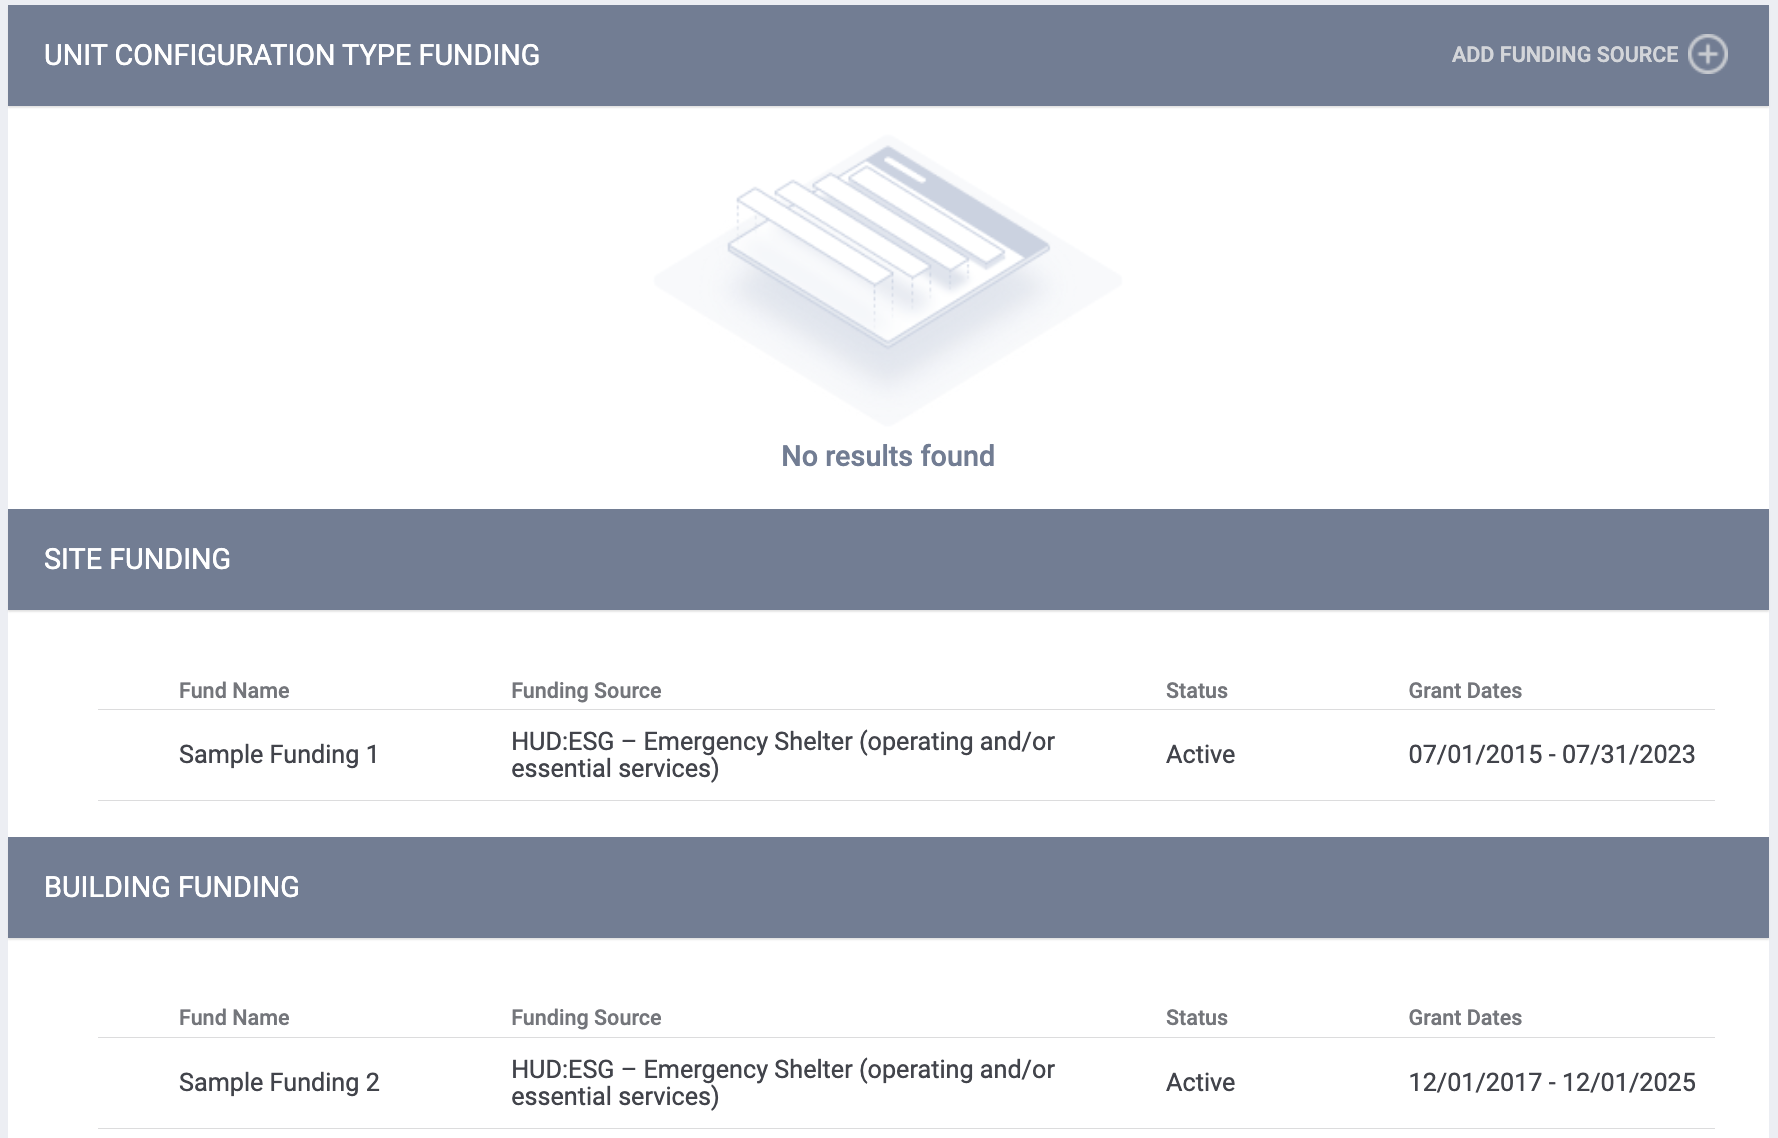
In the SITE FUNDING section, you will see any active funding sources (and program funding sources) inherited from the Site level. In the BUILDING FUNDING section, you will see any active funding sources (and program funding sources) inherited from the Building level.
To associate a Funding Source with the Unit Configuration Type, click ADD FUNDING SOURCE. The ADD FUNDING SOURCE window will display Funding Sources created from the Funding tab. Toggle on the desired Funding Sources, then click ADD.
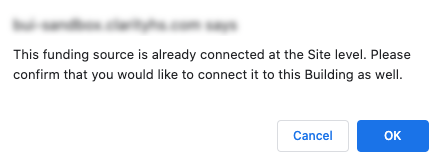
You will receive a warning if you add a Funding Source at the Building or Unit Configuration Type level that has already been assigned at the parent level.
Note: If you click SAVE CHANGES on the MODIFY UNIT CONFIGURATION TYPE or ELIGIBILITY pages without making any changes, the system will not display the green "Changes successfully saved" banner, update last_updated and ref_user_updated, or track the action in the Audit Log.
Status Logic
When a site or building status is updated, the status inherits down and any associated unit, bed, or Unit Configuration Type (UCT) automatically updates.
Active Status Logic
When the user changes the status of a site to "Active" from "Inactive," the "Active" status applies to the building, units, beds, and UCTs set up under the site.
- If the building, unit, bed, or UCT was inactive prior to the site being made inactive and then active again, the building, unit, bed, or UCT retains its inactive status.
- The "Active" Start Date for the units and beds is the date and time the "Inactive" status was changed to "Active." UCTs and Buildings do not have a status Start or End Date, so the date doesn’t apply to UCTs or Buildings.
When the user changes the status of a building to "Active" from "Inactive," the "Active" status applies to the units, beds, and UCTs set up under the building.
- The "Active" Start Date for the units and beds is the date and time the "Inactive" status was changed to "Active." UCTs do not have a status Start or End Date, so the date doesn’t apply to UCTs.
Audit Logs
When the user changes the status of a site/building to "Inactive," this is reflected in the audit log for the level where the changes were made and all lower levels, including the UCT.
Status Visibility
When the status of a site/building is changed, the status of the Unit Configuration Type (UCT) is visible on the following pages:
- Listing within the UCT page → Status column
- Modify Unit Configuration Type page → Status field.
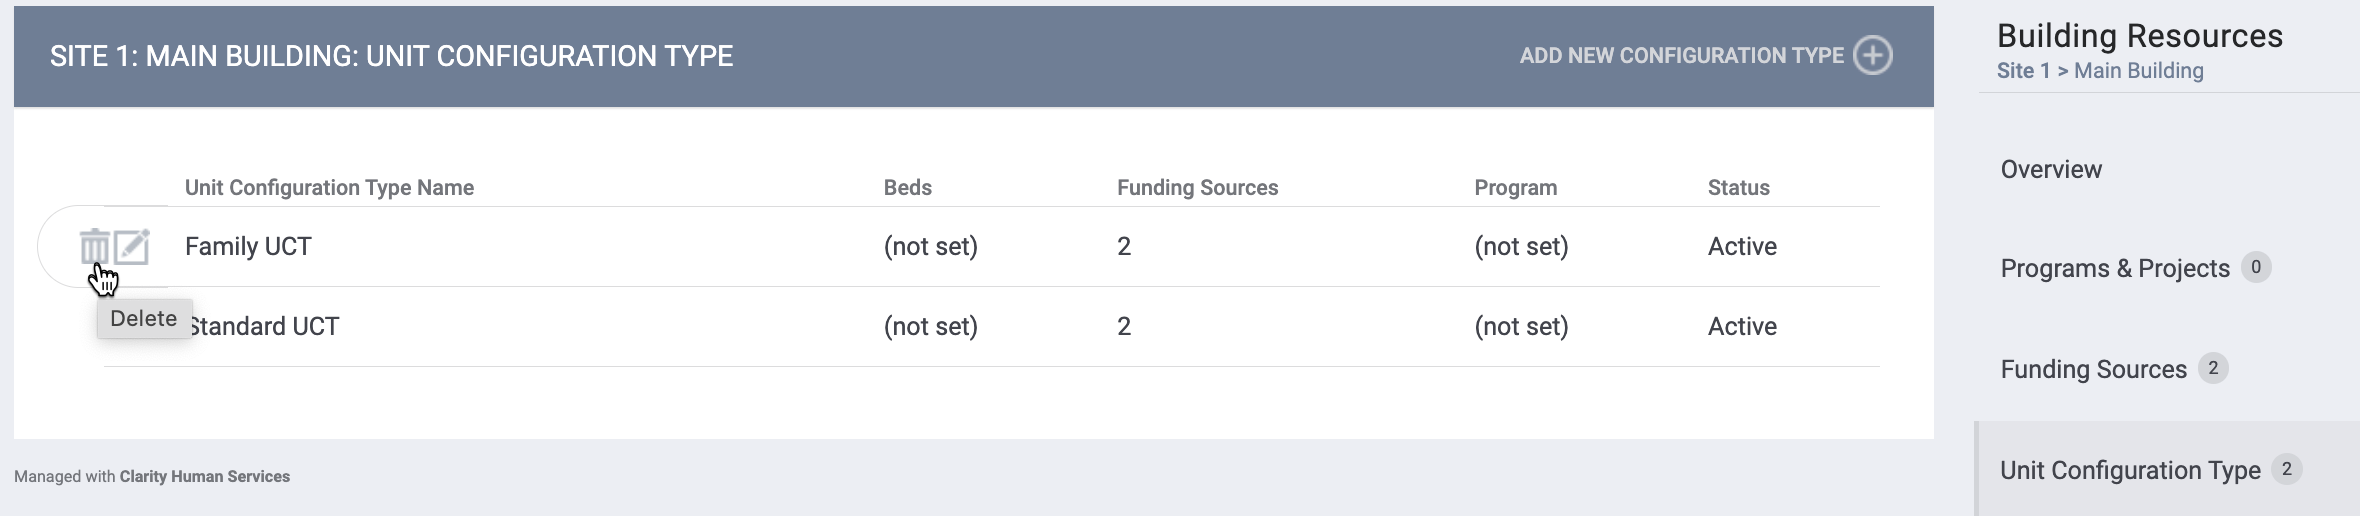
Deleting Unit Configuration Types
To delete a Unit Configuration Type, click the trash can icon next to the Unit Configuration Type name on the UNIT TYPE CONFIGURATION page.
Note: You cannot delete a UCT if it has ever been or is currently connected to a Unit, or if it is connected to any client data.
Audit Log
Users with the appropriate permission can click the Audit Log button to view changes made to the Unit Configuration Type.

Updated: 02/13/2026