
This article is for the new Clarity interface. Screenshots and descriptions will be updated as features are released. For the current interface article, see Staff Member Account Settings.
Table of Contents
Overview
Staff member records are first created by administrators at the agency level. Specific components of those records (password, contact information, etc.) can later be updated by staff members in Account Settings. Additional settings are available only in Account Settings.
Users can manage their profile, preferences, password, Multi-factor Authentication (MFA) factors, and Customer Portal settings in Account Settings.
Accessing Account Settings
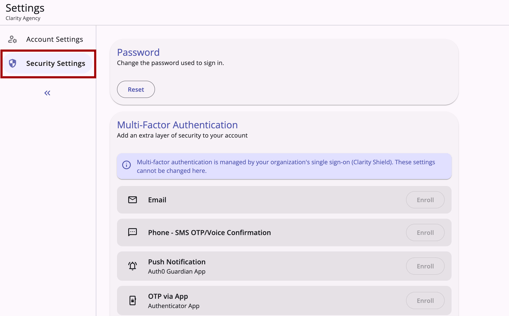
Click anywhere on the button in the top-right corner that contains your initials/avatar, name/Agency to open a modal that displays your switch agencies (if any), the Sign Out button, and the Account settings icon. Click the Account settings icon to open a full page with two tabs: Account Settings and Security Settings.
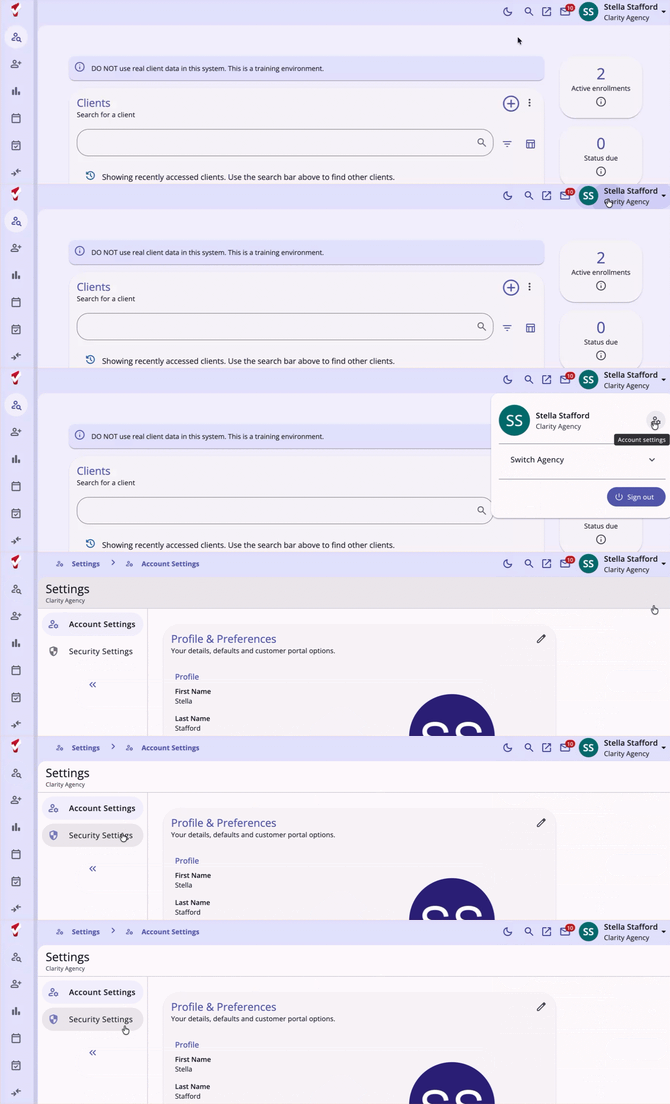
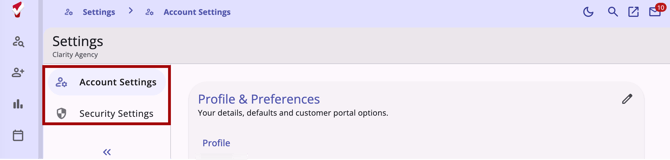
The Account Settings tab contains profile info, personal preferences, Customer Portal toggles, and profile photo management. The Security Settings tab includes a password reset with inline complexity validation and Multi-factor Authentication (MFA) factor enrollment/removal for the Authenticator App, Push, SMS, and Email settings.
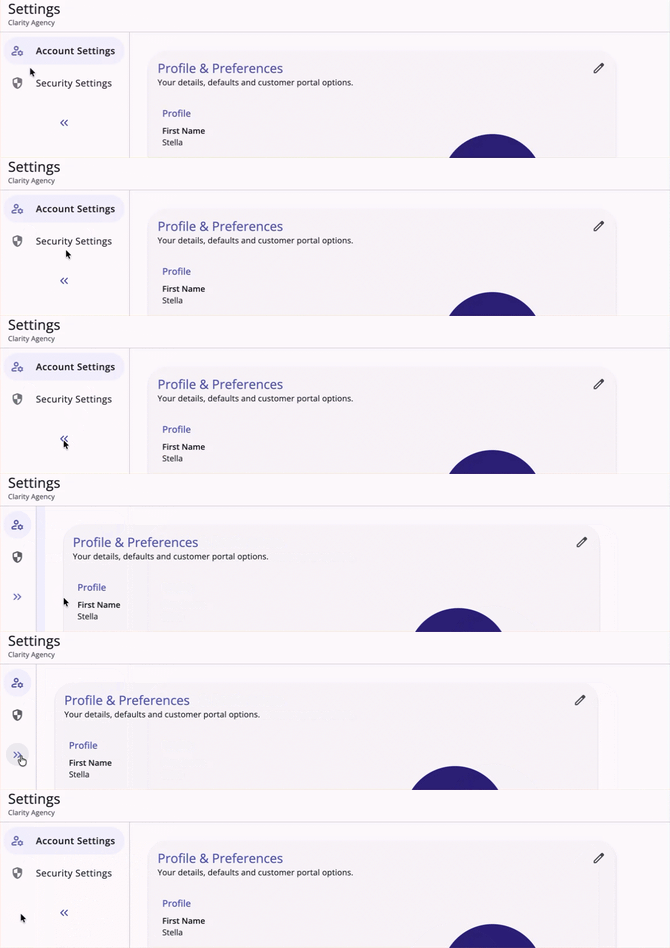
Arrows are available to collapse or expand the tabs section.
Account Settings Tab
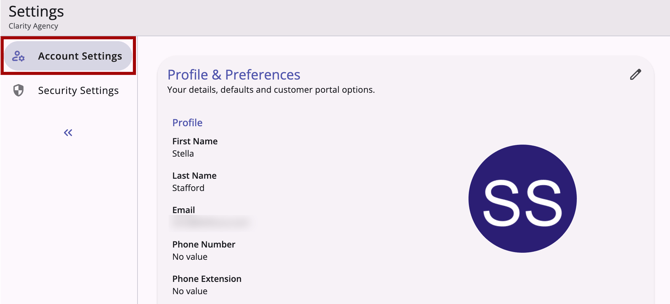
The Account Settings tab lets users view and edit their profile, personal preferences, and Customer Portal availability toggles. Users land on this tab by default.
Profile Information
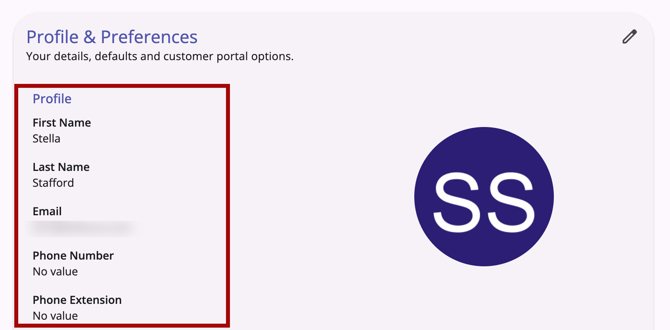
Users can view and edit the following Profile fields on the Profile & Preferences page:
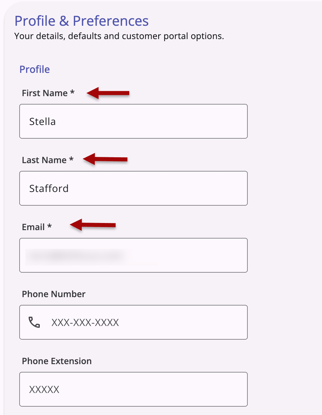
- First Name (required)
- Last Name (required)
- Email (required)
- Phone Number
- Phone Extension
Personal Preferences
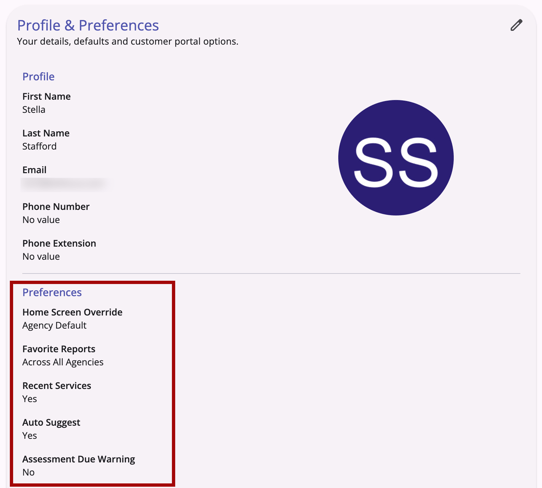
Users can view and edit the following Preferences fields on the Profile & Preferences page:
- Home Screen Override (dropdown)
- Favorite Reports (multi-select picker; read-only if the user only has access to one agency)
- Recent Services (toggle)
- Auto Suggest (toggle)
- Assessment Due Warning (toggle)
Home Screen Override Options
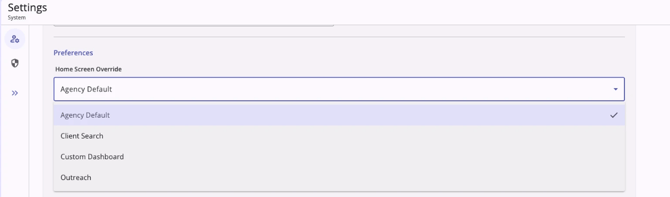
The Home Screen Override field displays only the destination options that are available on the instance. The potential options are:
- Agency Default
- Client Search
- If Custom Dashboard is set for the Home Screen Override field, the user lands directly on the configured Looker dashboard upon logging into the new Clarity interface.
- If the agency's Default Profile setting is configured as a Looker dashboard, the user lands on that dashboard upon login.
- If the saved dashboard no longer exists or has been disabled, the user is rerouted to the Default Profile landing page in the new Clarity interface. No error message will be displayed.
- If Outreach is set for the Home Screen Override field, the user lands directly in the Outreach module upon login.
Navigation to Home Screen
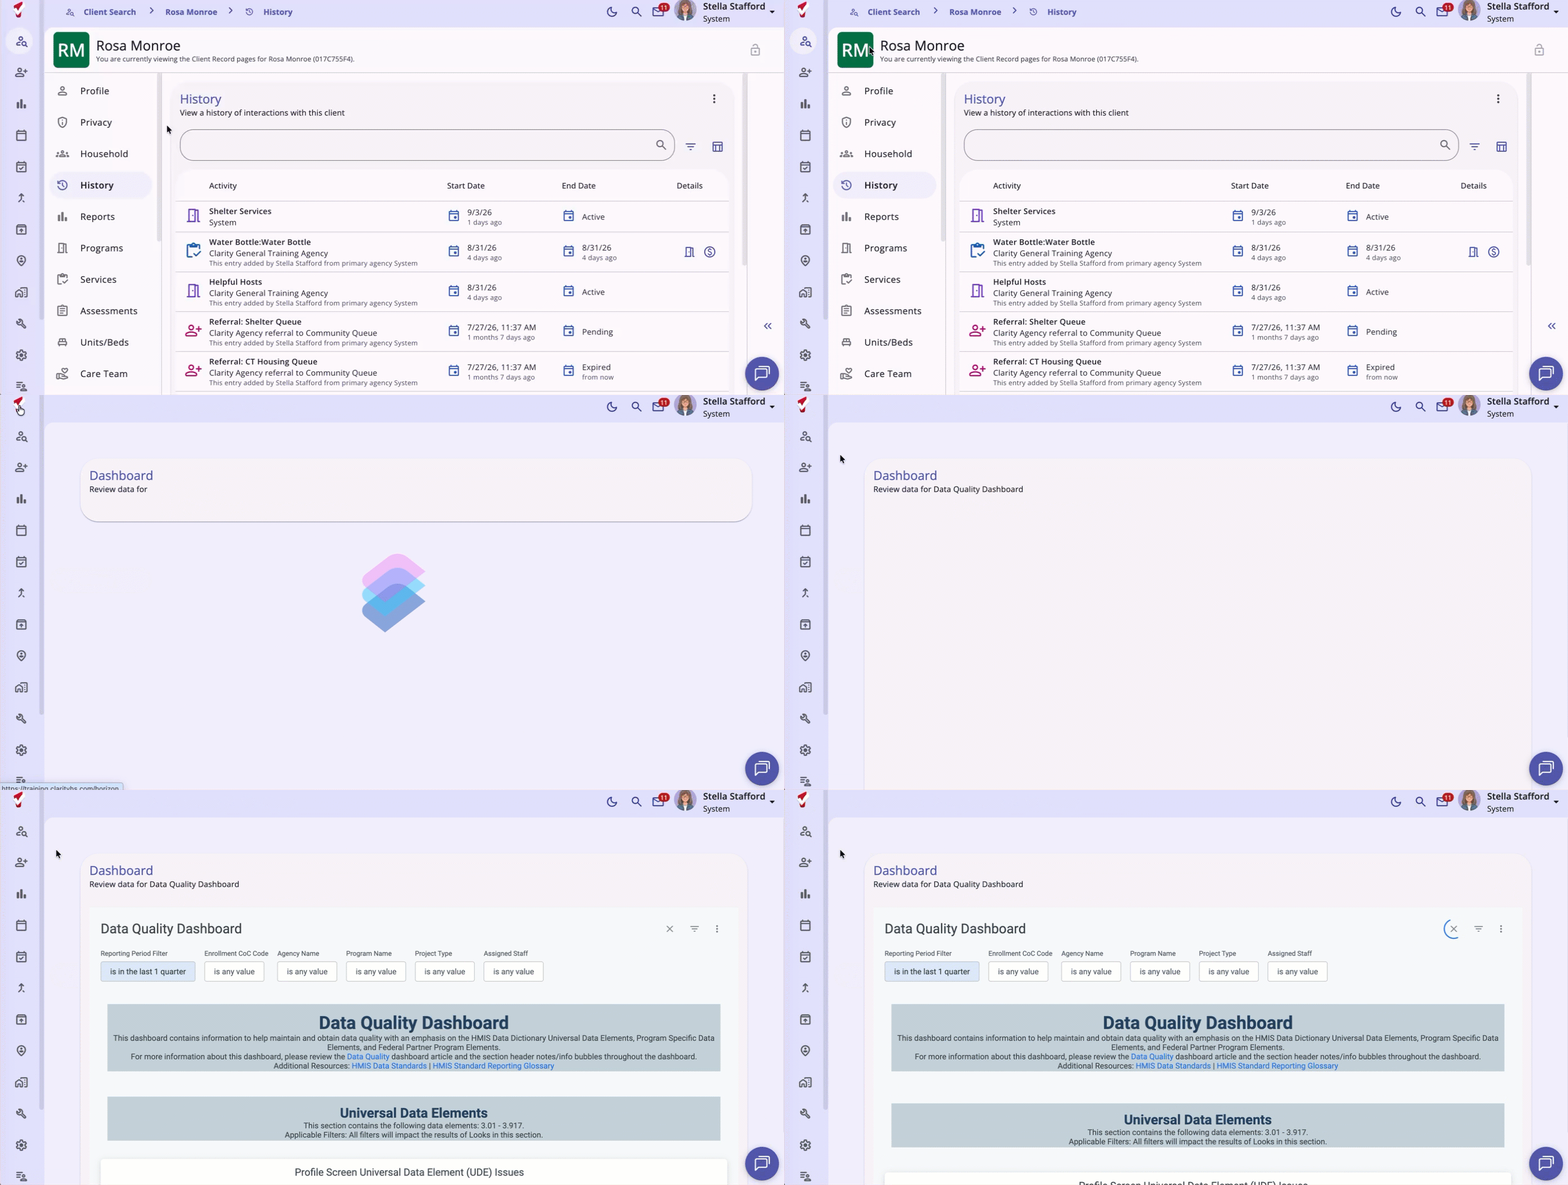
Users can click the Bitfocus icon in the top-left header of the new Clarity interface to return to their preferred Home Screen from any page in the system. For example, if a user has the Dashboard enabled on their Home Screen, they can tap the Bitfocus icon to easily return to the Dashboard.
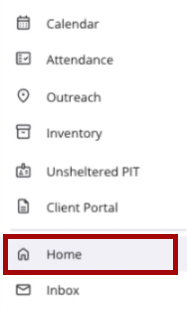
On mobile and tablet, a Home option has been added above the Inbox option in the global menu.
Customer Portal Settings
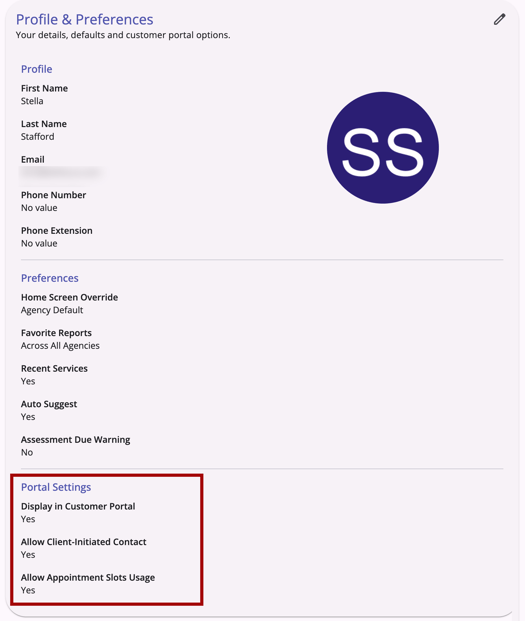
Users can view and edit the following Portal Settings fields on the Profile & Preferences page (dependent on access to the Customer Portal):
- Display in Customer Portal (toggle)
- Allow Client-Initiated Contact (toggle)
- Allow Appointment Slots Usage (toggle)
Editing and Saving
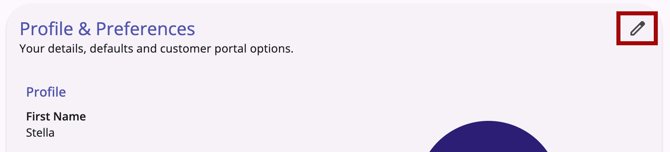
An Edit (pencil) icon is available in the top-right of the Profile & Preferences page that switches the page to edit mode.
In edit mode, all fields are editable. Required fields are indicated by a trailing asterisk.
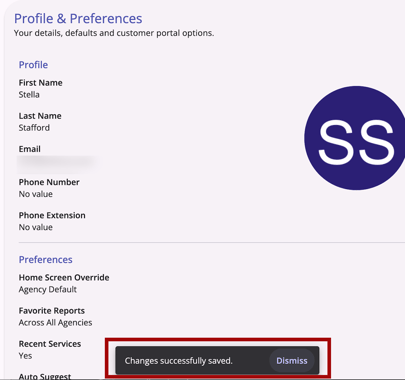
On Save, a success snackbar notification confirms: "Changes successfully saved."
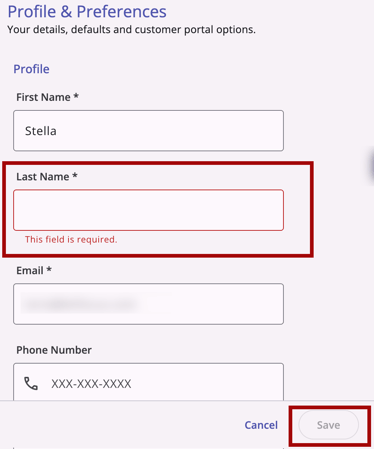
If a required field is cleared and Save is attempted, the field is outlined in red, and an error message displays below it indicating the field is required. The Save button will be grayed out and not clickable.
On Cancel, no changes are saved, and the form returns to read-only mode. If no changes were made, the success snackbar notification does not display.
Profile Photo Management
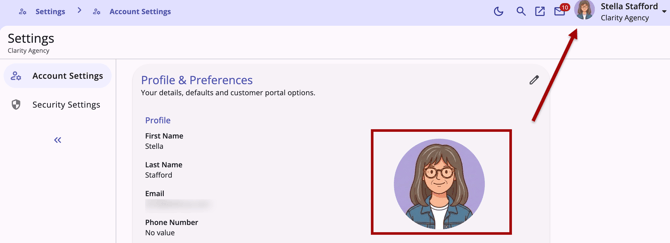
Profile photos can be uploaded from the device or captured in-browser using a webcam. Profile photos can be managed directly on the Profile & Preferences page or by clicking the Edit (pencil) icon in the top-right corner.
Upload Photo
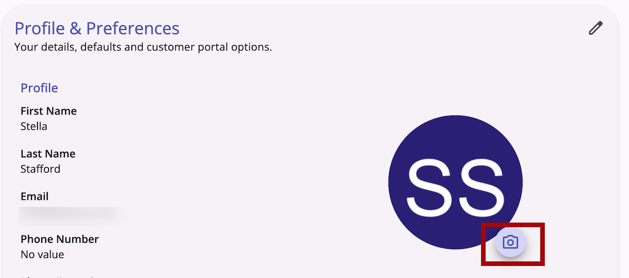
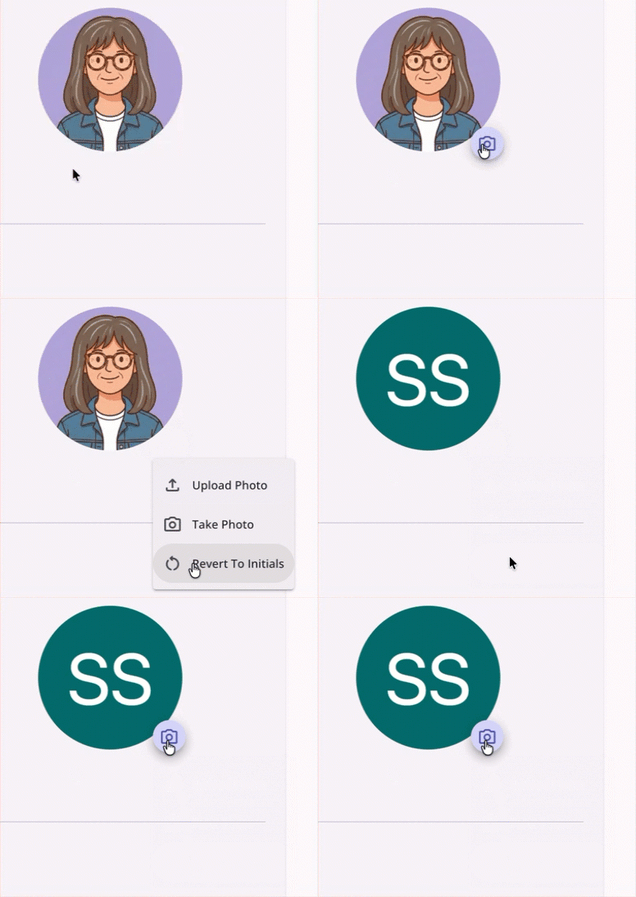
To begin uploading a photo, click the Camera icon next to your initials/avatar.
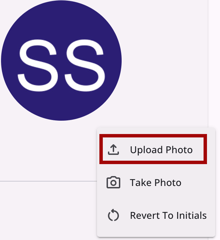
Select the Upload Photo option to select an image file from your device.
After selecting a photo from your device, define the crop area, then click Save.
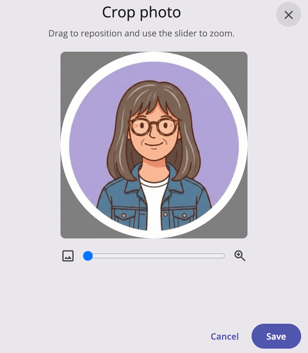
The cropped image is stored and displayed as the avatar on Account Settings and at the top-right of every screen.
Take Photo (Webcam Capture)
To take a photo, click the Camera icon next to your initials/avatar. Select the Take Photo option.
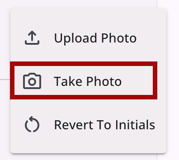
- On selecting Take Photo, the system checks for an available camera device.
- If no camera is detected, the Take Photo option is hidden. Upload Photo remains available.
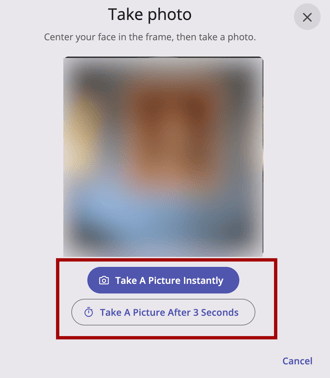
- If a camera is detected, a photo capture panel opens, displaying a live video stream from the user's camera.
- Two capture actions are available: Take a Picture Instantly and Take a Picture After 3 Seconds.
- On capture, the still image is displayed for review. The user can Cancel (returning to the live stream) or Save the captured image.
- On Save, the captured image enters the crop workflow detailed in the Upload Photo section of this article. The user defines the crop area before clicking Save.
- The capture panel can be dismissed with a Close (X) action at any point before saving, returning the user to the Account Settings tab with no changes made.
Camera Permission
The browser requests camera permission when the Take Photo option is selected. If the user denies permission, the capture panel does not open, and a message indicates that camera access is required to use this feature.
Revert To Initials
A Revert To initials option is available that removes any uploaded or captured photo and regenerates the initials-based avatar based on the user's current name.
Security Settings Tab
The Security Settings tab provides password management and Multi-factor Authentication (MFA) management.
Password Management
The Security Settings tab displays a Password field in a dedicated Password section. A Reset action is available.

- Each field has an individual show/hide toggle (eye icon) allowing the user to reveal or mask their input independently.
- Both fields are required.
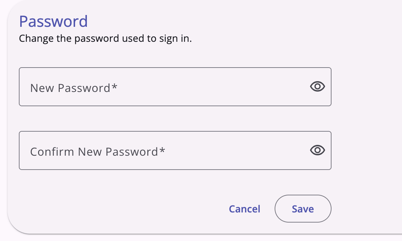
- On Save with matching passwords that meet complexity requirements, the password is updated, the two fields are replaced by the masked display, and a success snackbar displays: "Changes successfully saved."
- On Save with non-matching passwords, an error message displays below Confirm New Password: "Passwords do not match."
- On Save with a password that does not meet complexity requirements, an inline error message describes the unmet requirement. The password is not saved.
- On Cancel, the two fields are dismissed, and the masked password display is restored. No password change is made.
Password Complexity Requirements
- Minimum 8 characters
- At least one uppercase letter
- At least one lowercase letter
- At least one number
- At least one non-alphanumeric character
- No spaces
- Cannot contain the instance name
- Cannot contain "clarity"
- Cannot contain the user's first or last name
- Cannot contain "ABC" or "123"
- No more than 2 consecutive identical characters
- Cannot be one of the last 3 passwords used
Multi-Factor Authentication (MFA) Management
The MFA management section covers the following factor types:
- Authenticator App (OTP)
- Push Notification (Auth0 Guardian)
- Phone (SMS)
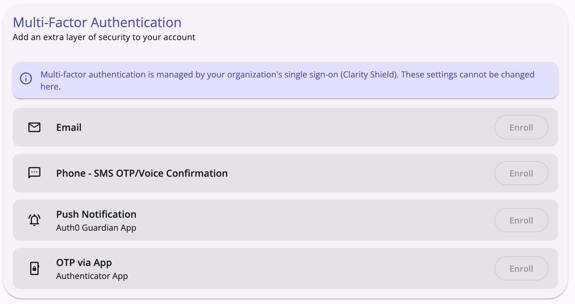
For each factor type, the user can see whether they are currently enrolled, with an Enroll or Remove action as appropriate. When a user is enrolled in an MFA type, the row and icon are highlighted as a visual cue.
Enrolling a Factor
- Non-email factors: A new browser tab opens, and the user is directed to the Auth0 enrollment flow for that factor. On completion, the factor appears as enrolled in the list.
- Email factor: No new tab opens. When Enroll is clicked, the system updates the user's email MFA to their current email address, and the "Changes successfully saved" snackbar notification appears. The page loads, indicating that the user is enrolled.
Removing a Factor
- Last remaining non-email factor: A warning dialog displays:
"[Factor type] is your last non-email multi-factor authentication method. You will be required to enroll a replacement factor on your next login. Are you sure you want to remove it?"
The Remove action proceeds only after acknowledgment. - Not the last non-email factor: The factor is removed without a warning dialog.
On successful enrollment or removal, a success snackbar notification displays.
Email Change and MFA
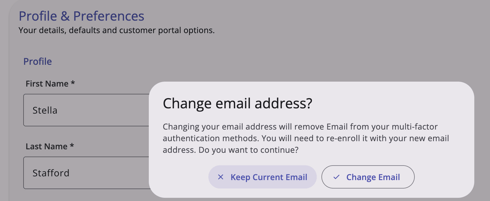
Changing the user's email address on the Account Settings tab unenrolls their Email MFA factor. A confirmation dialog displays:
"Changing your email will remove your existing email MFA factor. You will need to re-enroll in email based MFA in the Security Settings menu. Continue?"
The dialog has Keep Current Email and Change Email actions.
Clarity Shield (SSO) Users
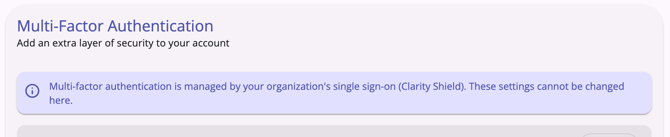
For Clarity Shield (SSO) users, the MFA section is visible but non-interactive, with all controls (Enroll, Remove) greyed out. An informational banner displays at the top of the MFA section:
"Multi-factor authentication is managed by your organization's single sign-on (Clarity Shield). These settings cannot be changed here."
Updated: 09/03/2026