Overview
A "Unit" in INVENTORY reflects an actual, physical Unit within a living structure, but can also be used to represent openings for programs that do not have physical units -- for example, Rapid Rehousing or tenant-based voucher programs. Refer to our INVENTORY Setup Best Practices article for additional details.
Managing Units
To manage an agency's Units, navigate to SITES > Housing Inventory, then click on the Edit icon next to the appropriate Site. Under Site Resources, select Buildings & Units, then click on the Edit icon next to the appropriate Building. Under Building Resources, choose Units.
The UNITS page appears, which lists the Units created for that Building (or Site, if the Site has no Buildings). Units will be listed alphabetically by Unit Name, but you can sort by Unit Configuration Type, Beds, and Availability by clicking those column headers. A "Bed" icon in the Unit Configuration Type column indicates that the Beds functionality is enabled for that Unit's current Unit Configuration Type.
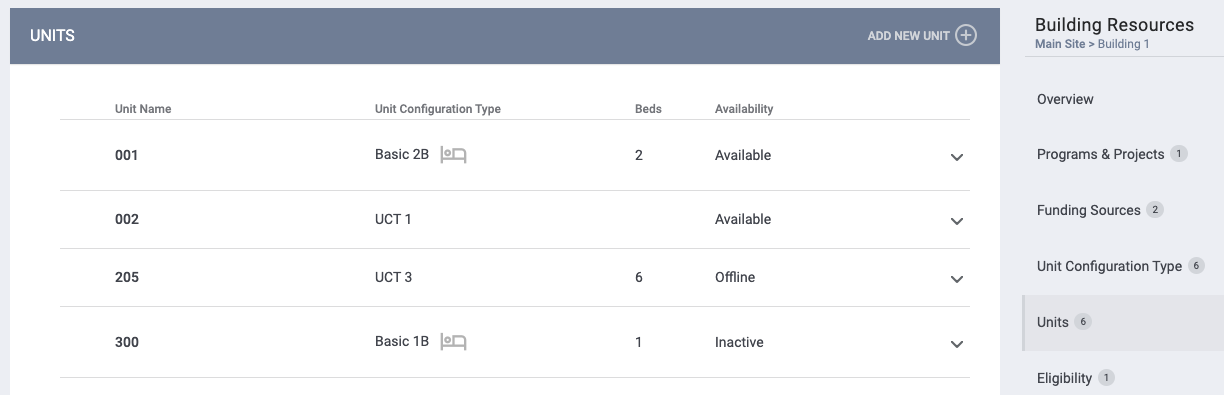
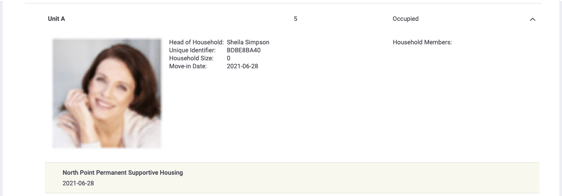
The Availability column indicates the Unit's occupancy status. For Units with a status of "Pending Occupancy" or "Occupied":
- The system will hide the trash can icon to prevent those records from being deleted.
![]()
- Click the down arrow next to the Unit's status to view details about the occupant(s).
Unit occupancy status is affected by Bed occupancy status. Refer to Unit/Bed Status for details.
Adding a New Unit
To create a new Unit, click ADD NEW UNIT. The ADD A NEW UNIT page appears.

The ADD A NEW UNIT page appears.
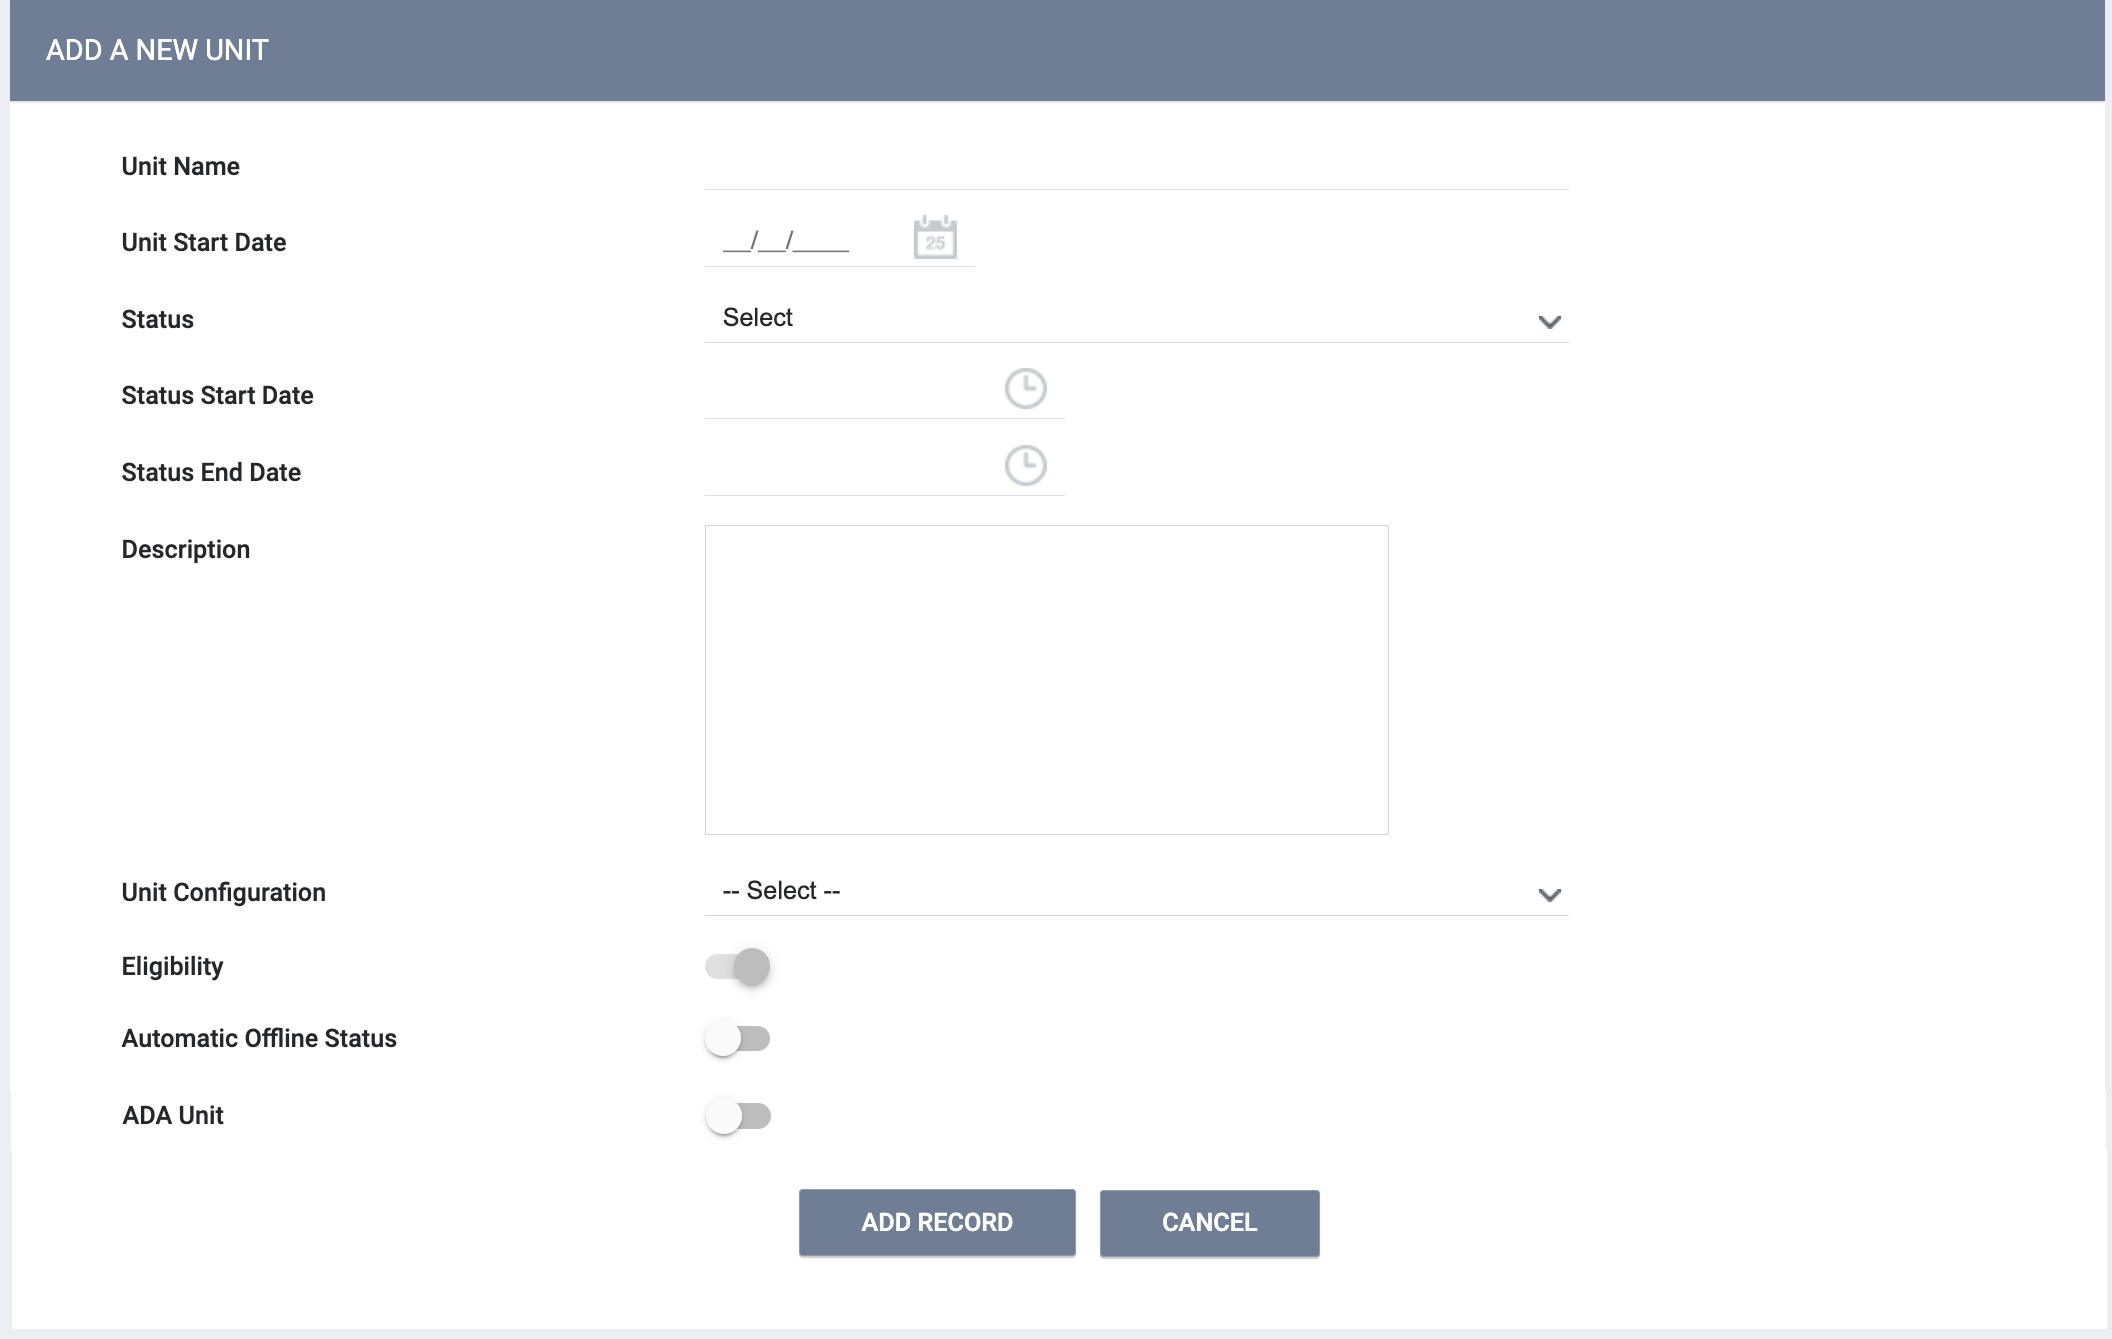
- Unit Name: Enter the Unit Name here.
- When Units appear in a list in the system, they are sorted alphanumerically. To ensure that the Units are sorted in the correct order if their names include numbers, you will need to include enough zeroes in front of each number so that all numbers have an equal number of digits. For example:
- If the numbers go up to 3 digits, name them 001, 002, 003, etc.
- If the numbers go up to 4 digits, name them 0001, 0002, etc.
If you don't use the same number of digits for each Unit number, you could end up with a situation like this, where a Unit with a higher number (32) is listed above a Unit with a lower number (5).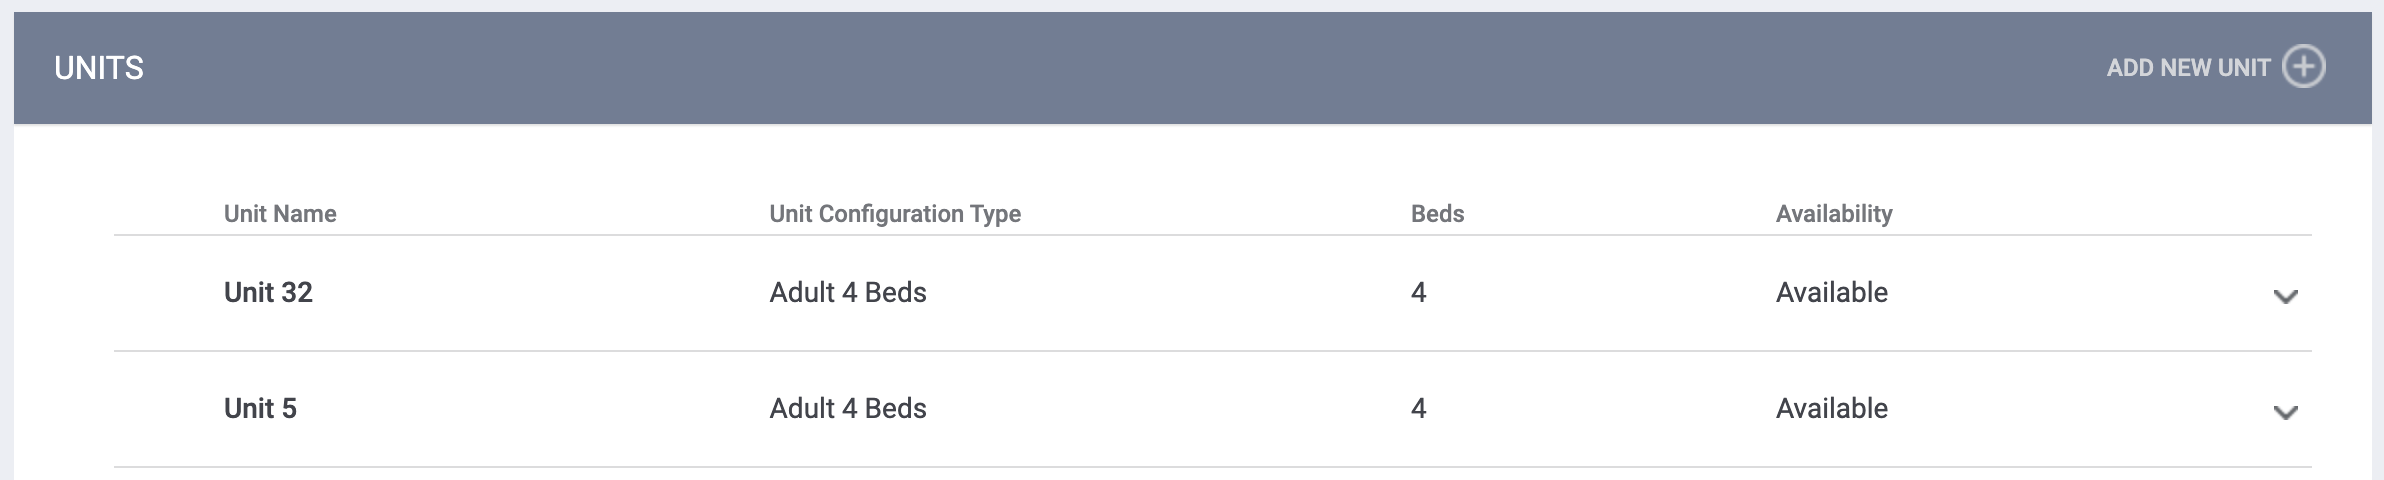
When the number of digits is consistent, as shown below, the Units are sorted correctly.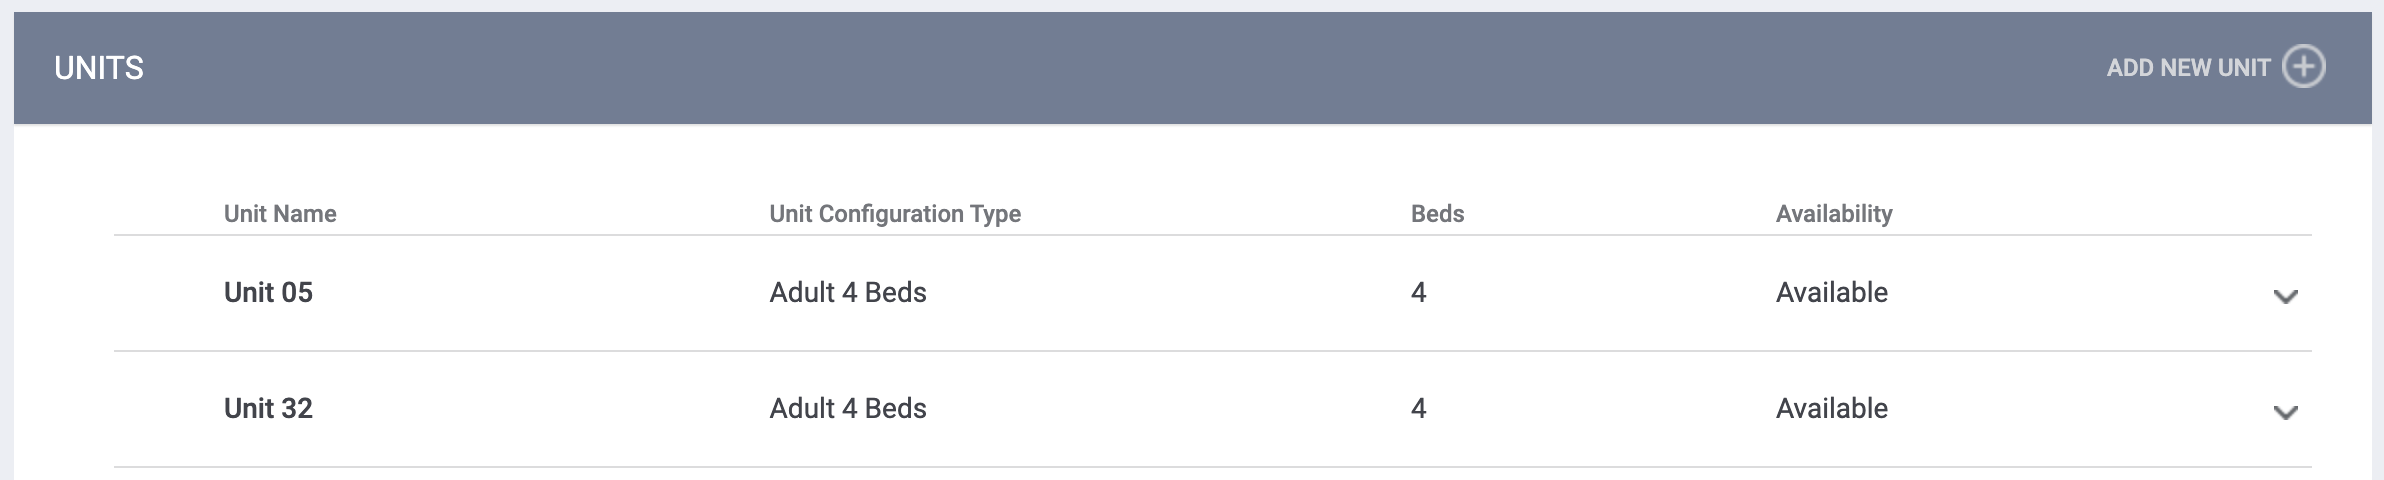
- When Units appear in a list in the system, they are sorted alphanumerically. To ensure that the Units are sorted in the correct order if their names include numbers, you will need to include enough zeroes in front of each number so that all numbers have an equal number of digits. For example:
- Unit Start Date: You may enter a past, current, or future date.
- This date can be before the Status Start Date if appropriate to allow for backdating the Unit's status history.
- The system will display a pop-up warning if you attempt to enter a Unit Start Date that is earlier than the Start Date for the associated Site, Building, or Unit Configuration Type.
- Status: Select "Active," "Inactive," or "Offline" to indicate whether the Unit is in use for the Site.
- Active: The Unit is active and ready for use.
- Inactive: The Unit is not active. However, the Unit will not be deleted because the user needs to retain historical information. Inactive Units will not appear in the INVENTORY dashboard.
-
Offline: The Unit is temporarily unavailable (due to maintenance or another specific reason) but is expected to be online again in the future. If you select Offline, additional fields appear for completion:
- Offline Reason: Select a reason for the offline status. (System Administrators create these picklist options in the FIELD EDITOR for the offline_reason field.)
- Offline Description: Describe why the Unit is offline.
- Status Start Date is required; Status End Date is optional.
- Description: Enter a detailed description of the Unit.
- Unit Configuration: Select one of the Unit Configuration Types in the list, or choose "Create New Unit Configuration" to create a new Unit Configuration Type.
- This field will be grayed out until a Unit Start Date is selected.
- Once the Unit Start Date is selected, the Unit Configuration drop-down list will show Unit Configuration Types that have a Start Date on or before the Unit Start Date.
- If “Create New Unit Configuration” is selected, the Start Date field on the ADD NEW UNIT CONFIGURATION TYPE pop-up will be auto-populated with the Unit Start Date, but can be changed to an earlier date.
- Allow Multiple Referrals: This setting is visible when the Allow Multiple Referrals to Beds/Units setting is enabled in Referral Settings AND the Unit Configuration Type (UCT) selected for Unit Configuration has Beds disabled. Toggle this setting ON to allow more than one referral to a Unit.
- If the Allow Multiple Referrals setting is enabled, a Maximum Referrals setting appears. The Maximum Referrals setting indicates how many referrals can be sent to the Unit.
- Eligibility: You can associate Eligibility criteria with a Unit by turning on the Eligibility toggle. When this setting is enabled, the Eligibility section appears in the Unit Resources sidebar.
Note: If eligibility has been enabled at a higher level or inherited from a program or funding source, the Eligibility toggle will automatically be enabled and read-only.
- Enabling Automatic Offline Status means that the system automatically creates an Offline status for a Unit/Bed when a client exits. Refer to Automatic Offline Status for details.
- Custom Fields: System Administrators can add Housing Inventory Custom fields as appropriate, such as the ADA Unit field shown in the example above. If desired, a Housing Inventory Custom field can be designated as a Field Marker to enable data to cascade to the level below it (from a Site screen to a Building screen, for example).
Note: When a user clicks ADD NEW UNIT, any custom fields that have been configured for the Unit screen will appear; and then, when the user makes a selection for the Unit Configuration field, data from the Unit Configuration level will populate those fields that are set to cascade.
Click ADD RECORD to create the Unit. The ADD A NEW UNIT page becomes the MODIFY UNIT page (also known as the Unit management page).
Note: Once you create the Unit, the Unit Configuration field is no longer available.
Unit Configurations
Once you create the Unit, the UNIT CONFIGURATIONS section appears on the MODIFY UNIT page to allow you to see which Unit Configuration Type (UCT) is currently in use for the Unit and to schedule future UCTs for that Unit. Refer to our Changing Unit Configurations article for details.
Unit Photos
Once you create the Unit, the UNIT PHOTOS section appears on the MODIFY UNIT page. Refer to the Adding INVENTORY Photos article for details.
Unit Resources Sidebar
The MODIFY UNIT page includes the Unit Resources sidebar, where you can make additional configurations.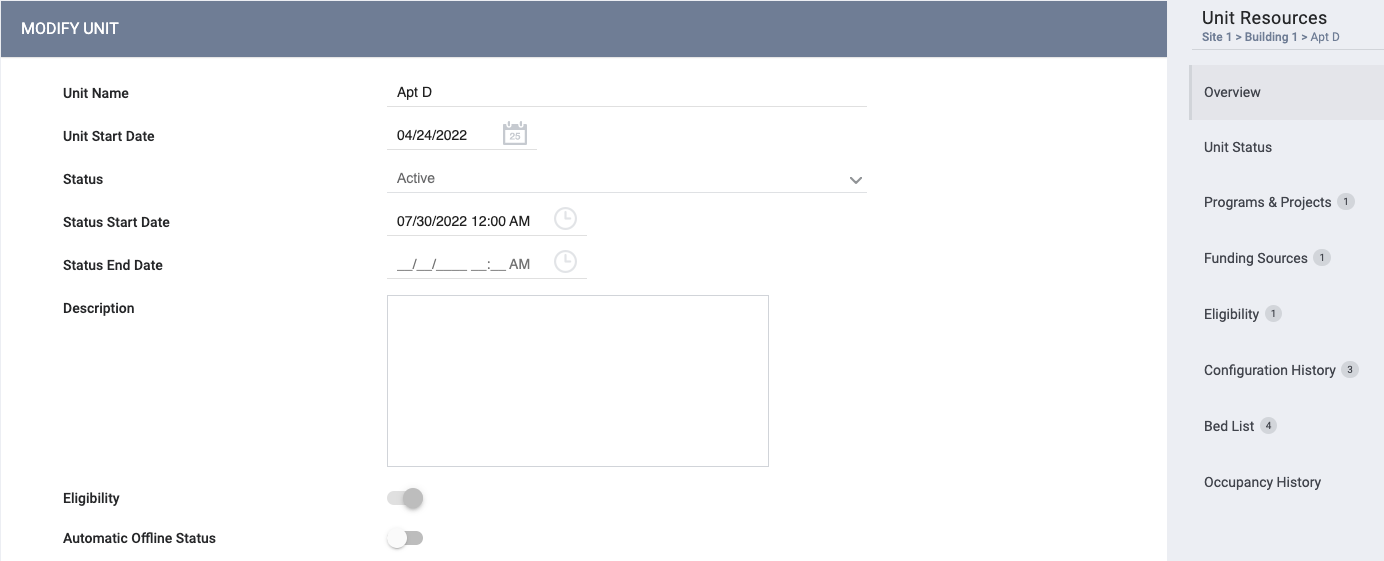
Overview
Clicking Overview in the sidebar displays the MODIFY UNIT page. This page contains the fields completed for the Unit at creation, which you can modify at any time.
Unit Status
The Status assigned to a Unit when it is created will be the first record in the Unit Status section. The Status Start Date (and Status End Date, if applicable) from the ADD A NEW UNIT screen will be listed as the Start Date and End Date for this record. Users with the appropriate permissions can manually add an Inactive or Offline Status as needed.
Note: If you wish to exclude Units from LSA and HIC reports because they are not in use, you must set the Units to Inactive even if you have set the associated Sites/Buildings to Inactive. Once a Unit is Inactive, all the Beds in that Unit will also be Inactive.
Refer to our Unit/Bed Status article for details.
Programs & Projects
The ability to add a program at the Unit level is not available.
Note: The Unit is automatically assigned the program that is assigned to the Unit Configuration Type (or whichever program the Unit Configuration Type inherited from the parent level(s).
Funding Sources
Note: All reports (including federal reports) related to INVENTORY will pull Funding Source information from the program level. Therefore, Funding Sources will need to be attached at the program level in order to be included in those reports. Funding Sources attached at the Unit level will not be pulled into reports.
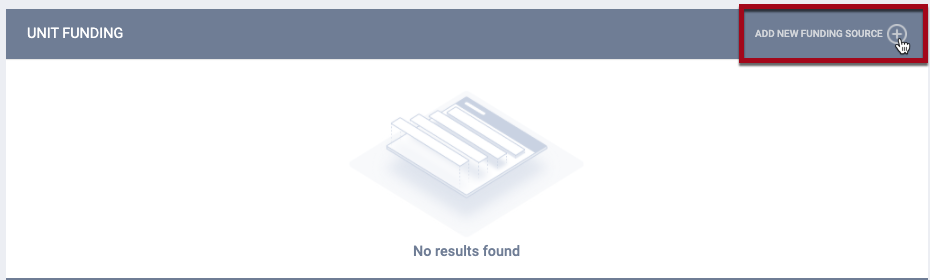
To view or add Funding Sources for a Unit, click the Funding Sources section of the sidebar. The page contains sections listing the funding inherited from the Site, Building, and Unit Configuration Type levels. In the PROGRAM FUNDING section, you will see any active funding sources inherited from a program assignment.
To associate a Funding Source with the Unit, click ADD FUNDING SOURCE.
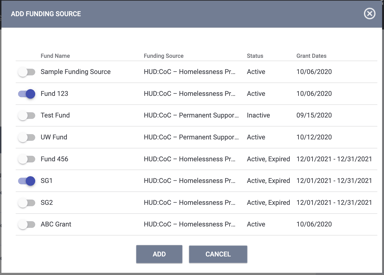
The ADD FUNDING SOURCE window will display Funding Sources created from the Funding tab. Toggle on the desired Funding Sources, then click ADD.
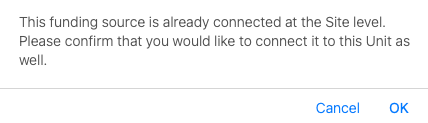
The system displays a warning if you add a funding source that is already connected at a higher level.
Eligibility
To associate Eligibility criteria with a Unit, click the Eligibility section of the sidebar, then click ADD REQUIREMENT. Refer to our INVENTORY Overview article for additional information on configuring eligibility criteria.
The system will display the following pop-up warning whenever an eligibility criterion is added or edited: "Please note that modifying eligibility may impact clients already associated with this [site/building/funding source/program/etc] eligibility setting. Please confirm."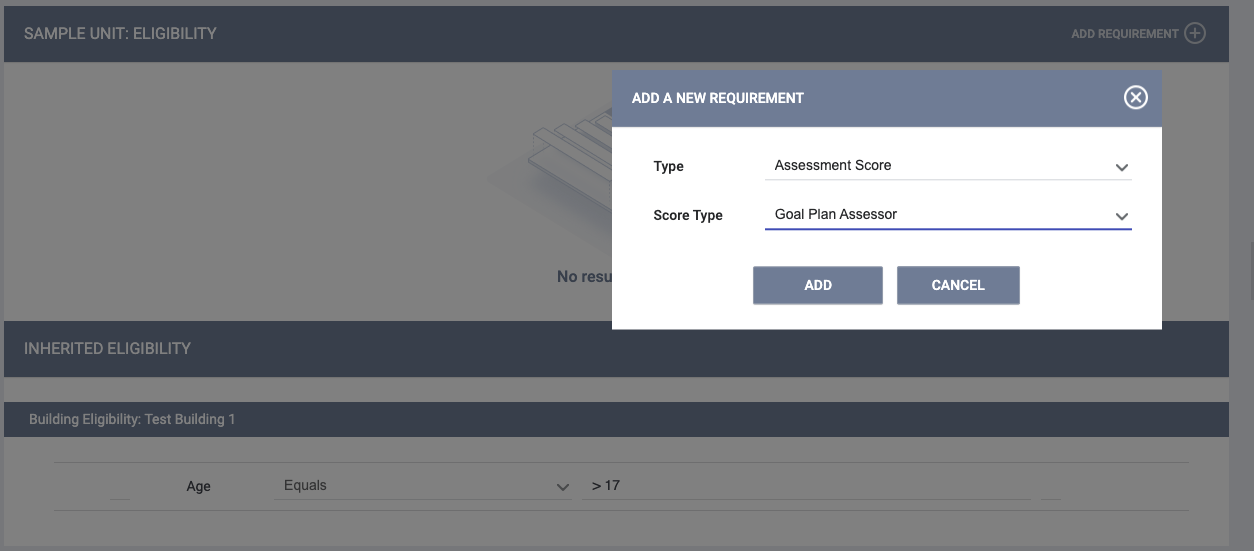
The INHERITED ELIGIBILITY section displays any eligibility criteria inherited from a higher level or from programs or funding sources.
You can hover the mouse over the information icon on an inherited funding source to display a tooltip showing the source(s) of inherited eligibility criteria. The listing will also include any eligibility inherited from assigned sub-grants.

Configuration History
Click on Configuration History in the sidebar to view, add, and modify the Start and End Dates for Unit Configuration Types for this Unit.

If the Unit's Occupancy History does not contain any "Occupied" records, users with the Manage Unit History access permission can add/edit/delete Configuration History records.
Note: Configuration History records cannot be added/edited/deleted for Units that have been occupied, even if the occupancy record has an End Date in the past, because past occupancy records contain client data.
Bed List
If the Unit has Beds enabled, a Bed List link appears in the sidebar. Users may click Bed List to view Bed occupancy details, view Bed status, and add an Offline status. Refer to our INVENTORY: Beds article for details.
Occupancy History
Click on Occupancy History in the sidebar to view a Unit's occupancy history (including Beds, if applicable), with the ability to view the project/program in which the relevant clients were enrolled during that stay. Refer to our Unit Occupancy History article for details.
Note: If you click SAVE CHANGES on the MODIFY UNIT or ELIGIBILITY pages without making any changes, the system will not display the green "Changes successfully saved" banner, update last_updated and ref_user_updated, or track the action in the Audit Log.
Navigation Path
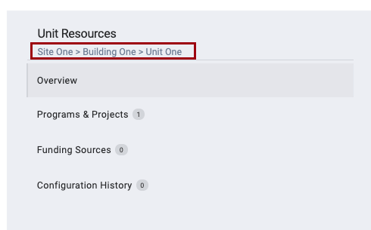
You may click the links near the top of the Unit Resources sidebar to return to the Site or Building level.
Deleting Units
To delete a Unit, click the trash can icon next to the Unit name on the UNITS page.

Note: You cannot delete a Unit if it is connected to any Beds, or if it is connected to any client data.
Audit Log
Users with the appropriate permission can click the Audit Log button to view changes made to the Unit.

Updated: 08/19/2024