Adding Individuals to the Outreach Map
This article provides details for the process for adding individuals to the Outreach map.
Overview
The process for adding individuals to the Outreach map is different than for adding Persons to an Encampment.
Requirements:
- You must have the Add Clients to Outreach Map enabled in Access Roles.
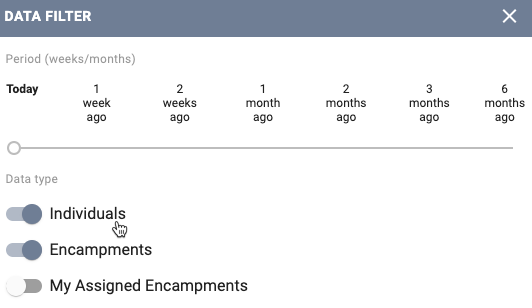
- Turn on the Individuals toggle in the DATA FILTER on the Outreach Map.
Steps
1. Click the Add Individual(s) icon.

2. Enter Name, DOB, UID, or SSN to search for the individual.
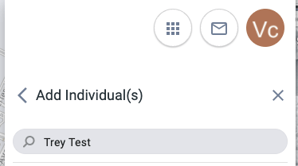
Note: If the client does not appear in your search results, you can click CREATE NEW CLIENT in the Add Individual(s) screen to create a record for that client.

3. Click on the toggle to the right of the client's name.
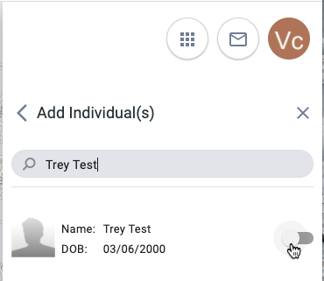
4. Click ADD 1 PERSON(s).

- The message "1 person(s) selected" appears. Click CONFIRM.

5. Click the "plus" icon next to the client's name. The color of the icon will change from grey to green.
![]()
6. Click on the client's location on the map. An icon representing the client will appear on the map, and the green "plus" icon in the Select Location panel will become a grey "pencil" icon.
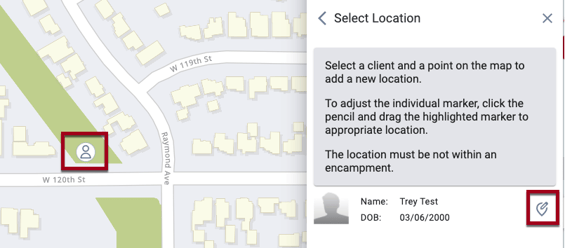
7. If you are ready to save this location, click DONE. However, if you want to adjust the location before exiting this screen:
- Click on the pencil icon next to the client's name. The client's icon on the map will turn red.
- Drag and drop the red icon to the correct location.
- Click DONE.
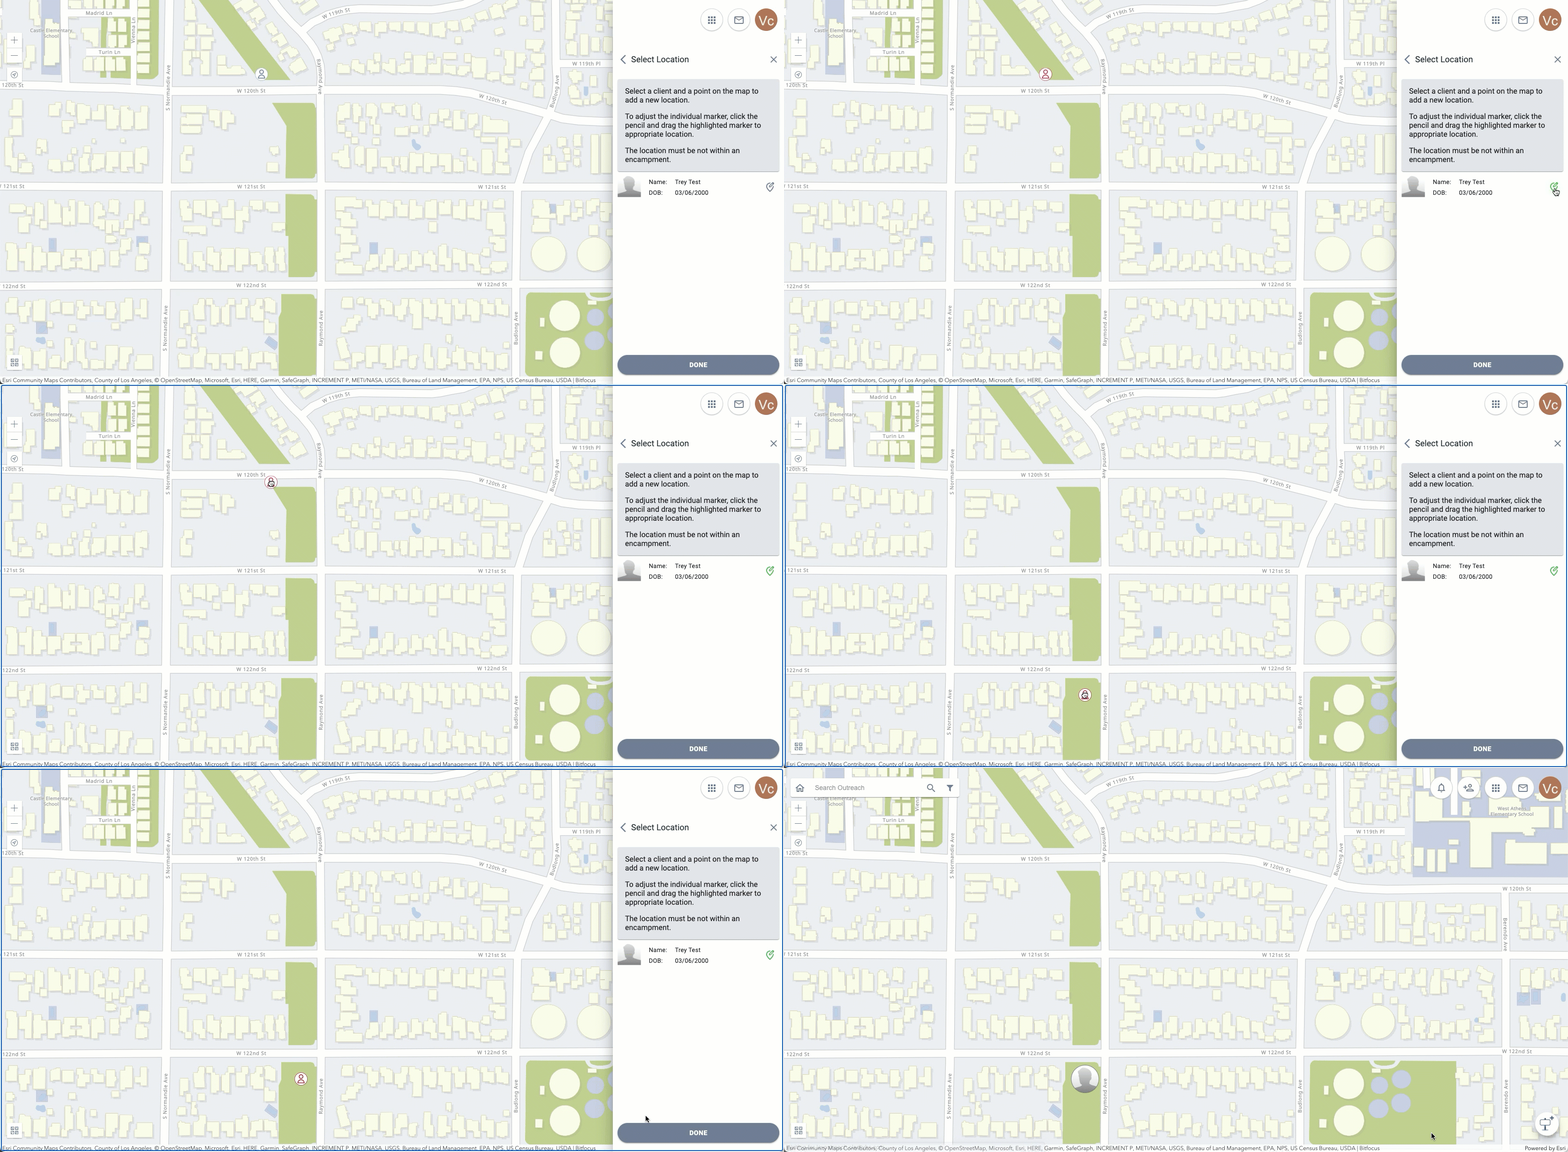
Moving an Individual After Clicking Done
To move the client's current location after you have clicked DONE, follow the steps listed in Adding an Individual to the Outreach Map above. After you have added the new location icon, the previous location icon will no longer appear on the map.
Note: All historical location Information is captured within the Clarity Human Services Location tab.
Removing an Individual from the Outreach Map
End Users with the appropriate permissions can edit or delete the location recorded for an individual on the Outreach Map by navigating to the client's LOCATION tab.
Click on the client on the Outreach Map to open the client's PROFILE INFO. To navigate to the client's LOCATION tab, click the icon next to Location Date to open the LOCATION tab in the client record.

On the client's LOCATION tab, use the trash can icon to delete the Outreach location for the client.

System Warnings
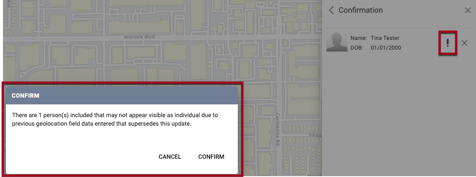
If a client has geolocation information that supersedes the current addition, users will see a warning (e.g., the client has geolocation added on the profile screen).
Updated: 10/03/2024