Working with Sharing Groups
Sharing groups allow agencies to share specific types of client data with another agency or groups of agencies in specific, customizable ways.
Overview
System administrators can allow agencies to share data uniformly with all other agencies by exclusively using the Default sharing group, or they can set up more complex sharing networks by using additional sharing groups. We'll look at both options and discuss best practices around sharing groups.
The Default Group
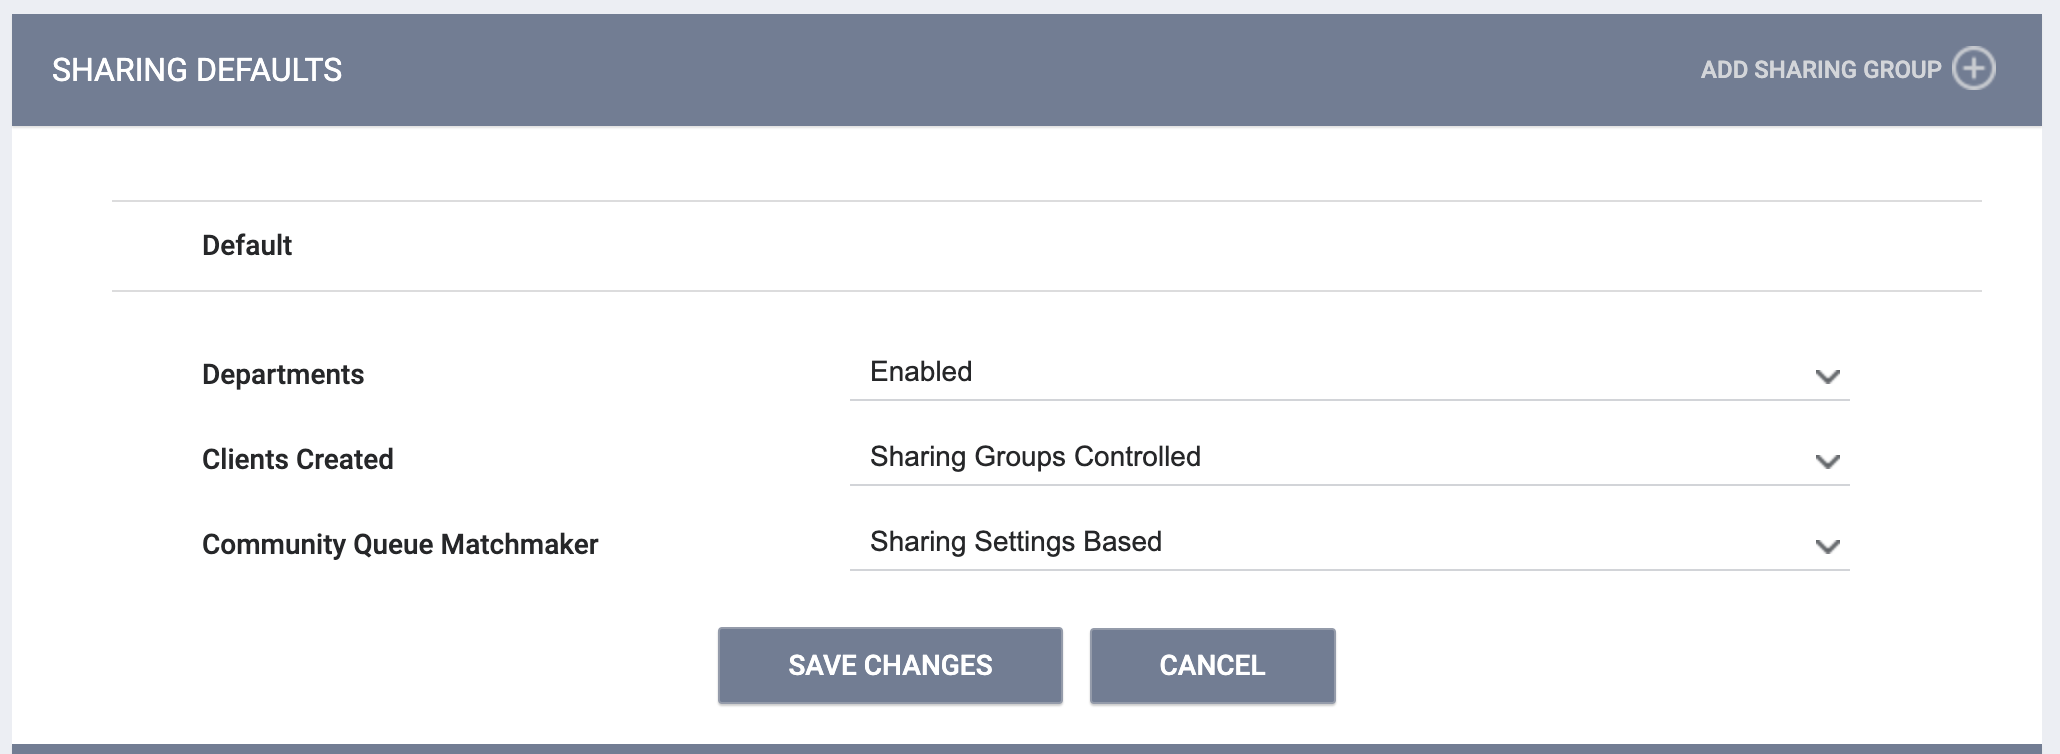
All agencies automatically belong to the Default sharing group. At a minimum, system administrators must establish how to share data with other agencies in the Default group. To do this, start by navigating to MANAGE > SHARING.

The SHARING DEFAULTS section displays the Default sharing group and settings for Departments, Clients Created, and Community Queue Matchmaker.
Hover over the Default group and click the Edit icon that appears.

The MODIFY SHARING GROUP DEFAULTS page appears. Here you will see the sharing settings for the different components of the client record: Services/Programs/Assessments/Events Placed, Notes, Files, and Location. If "Sharing Groups Controlled" was selected for Clients Created on the SHARING DEFAULTS page, you will also see configuration options for Clients Created.
Refer to Introduction to Sharing Client Data for an overview of how these settings impact client data sharing.
After selecting "Not Shared," "Basic Shared," or "Full Shared" for each setting, click SAVE CHANGES.
These settings dictate how data entered by the agency will be shared with all other agencies in the group. These selections do not impact the sharing of data entered by staff at other agencies for the same record components.
Adding a New Sharing Group
To add a new sharing group to an agency, system administrators should navigate to MANAGE > SHARING for that agency.
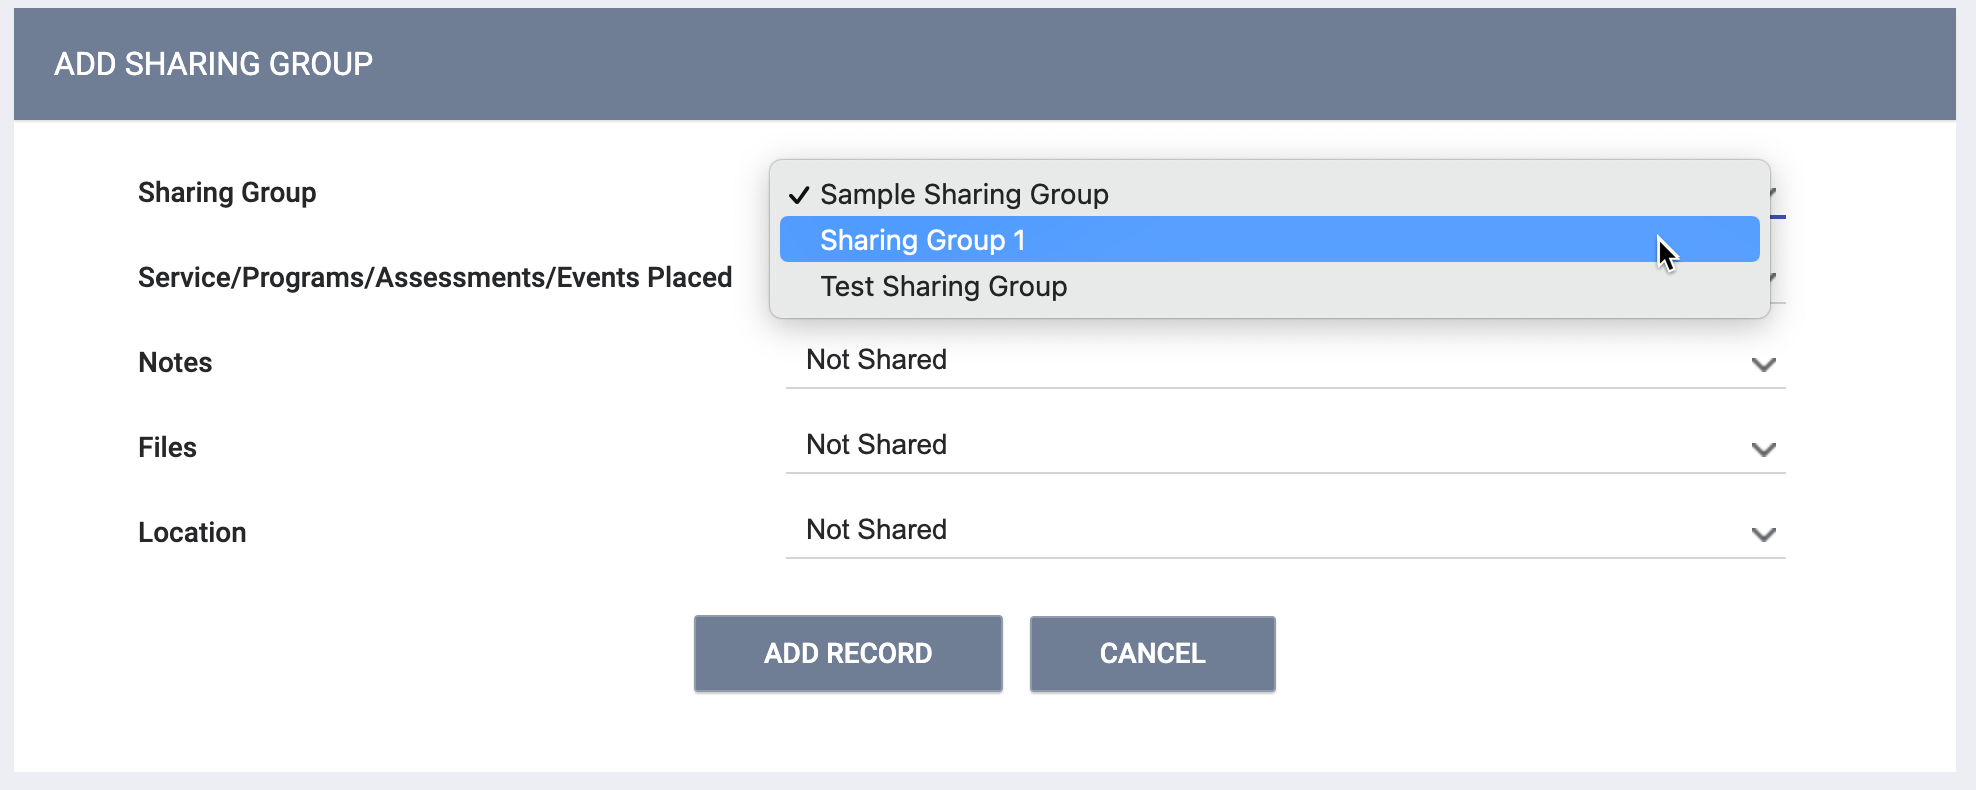
In the SHARING DEFAULTS section, click ADD SHARING GROUP.

The Sharing Group drop-down menu contains the sharing groups created in the system. Select the sharing group from the drop-down menu. Once the group is selected, the other fields auto-fill with the selections made for each record component in the system setup.
After you click ADD RECORD, the sharing group will appear in the SHARING DEFAULTS section. 
Note: While all agencies are, by default, part of the Default group, the only way for additional sharing group settings to apply is to add the sharing group to another agency or agencies. Once the sharing group is added to other agencies, that sharing group's settings will only apply to the agencies to which the sharing group was added.
Modifying Sharing Settings within a Sharing Group
After adding a sharing group to an agency, you can edit the sharing settings for that group to designate how the agency will share data with other agencies in that group.

The image below shows the sharing group configuration for two agencies with the same sharing group added to their sharing settings. Since both agencies are part of the same sharing group, they will both be able to see client data entered by staff at the other agency. However, the staff at Agency B will not be able to see notes added by the staff at Agency A, while the staff at Agency A will be able to see notes added by the staff at Agency B.

Sharing Rules With Multiple Sharing Groups
It is possible for an agency that belongs to more than one sharing group to be set up to share the same client record component in more than one way with the same agency or agencies. When this is the case, the more "open" level of sharing overrides the more "closed" level.
For instance, in the example above, both Agency A and B are part of the Default group plus an additional sharing group. If Agency B has notes set to "Not Shared" in the Default Group and "Full Shared" in the added sharing group, notes added by Agency B are fully shared with Agency A.
Changing Sharing Settings
Sharing group configurations can be edited at any point to change how data is shared with other agencies. These changes are applied to all historical data created by the agency, as well as any new data entered after the change is made.
Note: If you click SAVE CHANGES in the SHARING DEFAULTS section or on the MODIFY SHARING GROUP DEFAULTS page without making any changes, the system will not display the green "Changes successfully saved" banner and will not update last_updated and ref_user_updated.
Additional Configurations
Information on the additional sections available under MANAGE > SHARING can be found in the following articles:
- AGENCY EXCEPTIONS: Refer to the Agency Exceptions article
- AGENCY DEPARTMENTS: Refer to the Sharing Departments article
- API CREDENTIALS: Refer to the API Credentials article
- AGENCY DOCUMENTS: Refer to the Agency Documents article
Updated: 7/31/2023