Overview
A Navigation Profile is a setting that specifies which navigation tabs (PROFILE, HISTORY, etc.) will appear across the top of the page in a client record, and the order in which those tabs will appear.

Once a Navigation Profile is created, it can then be assigned to an agency. The agency's assigned Navigation Profile will apply to all users in the agency.
The purpose of the Navigation Profile is to allow system administrators to delete and/or rearrange the tabs to suit each agency's needs. For example, if an agency does not want to offer "standalone" assessments or services (i.e., they want all assessments and services to be provided within program enrollments), a system administrator could delete the ASSESSMENTS and SERVICES tabs from that agency's Navigation Profile.
Notes:
- You should only delete a tab from an agency's Navigation Profile if none of the agency's staff members need access to it. If some staff members need access to a tab but others do not, you can control access via access role permissions or sharing groups.
-
The tabs in the Navigation Profile are also referred to as "agency-level" tabs or "global" tabs, to differentiate them from the program-level tabs that appear within a client's program enrollment.
- Even if the FILES, NOTES, ASSESSMENTS, and SERVICES tabs are not enabled in an agency's Navigation Profile, they can still be made available to individual programs within the agency so that they will be displayed within a client's program enrollment.

Accessing the Navigation Profiles Settings
To access the Navigation Profile settings, click the Launchpad, then navigate to SETUP > SETTINGS > Advanced Options > Navigation Profiles.
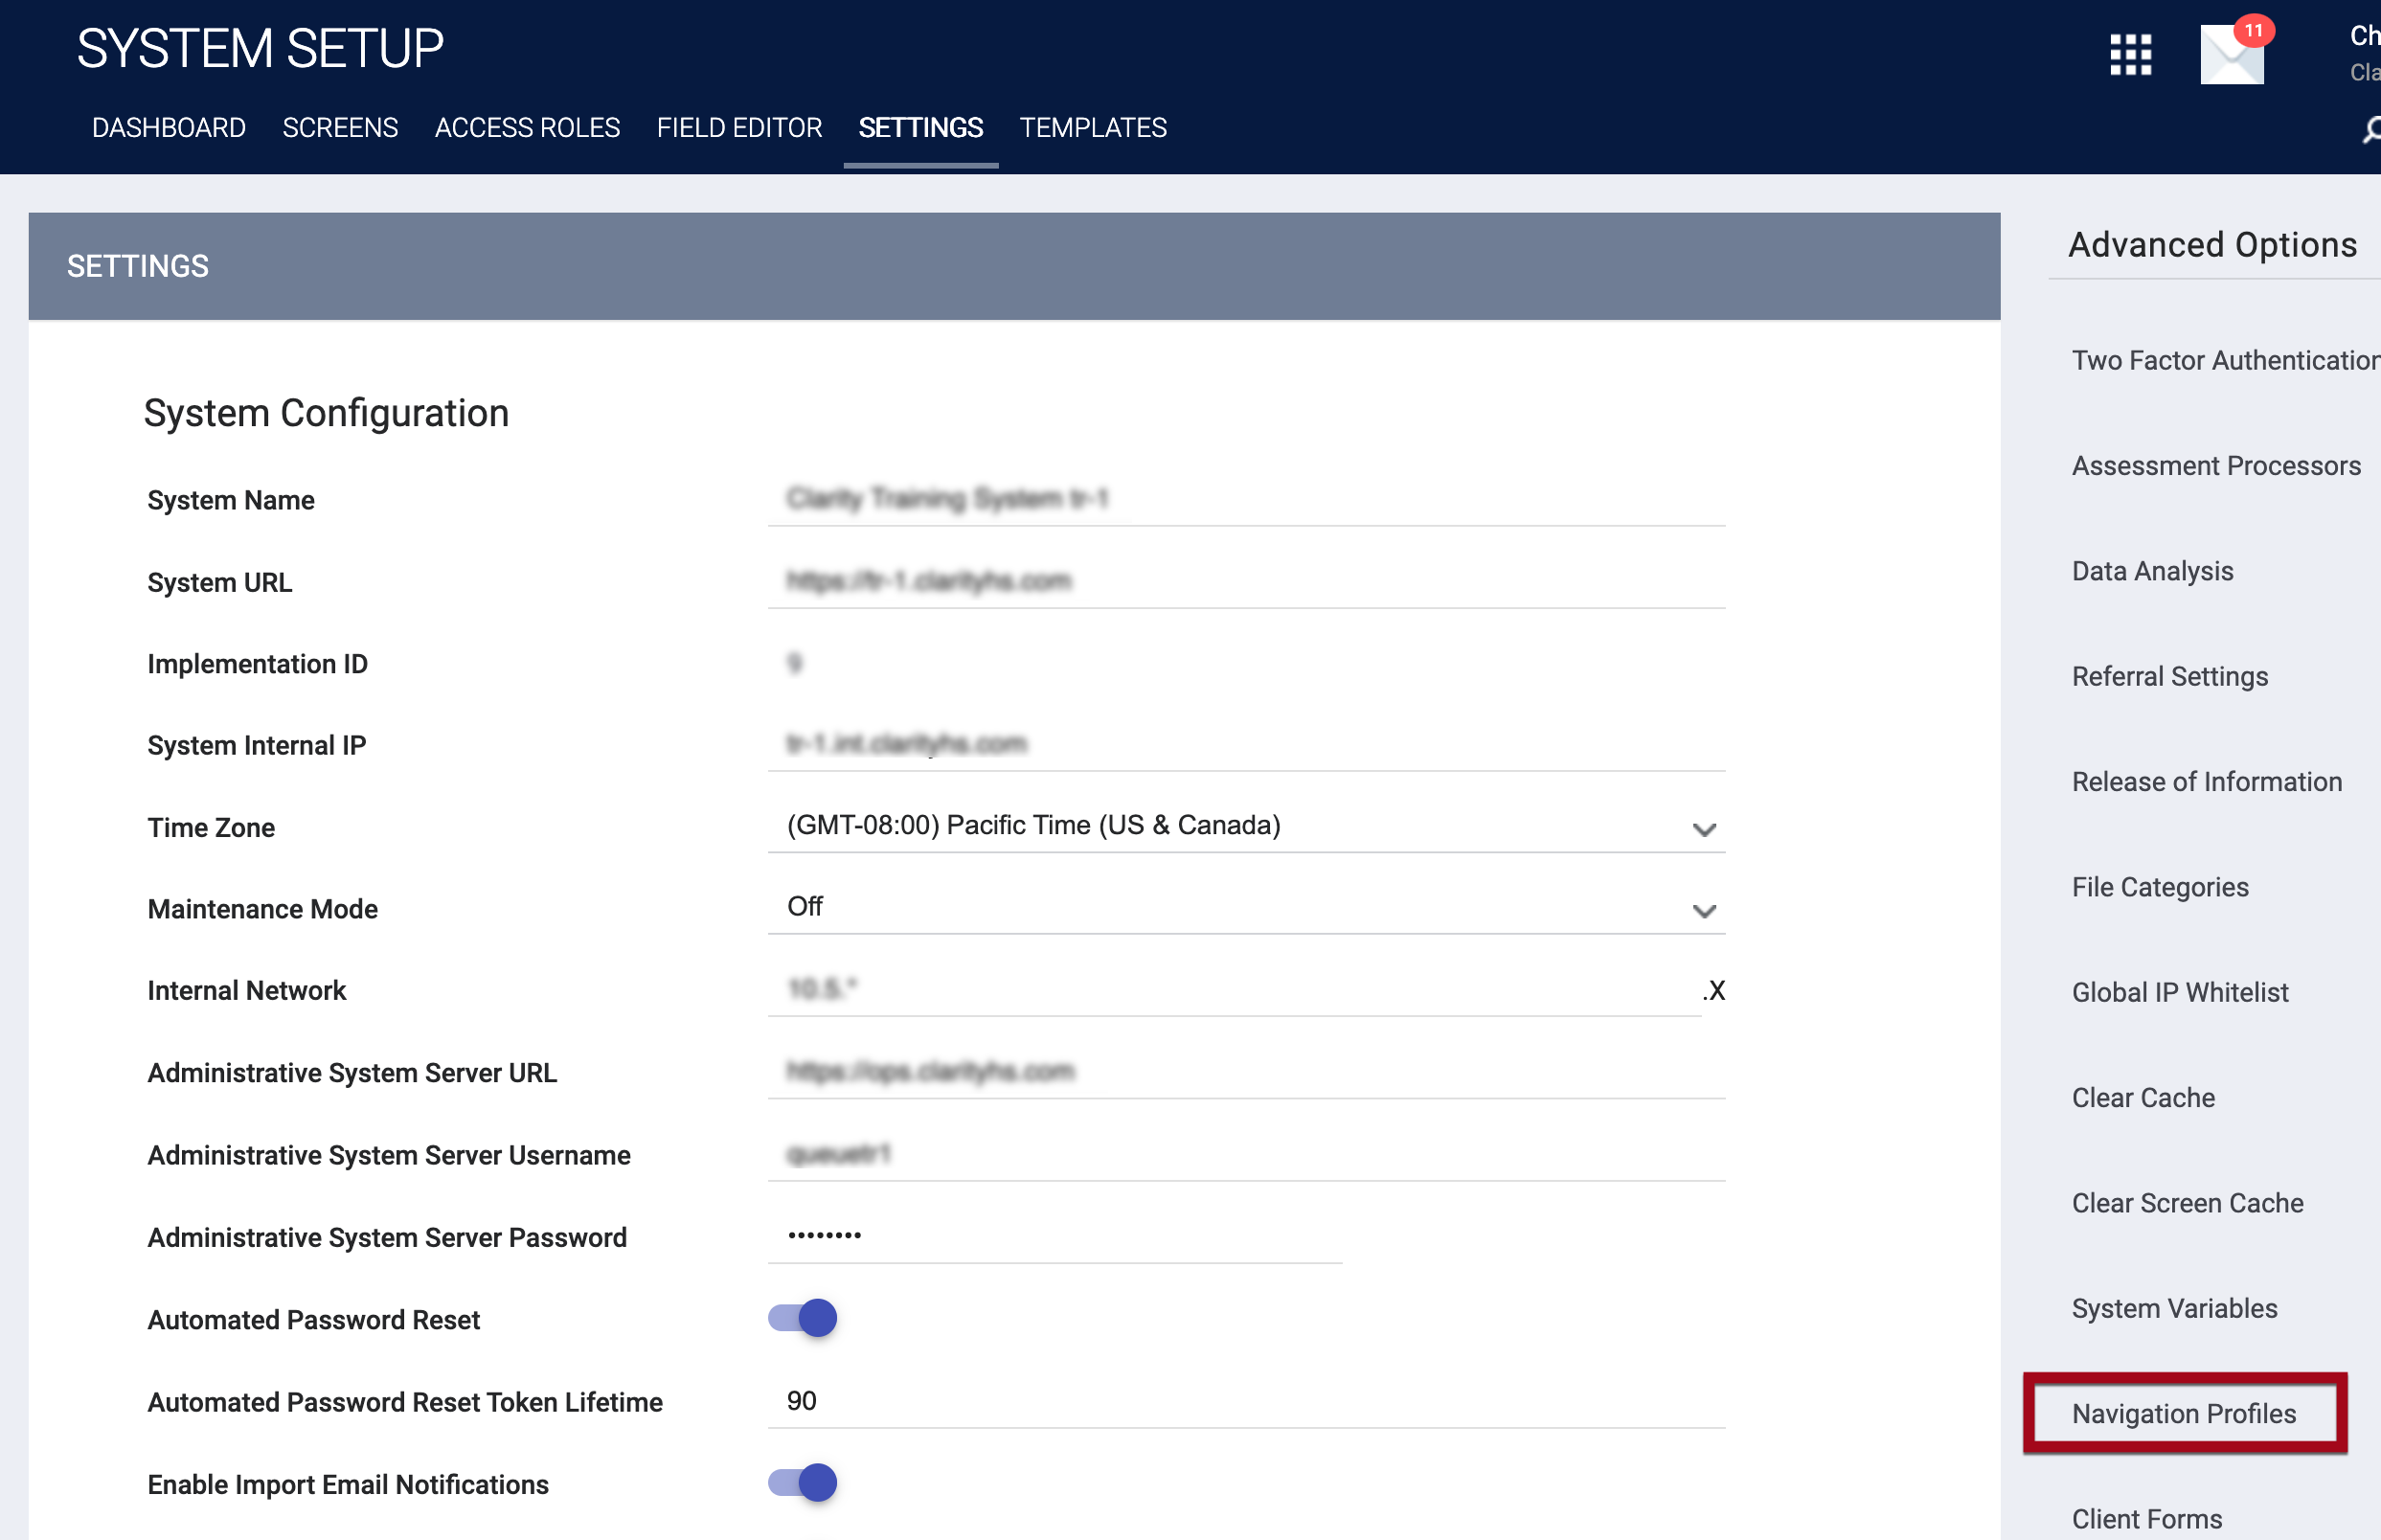
The NAVIGATION PROFILE page will appear.
Default Navigation Profile
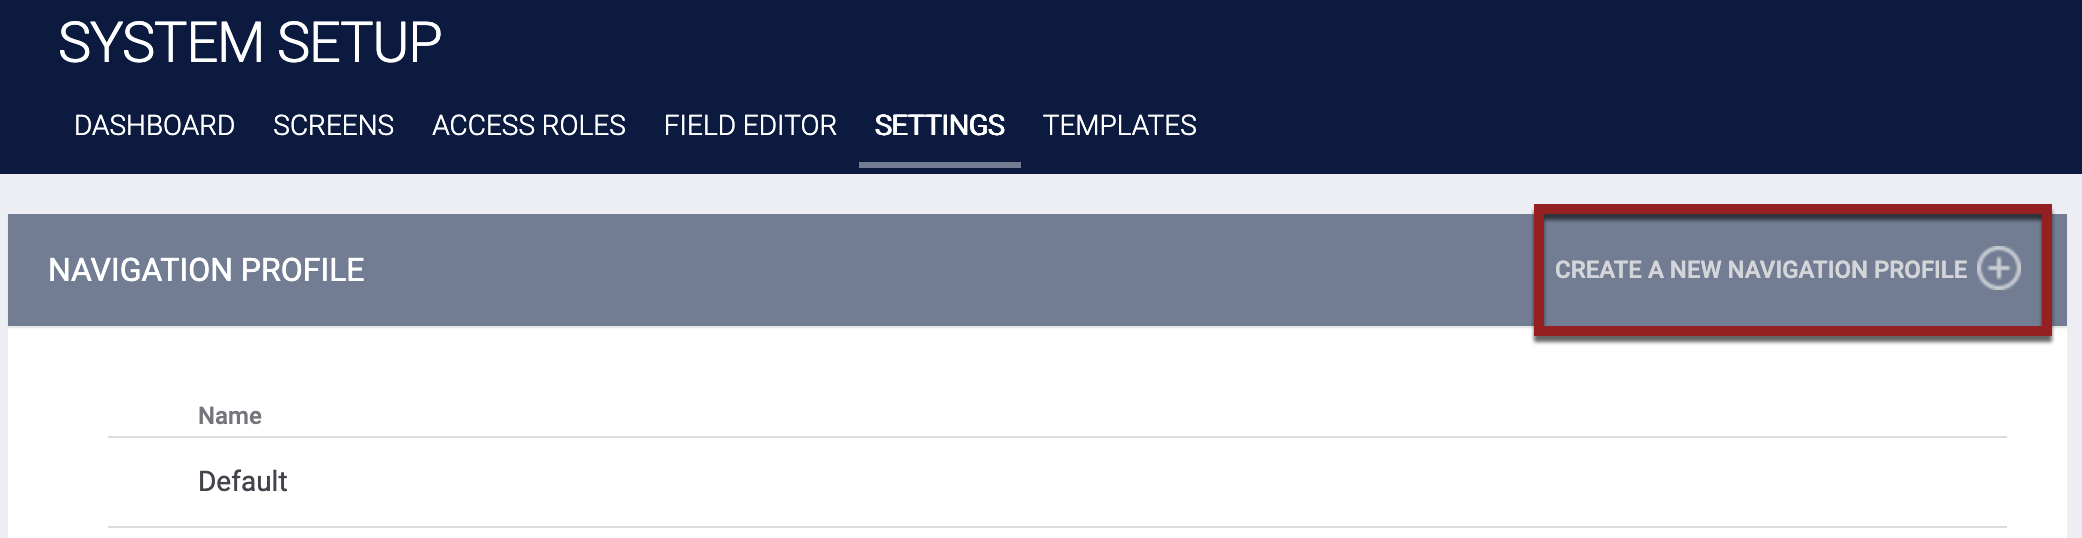
Initially the NAVIGATION PROFILE page includes only a "Default" Navigation Profile, which contains all the available navigation tabs, arranged in a default order. System administrators can click the Edit icon to delete and/or rearrange the tabs as described below.

The Default profile will apply to all agencies in the system unless additional Navigation Profiles are created and assigned.
Creating a Navigation Profile
To create a new Navigation Profile, click CREATE A NEW NAVIGATION PROFILE.
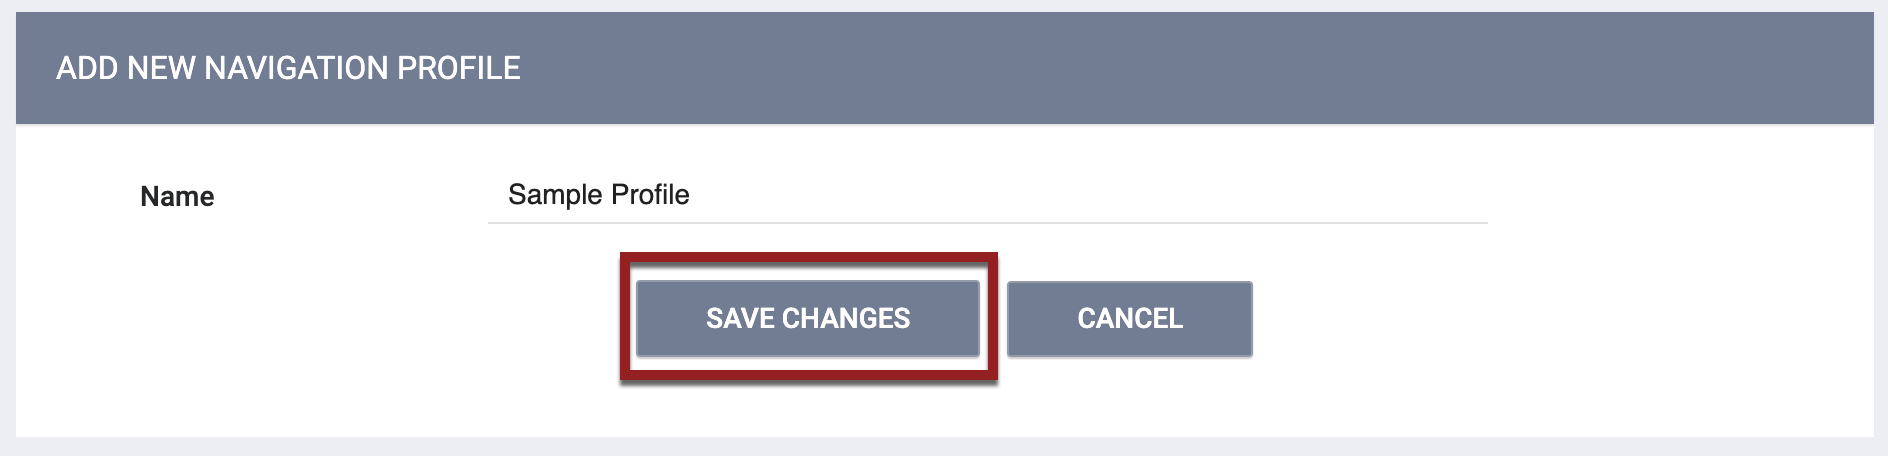
The ADD NEW NAVIGATION PROFILE page will appear. Enter the title of the new Navigation Profile, and click SAVE CHANGES.
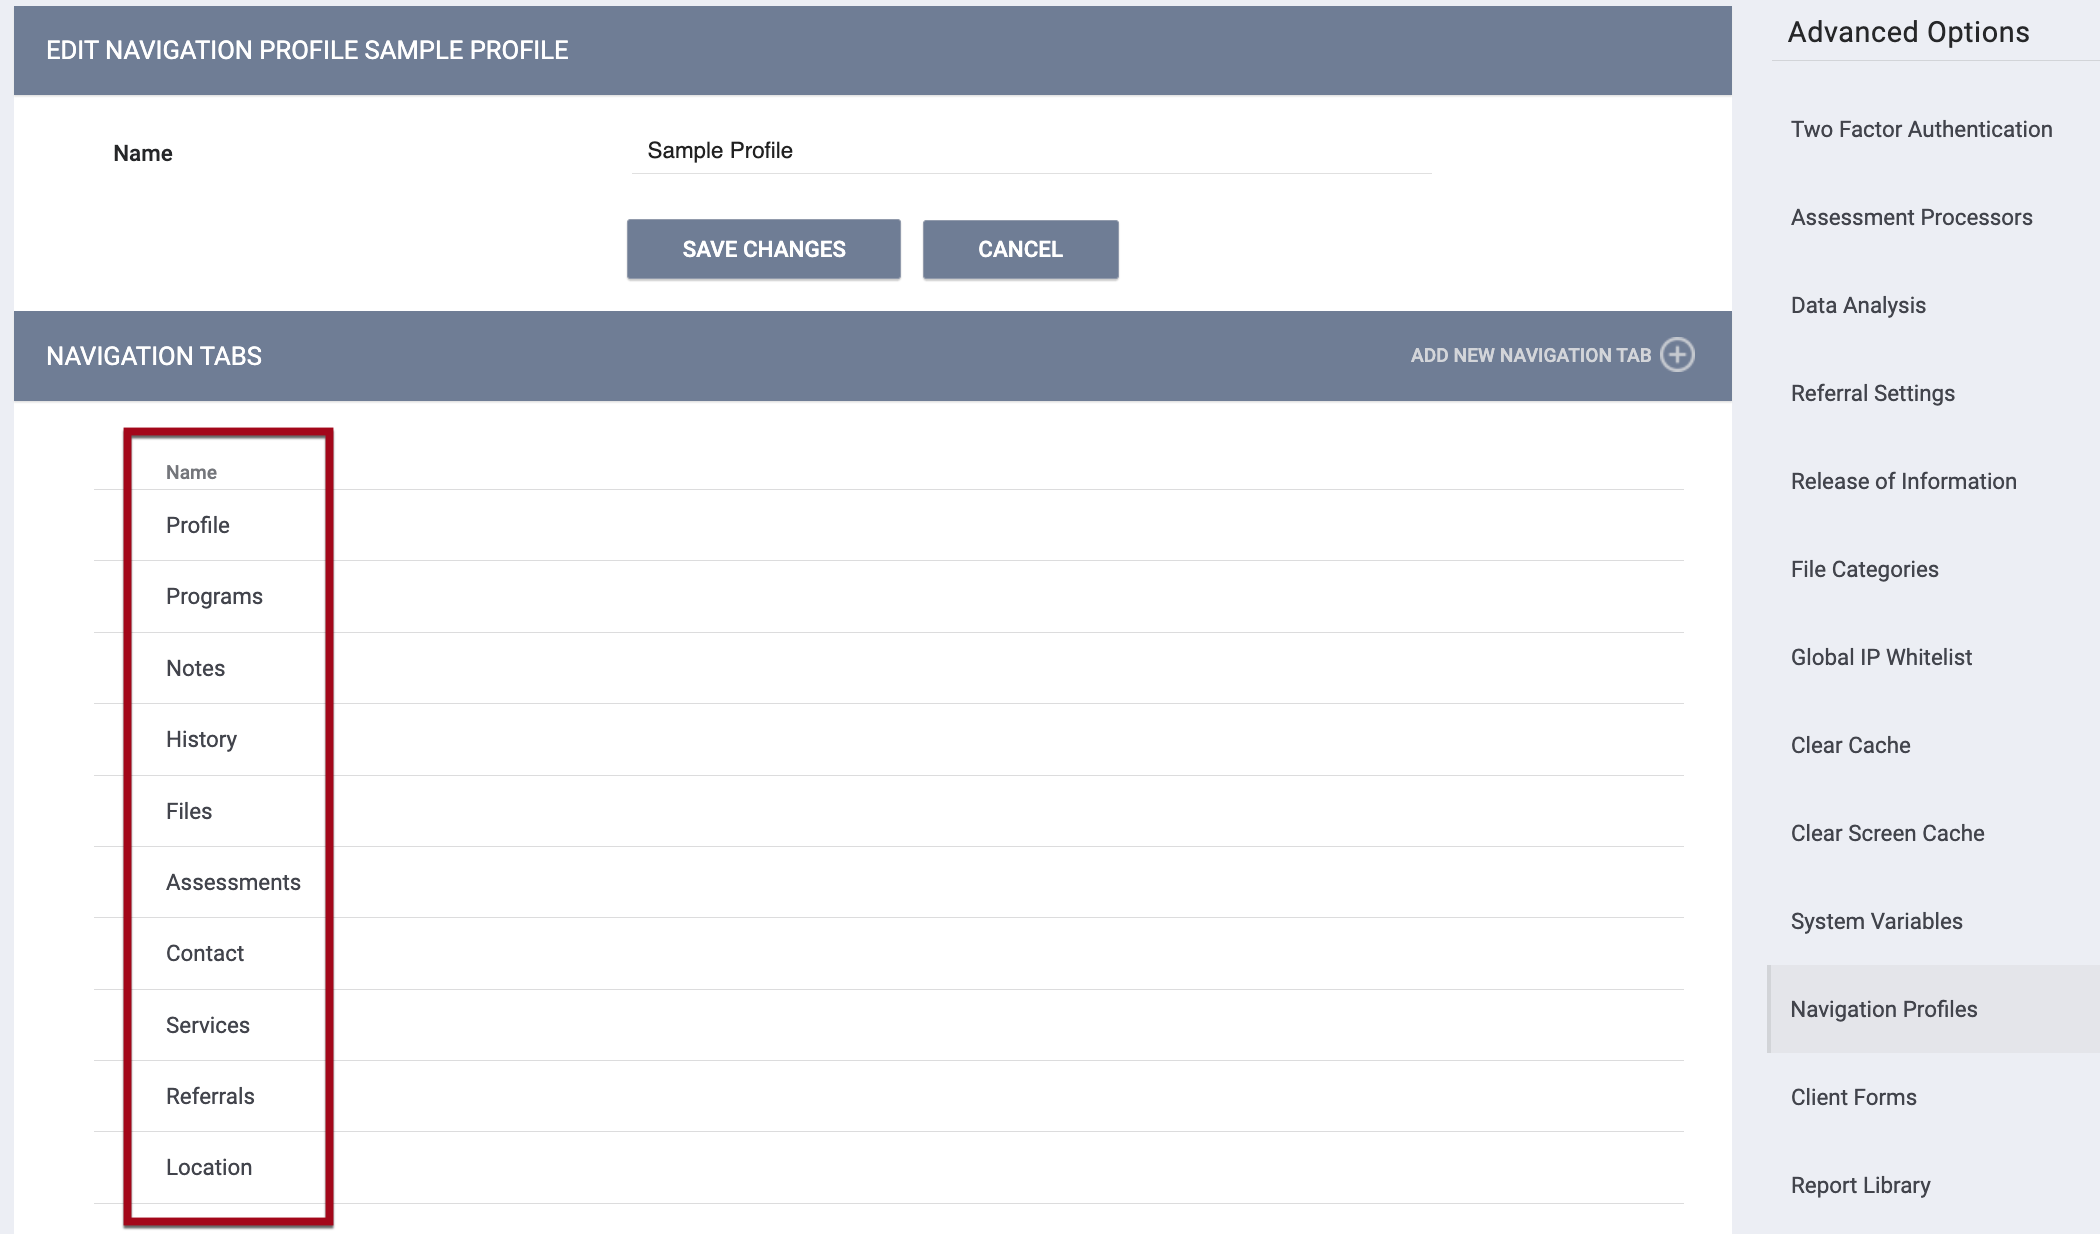
The EDIT NAVIGATION PROFILE page will appear. Initially the profile will contain all of the available tabs, displayed in a default order, but you can edit the profile as described in the next section.
Editing a Navigation Profile
Rearranging the Tabs
Use your mouse to click and drag the tabs into the desired order.
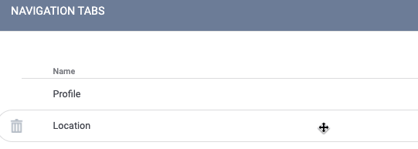
The tabs will appear in the client profile from left to right according to the order in which they are listed in the NAVIGATION TABS section.
Deleting Navigation Tabs
Click the trash can icon next to a tab to delete it from the Navigation Profile. The remaining tabs will be the tabs that appear on the user’s screen.
Adding Navigation Tabs
To add a navigation tab back into the new Navigation Profile, click ADD NEW NAVIGATION TAB.
The ADD MENU ITEM pop-up screen will appear. Select the desired navigation tab to add.
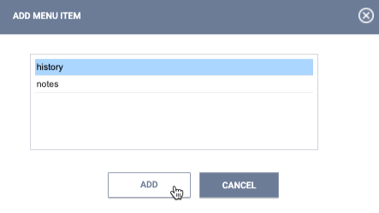
An empty ADD MENU ITEM pop-up indicates that all available tabs have already been added to the Navigation Profile.
Note: If you click SAVE CHANGES on the EDIT NAVIGATION PROFILE page without making any changes, the system will not display the green "Changes successfully saved" banner and will not update the last_updated and ref_user_updated fields.
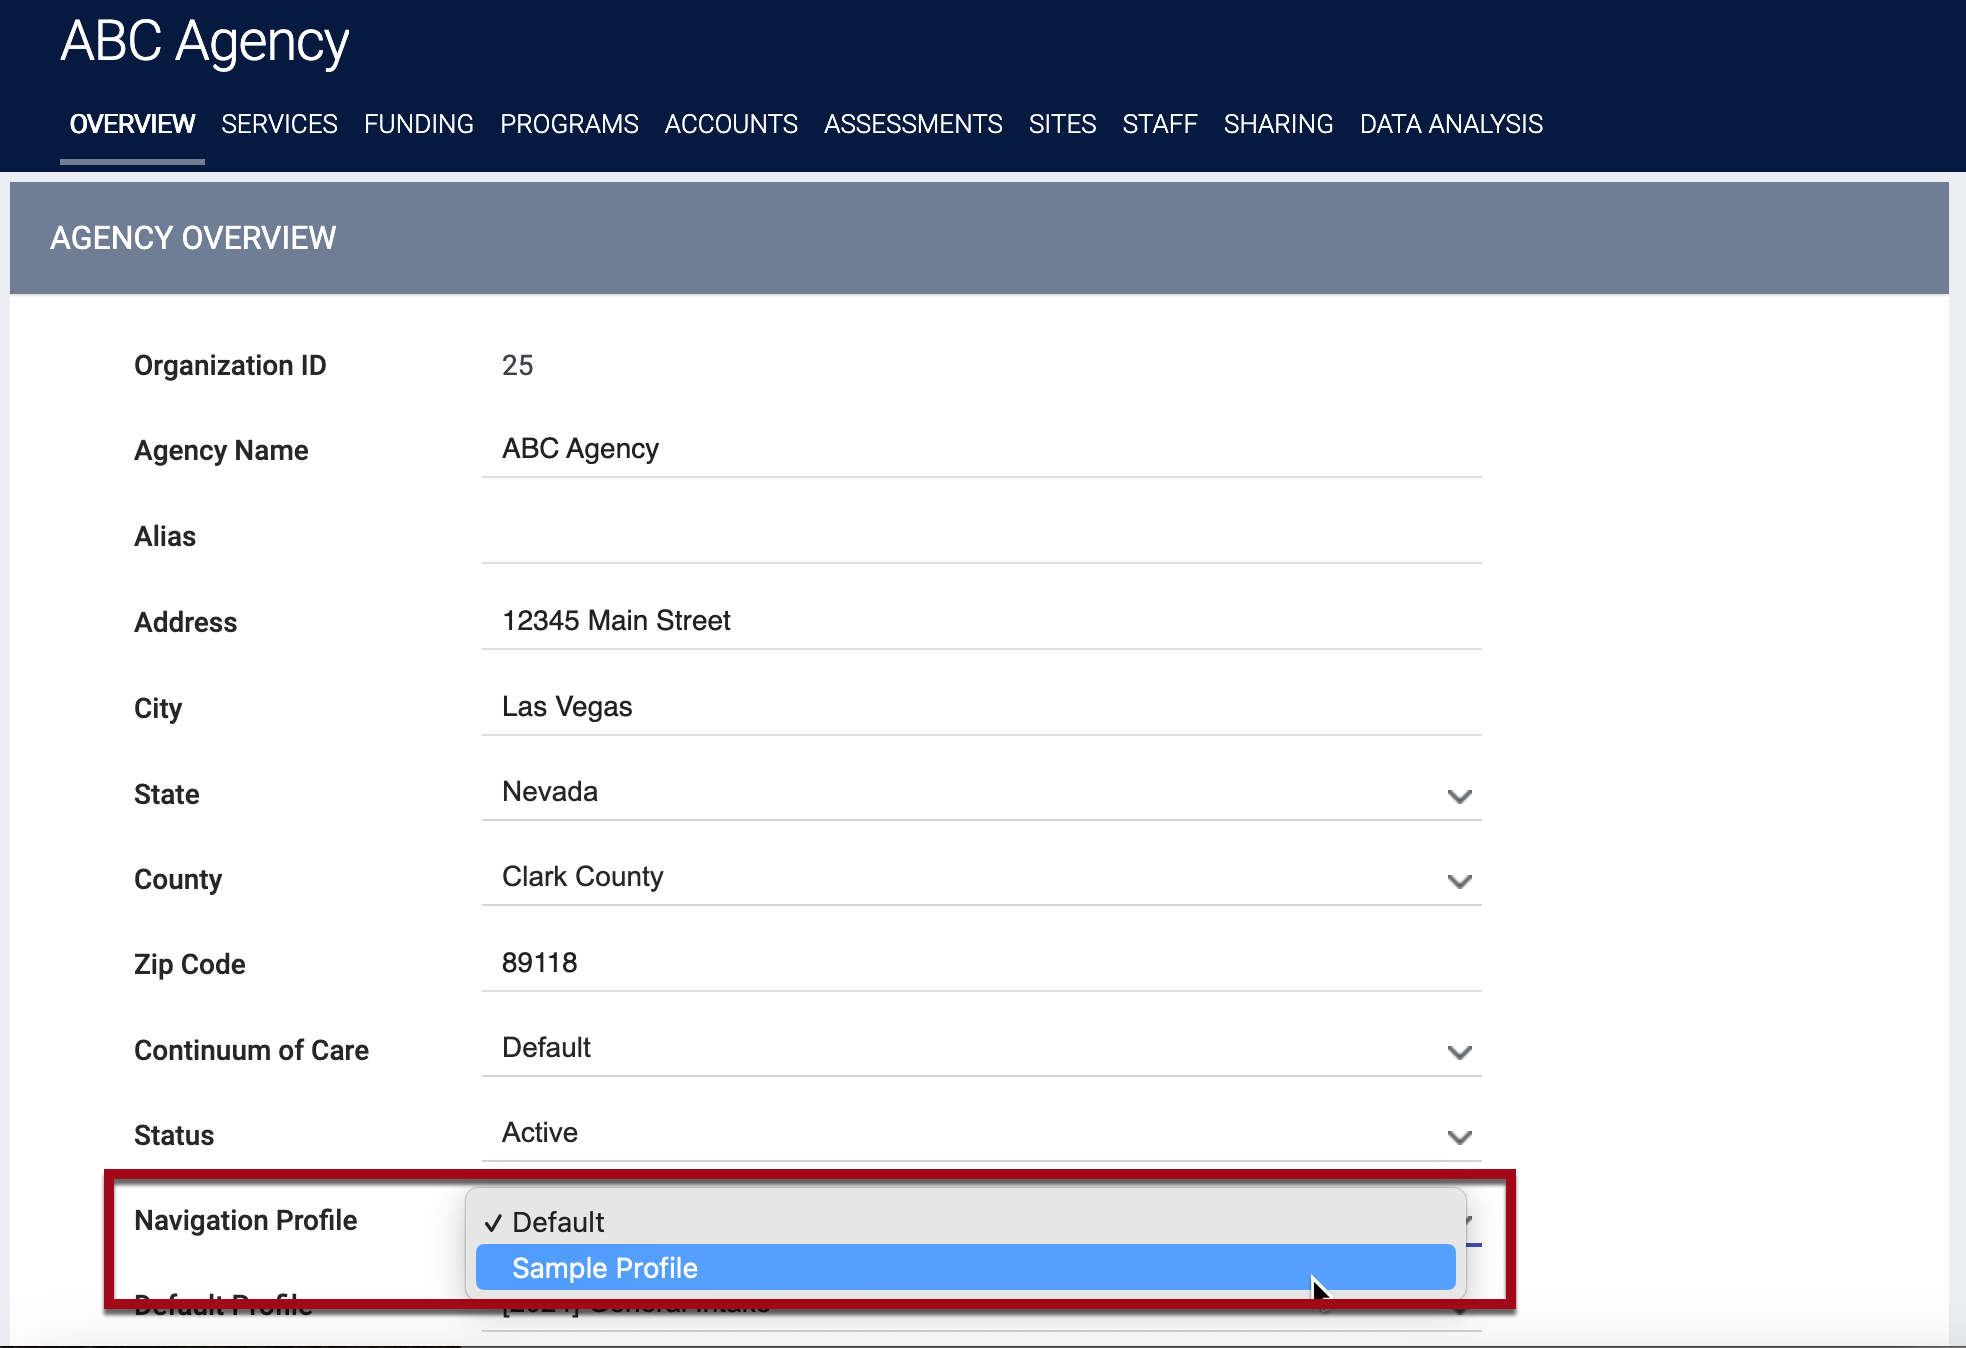
Assigning a Navigation Profile to an Agency
To assign a Navigation Profile to an agency, navigate to MANAGE > OVERVIEW to access the AGENCY OVERVIEW page. Select the desired profile from the Navigation Profile drop-down, then click SAVE CHANGES.
Updated: 10/23/2023