Overview
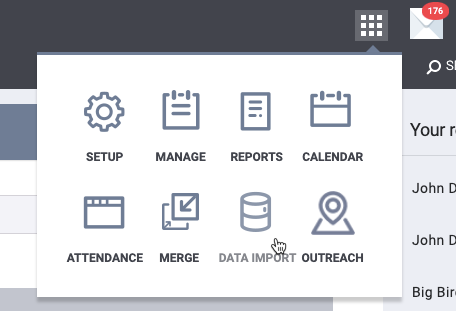
To access the Data Import Tool (DIT), your user account must be assigned an Access Role with Data Import enabled. To use the DIT to import data, click the Launchpad, and click Data Import.
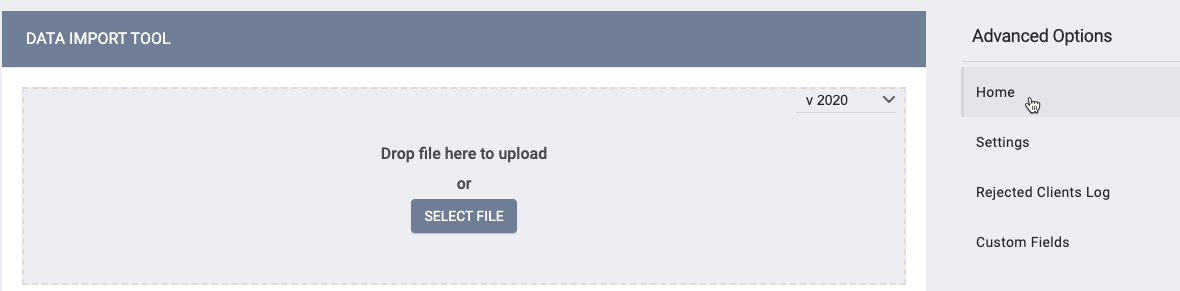
You can access the different sections of the Data Import Tool under Advanced Options.
Home
Files are imported to Clarity Human Services from the Home page.
For more information on the process of importing data using the DIT, see Importing Data Using the Data Import Tool (DIT).
Settings
The Settings page includes three DIT configuration options: Client Matching, Allow Custom Fields, and Validation Errors Limit.
Client Matching
The Client Matching setting determines if and how the system merges imported client records with existing records in Clarity Human Services. Client matching looks at the following fields in the client record: First Name, Last Name, Date of Birth, and Social Security Number. The Client Matching options are:
- Regular Matching - the system matches imported client records with existing records in the Clarity Human Services. If the system identifies a partial match based on a First Name, Last Name, Date of Birth, and Social Security Number, the system updates the existing client record with the client data in the imported file. If a match is not made, a new client record will be created with the file's information.
- Full Matching - the system matches imported client records with existing records in the Clarity Human Services. An exact match of First Name, Last Name, Date of Birth, and Social Security Number are required to import client data. If a match is not made, a new client record will not be created with the file's information.
- No Matching - the system performs no matching during an import. The system creates a new client record in Clarity Human Services, even if a record for the client already exists in the system. This option is typically used during the introduction of client records into a new instance.
For a more detailed explanation of the matching options, see Understanding Client Matching Using the Data Import Tool (DIT).
Allow Custom Fields
When this setting is enabled, you can include custom fields in the import file. You'll need to make additional configurations in the Custom Fields section under Advanced Options.
Validation Errors Limit
This configuration sets a limit on the number of validation errors the system reports during an import. If you're importing a large file, data validation can take an extended amount of time. Typically when validation errors occur, they are caused by a small number of distinct errors; however, the errors can be repeated several hundred times.
When a limit is set, the validation process stops when the configured number of errors is met, allowing you to resolve those issues throughout the file without waiting for the entire dataset to be validated.
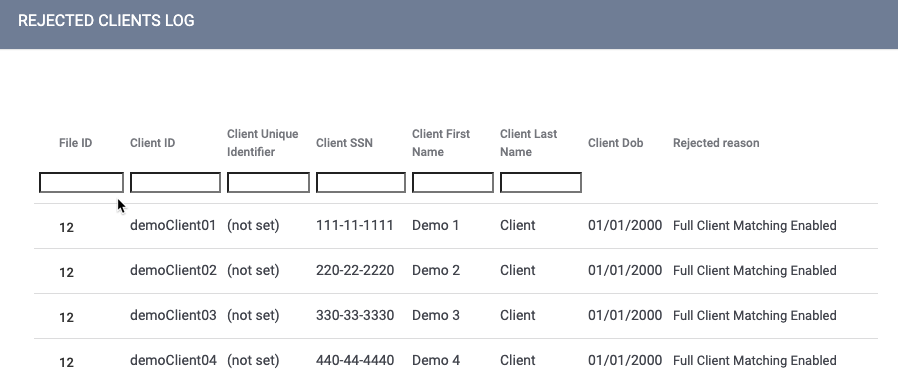
Rejected Clients Log
The Rejected Client Log page displays information about client records that were rejected in previous imports. You can search using several fields.
Custom Fields
The Custom Fields functionality allows you to import data beyond the HMIS XML schema fields. For example, if a legacy system contains a field that does not exist in Clarity Human Services, a system administrator can create the field in Clarity Human Services and you can add it in the Custom Fields section.
Note: the Custom Fields functionality only works with HMIS XML imports.
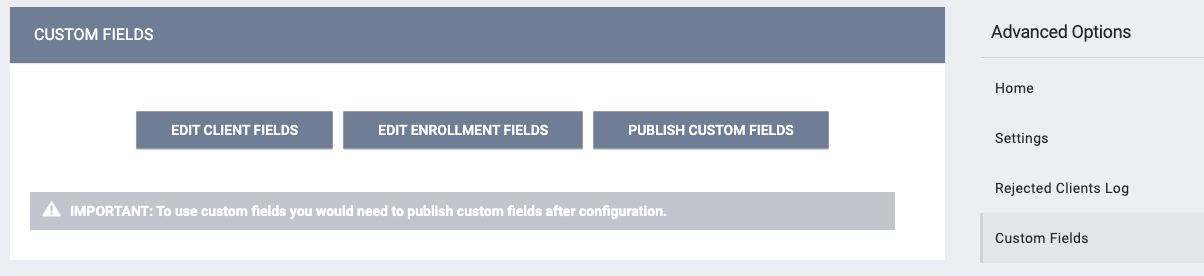
The Custom Fields page contains three sections:
- Edit Client Fields
- Edit Enrollment Fields
- Publish Custom fields
Edit Client Fields
The Edit Client Fields section allows you to choose Core and Custom client record fields to include in the import.
Edit Client Fields Core CustomToggling on Enable All Fields includes all client-related fields that are not included in the XML schema. Use caution with this setting if you have a large number of custom fields.
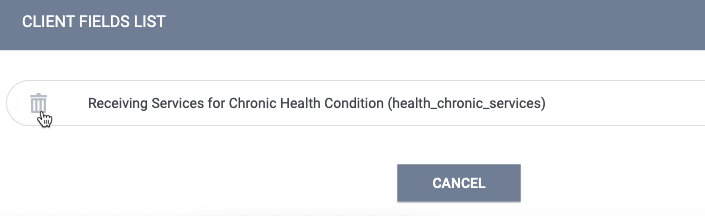
Alternatively, you can include individual fields in the Client Fields section by searching for the field. To remove a field, click the delete icon that appears when you hover over the field.
Edit Enrollment Fields
Similar to the Edit Client Fields section, except fields selected in the Edit Enrollment Fields section only looks at fields within screens associated with enrollments (Program Enrollment, Program Status, and Program Exit screens).
Publishing the Clarity XML Schema
In order for your Clarity XML Schema to appear at https://[your_instance_name_here].clarityhs.com/data-import/schema, the schema must be published first. Regardless of whether you decide to publish any custom fields for use by the DIT, users must enable the Allow Custom Fields setting and click PUBLISH CUSTOM FIELDS in the Custom Fields section to populate the URL. Then, users may obtain an unmodified schema with no custom fields from "here" to share with your upload partner agencies.
- Turn Allow Custom Fields to ON in DATA IMPORT > Settings (even if you won't be adding any custom fields) and click SAVE CHANGES.

- Configure custom fields by clicking Custom Fields in the Advanced Options menu.

- If using custom fields, edit the fields using EDIT CLIENT FIELDS and/or EDIT ENROLLMENT FIELDS first, and then click PUBLISH CUSTOM FIELDS. A link for the published schema appears below the button when you click on here.

- If you do not wish to use custom fields, simply click on PUBLISH CUSTOM FIELDS first and then here. This will generate the link (at https://[your_instance_name_here].clarityhs.com/data-import/schema) to retrieve the Clarity XML Schema.

Updated: 09/24/2025