This article is for the current interface. For the new Clarity interface article, see Working with Forms in the Client Record (New Clarity Interface).
Overview
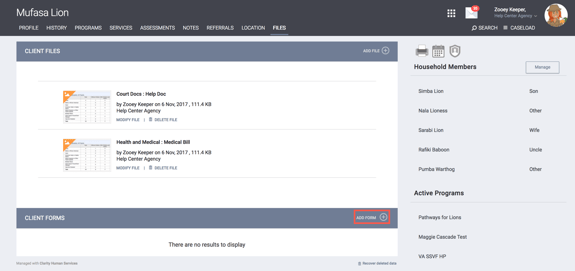
Users can add, view, and manage forms from the Forms tab in the client record and from the Forms tab within a client's program enrollment.
Uploading a Client Form
To upload a client form, click ADD FORM. After completing the form, click SAVE to return to the FILES tab.
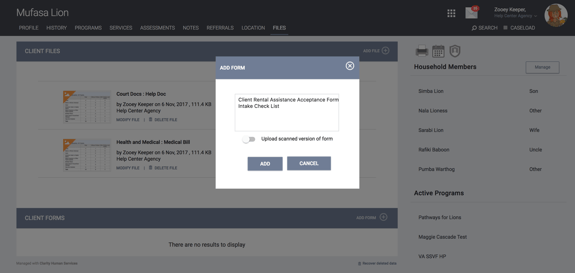
A pop-up box will appear listing the form options for your particular agency. Click on the form you require from the list, then click ADD. Selecting an option will automatically bring up the form associated with that option.
Creating an Electronic Signature
Some forms require a client signature. Clarity Human Services has electronic signature capability. After selecting the appropriate form from the dropdown menu in the pop-up box, select OK. The form will appear.
The electronic signature can be created with a computer mouse or finger pad. In the field, the client can use their finger to create their signature on the mobile device. If needed, you can select RESET to redo the signature. You will not be able to save the form until a signature is applied to the electronic signature field.
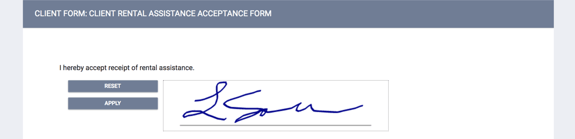
Note: After adding a signature, you must click APPLY to save the form.
Saving a Form
End users with access to forms will now have the option to:
- Save & Create PDF
- Save Draft
- Cancel

When Save & Create PDF is selected, the form saves with no option to edit it later. This option creates a final PDF file. The form can be deleted by those users with the appropriate access.

When Save Draft is selected, the form saves with an option to open and modify it later. The draft form can be deleted by those users with the appropriate access. Signature fields are not required when a user saves a draft, but signatures can be saved on a draft form. Once the draft is saved, the form is In Progress until it has been completed.

Users can save and print a form while it is still in progress. A PDF icon next to the Delete and Edit icons can be used to open a PDF file in a new tab. Users who have the ability to see the form based on sharing settings can see the PDF icon.
Once an In Progress form has been completed and Save & Create PDF has been selected, the “In Progress” and “Print” no longer appear in the CLIENT FORMS section of the FILES tab.

Uploading a Scanned Document
The process for uploading a scanned document is similar to that of uploading a client file. Select ADD FORM and toggle on Upload scanned version of form.
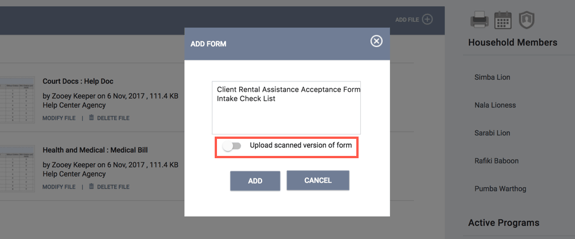
The ADD SCANNED FORM page will appear. Here you can Select File, or if your system is not compatible with the advanced upload, you can choose the Basic Uploader. After selecting the appropriate file, click ADD RECORD.

Privacy
Forms have a Private toggle available when a user is completing a form, and also after it is saved.
On ADD CLIENT FORM page:

On CLIENT FORMS section of the FILES tab:

Updated: 04/24/2026