Note: This article pertains primarily to users with System Administration level access to Clarity Human Services.
Video Resources
This resource is also part of our Clarity Shield course. For more information, please watch the complete course at Bitfocus Training.
Table of Contents
- Introduction
- Glossary
- General Notes
- Sign-In User Workflow Updates
- Licensing Limit Expansions
- User Provisioning (SCIM)
- System Logic for Provisioning Users
- Notes about Creating an App in IdP
- Setup within Clarity Human Services
Introduction
Clarity Shield allows users to implement Single Sign-On for their instance using an approved SSO app. There are two steps to configuring Clarity Shield:
- Bitfocus enables Clarity Shield for the instance.
- The customer then configures the connection through their chosen identity provider (IdP) application using the instructions in this article.
Note: This article will not address items specific to IdPs.
Glossary
Identity Provider (IdP): a service that stores and manages user identity information.
SCIM (System for Cross-domain Identity Management): a method for automating the creation of user accounts.
SSO (Single Sign-On): a way for users to access multiple software applications using a single set of login credentials.
General Notes
- Instances can connect to one or more IdPs.
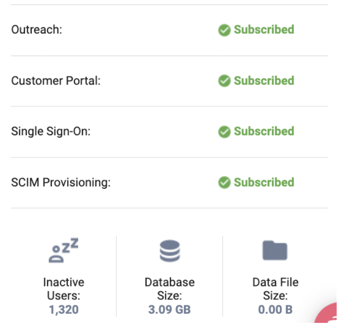
- SSO and user provisioning (SCIM Provisioning) will be visible within the subscription panel.
- When an API key is generated for IdP integration, this API key will not be visible within Clarity after initial creation. If the API key is lost, a new key must be generated and IdP connections updated.
- If Multi Factor Authentication (MFA) is turned on in the external IdP, it is recommended Two-Factor Authentication (2FA) is turned off in Clarity.
Sign-In User Workflow Updates
The workflow for the end user will depend on the selection made for the Enforce SSO setting described below:
1. If Enforce SSO toggle = "Required":
- The initial Clarity login screen will display "Email Address" and will no longer display "Username," "Password," and "Forgot Password."
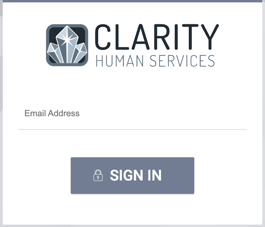
- After entering their associated email into the email field, a user should select the SIGN IN button; the system will then check the validity of that email address. If the system cannot find a user with that email address, the page will say, "Unable to log in. Please reach out to your System Administrator."
2. If Enforce SSO = "Disabled" at the instance level, the user login workflow remains as it is now.
3. If Enforce SSO = "Optional":
- The login page has an email field only.
- When a user enters an email address and clicks the SIGN IN button, the system checks the agency setting and then gives the following options: password, SSO, or both, depending on the Enforce SSO setting of the user's primary agency.
When Multiple IdPs are enabled for an instance, buttons will appear for each connected IdP and will be centered and listed alphabetically by the IdP name.
If the system has only one IdP, the system shows a "Login with SSO" button.
Licensing Limit Expansions
An SSO Primary Contact field appears in SETUP > SETTINGS > Account Settings.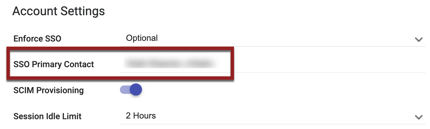
This field functions similarly to the "Agency Notification Contact" search feature, in which any user with Role Type = Admin can be added as the SSO Primary Contact. The user designated as SSO Primary Contact will receive SSO-related notifications from the system.
If "Self-Service License Purchase" is enabled for the instance, the system creates an active user and sends a notification to the SSO Primary Contact.
If the "Self-Service License Purchase" is disabled for the instance, the system prohibits creating a new user via API, and the system sends a notification to the SSO Primary Contact that the user wasn't created.
User Provisioning (SCIM)
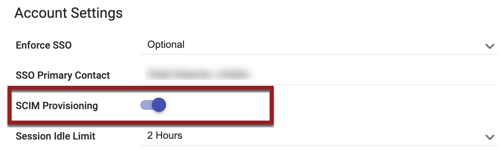
- When "SCIM Provisioning" is enabled for an instance, a SCIM Provisioning toggle will be on the SETUP > SETTINGS > Account Settings page, located underneath the SSO Primary Contact field. The default setting is OFF.
- When SCIM Provisioning = Enabled, there will be a "SCIM Provisioning" section within SETUP > SETTINGS > Advanced Options > IDP Connections.
- The System Administrator can Enable/Disable SCIM Provisioning. Disabling SCIM automatically revokes the current key.
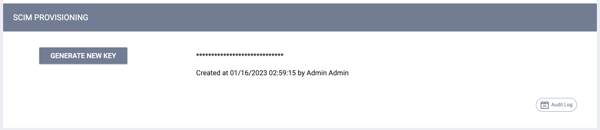
When SCIM is enabled, the system displays within the SCIM PROVISIONING section either:
- The redacted API key, the user/date it was created, and a GENERATE NEW KEY button.
OR - A GENERATE API KEY button
- When generating a new key, the full key is displayed for one time only, along with a "copy" button.
- After GENERATE API KEY is clicked, the system shows a pop-up warning.
System Logic for Provisioning Users
Email addresses will be used as the source of truth. Any mismatches/duplicates within Clarity Human Services should be addressed by the community/instance.
- If a user already exists in Clarity with a specific email address, the IdP and the Clarity records connect.
- If a user already exists in Clarity, but the email address in the IdP is different from the email address in Clarity, then a new Clarity account is created.
- Once an IdP record is associated with a Clarity user, if the email address of the IdP record is updated, the Clarity user account will be updated as well.
- If the IdP tries to update an existing connection to an email address that already exists in Clarity, then an error will be returned to the IdP.
- For example, there are 2 Clarity users with user@email.com and user2@email.com, and the original IdP is connected to user@email.com. If the community tries to update the email on the account in the IdP from user@email.com to user2@email.com, they will be unable to do so because user2@email.com is already a user within Clarity.
- Deleting a user in the IdP will function just like deprovisioning, making the user record in Clarity = inactive.
- When a nickname is mapped to a Clarity username, the system will filter to just these symbols: A-Za-z0-9. For example, an IdP nickname of "test_cre...ate" will be converted to "testcreate" within Clarity.
- Clarity will attempt to match the roles in the IdP to User Roles in Clarity. If there is no exact match, the user will be auto-assigned an Identity Provider Created User role in Clarity.
Notes about Creating an App in IdP
- Generate API token in Clarity Human Services.
- Create an app in the IdP and assign users and groups.
- In the app, set up single sign-on:
- Identifier (Entity ID):
- https://{instance}/saml/metadata
- Reply URL (Assertion Consumer Service URL):
- https://{instance}/saml/acs
- Copy for later connection creation:
- Login URL
- Azure AD Identifier
- Logout URL
- Certificate (Base64)
- Identifier (Entity ID):
- Create a connection on the Clarity Human Services side. See {instance}/setup/setting/sso-connection/list and input data from Step 3c.
- Set up application provisioning:
- Provisioning mode: Automatic
- Admin Credentials:
- Tenant URL (note api- prefix):
- https://api-{instance}/scim
- API Token: use the token from Step 1.
- Tenant URL (note api- prefix):
Notes:
- Any updates needing to be made to User accounts provisioned through the identity provider (IdP) will need to be updated through the IdP in order to synchronize into Clarity
Setup within Clarity Human Services
- In SETUP > SETTINGS > Advanced Options > IDP Connections, click CREATE AN IDP CONNECTION:

-
- Enter the Name and add the Metadata File URL.
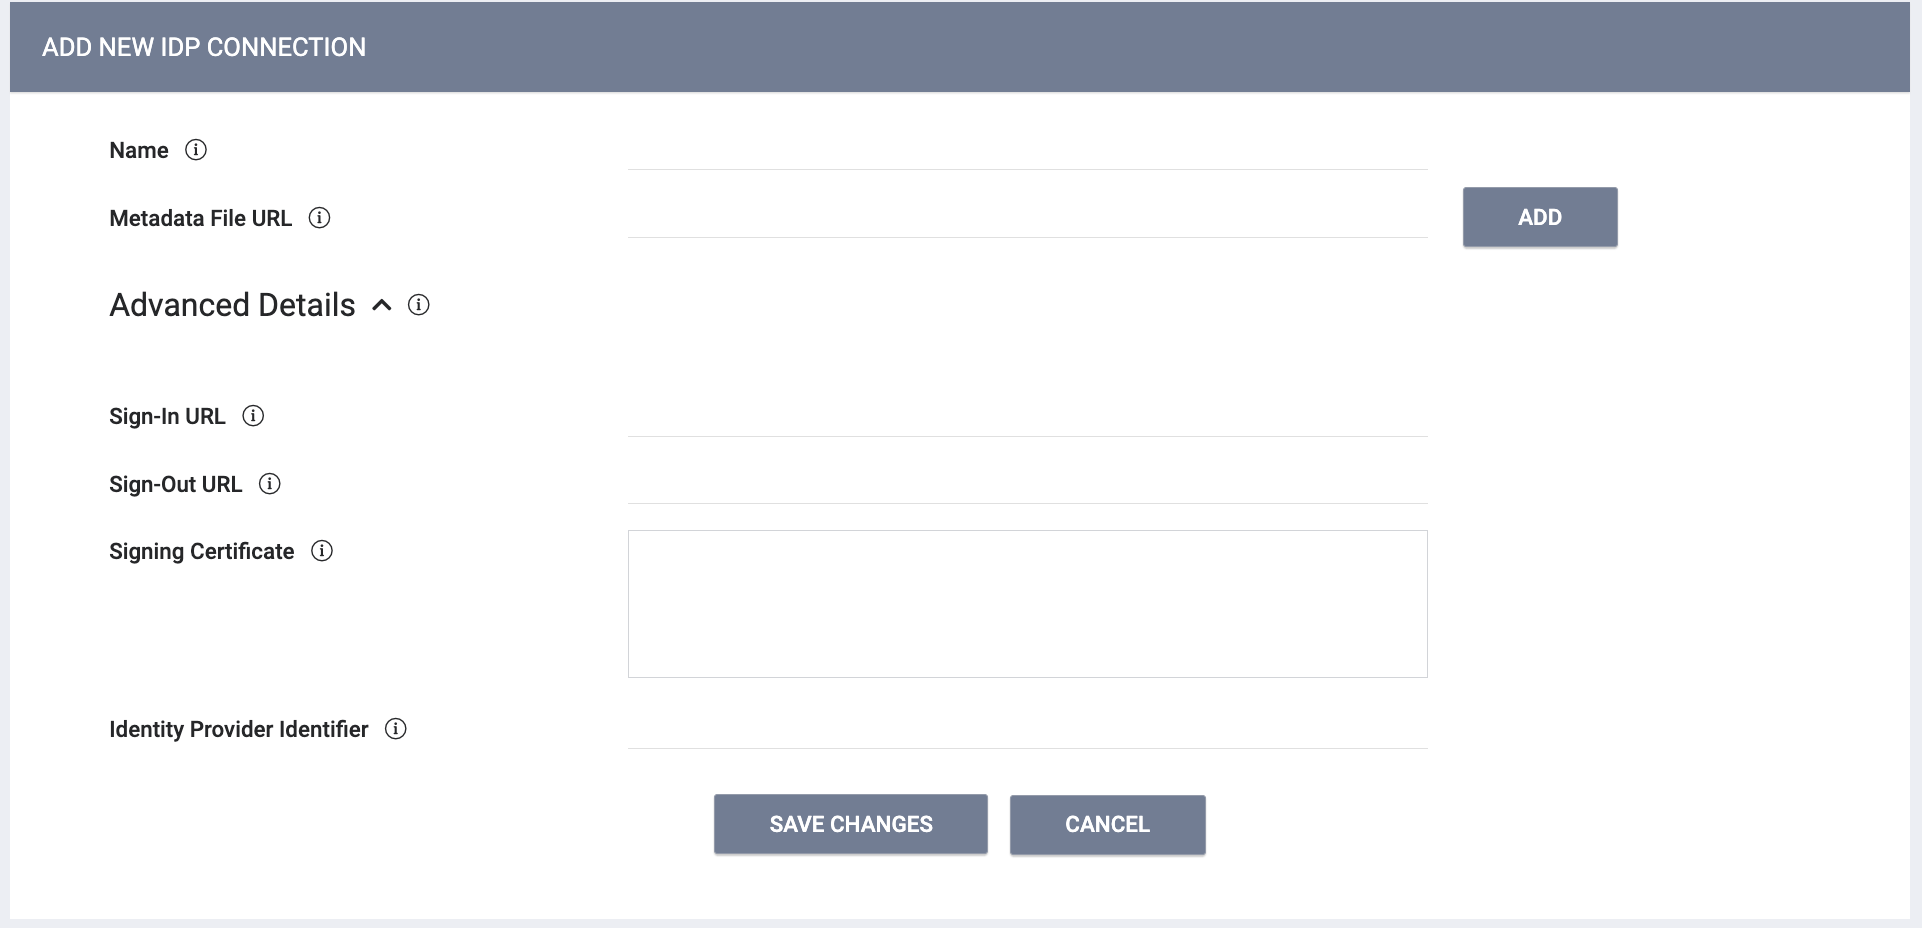
- Under Advanced Details:
- Enter the Sign-In URL
- Enter the Sign-Out URL
- Signing Certificate: Paste the contents of the signing certificate, in X.509 PEM format, from your identity provider. This certificate is used to evaluate the validity of an incoming SAML claim. Paste the entire contents of the certificate, including the BEGIN CERTIFICATE and END CERTIFICATE header/footer.
- Identity Provider Identifier: Specify the attribute within the SAML claim that should attempt to match against an existing administrator. Typically this will be the NAME ID URI as long as your identity provider is configured to send the user's email for the NAME ID value. Otherwise, match against any additional custom attribute provided.
- Enter the Name and add the Metadata File URL.
- In SETUP > SETTINGS > Account Settings, make a selection for Enforce SSO:
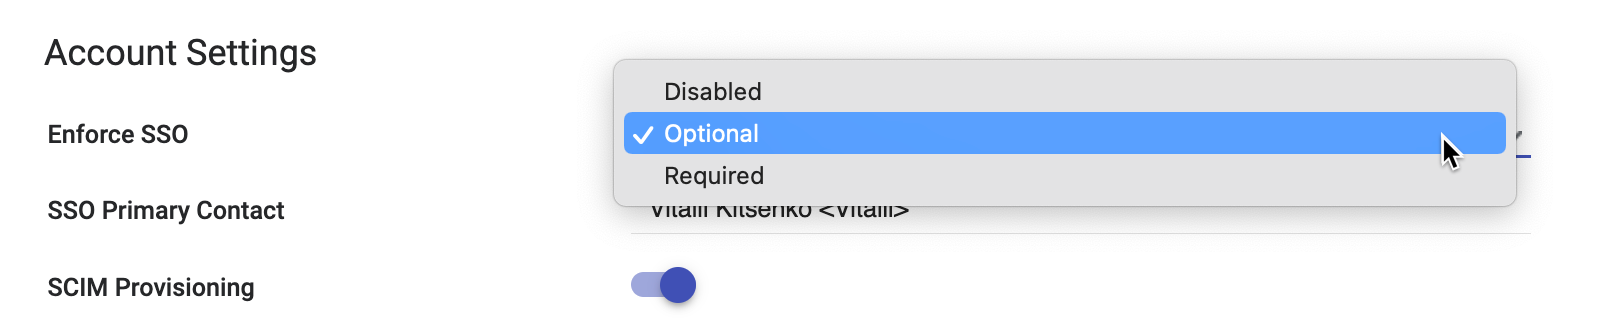
- "Disabled"
- Will also apply to the agency level.
- "Required": SSO will be required for all users in the instance.
- Will also apply to the agency level.
- "Optional": Users accessing Clarity can log in via SSO or email address and password.
- Where Enforce SSO = "Optional" at the System Setup Level, a field will be available on the Agency Overview page that will allow agencies to set Enforce SSO for the users with that agency as their primary agency.
- "Disabled"
Notes:
- We strongly recommend setting SSO to "Optional" while configuring and transitioning to IdP usage.
-
If no IdP Connections have been entered in the system, Enforce SSO will be set to "Disabled" and will be read-only. An information icon will be displayed with a tooltip that says, "IdP Connections must be created prior to updating the SSO Enforced setting."
-
When Enforce SSO is set to "Optional" or "Required," the system requires at least one IdP Connection. If only one IdP Connection is present, the system hides the trash can icon so that the only available IdP Connection cannot be deleted.
Updated: 03/20/2026