Overview
The Accounts functionality also provides the ability to track information associated with employment (wage, employer, position, etc.). For details, refer to Employment Services.
Enable Accounts
To enable the ability to track vendor payments, turn on Enable Accounts when setting up a service item. The ACCOUNT OPTIONS section will appear.
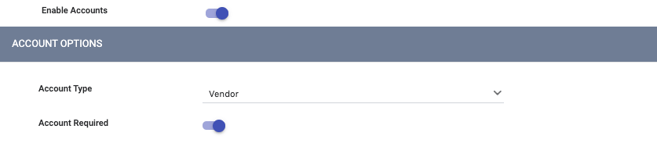
To require the user to make a selection from the Vendor drop-down list when recording this Service Item, turn on Account Required; otherwise, the Vendor selection will be optional.
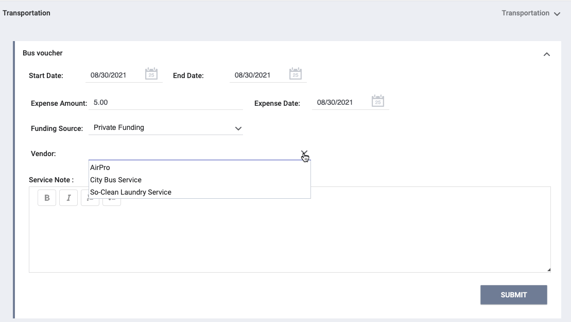
The Vendor list is populated with vendors who have been entered into the system as described below.
Adding Vendors
To enter vendors into Clarity Human Services:
- Navigate to MANAGE > ACCOUNTS.
- Select Vendors from the Account Categories sidebar on the right side of the screen.
- Click ADD VENDOR.

- Complete the fields on the ADD A NEW VENDOR screen.
- Click SAVE CHANGES.
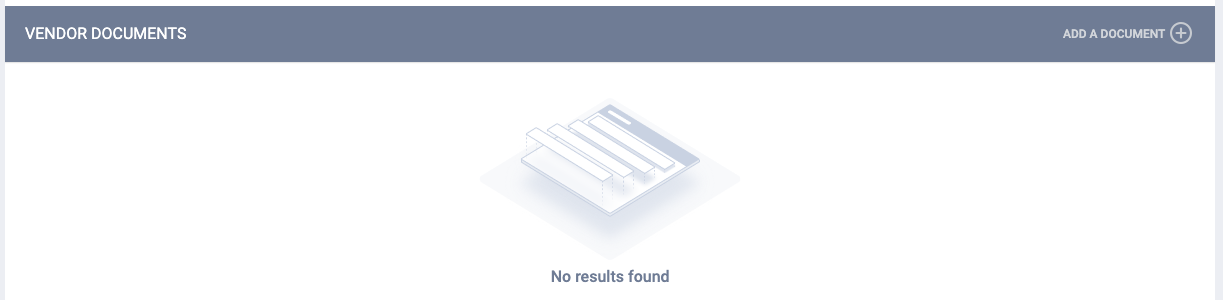
A VENDOR DOCUMENTS section will be displayed. Click ADD A DOCUMENT to upload applicable files (leases, etc.).
Modifying a Vendor
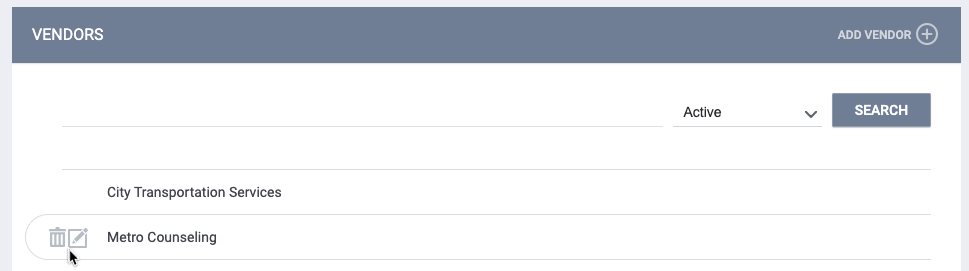
Users with the appropriate permissions can hover over the Vendor to display the trash can and Edit icons.
Editing
Click the Edit icon. The MODIFY THE VENDOR page appears. Edit as needed, then click SAVE CHANGES.
Note: If you click SAVE CHANGES on the MODIFY VENDOR page without making any changes, the system will not display the green "Changes successfully saved" banner and will not update last_updated and ref_user_updated.
Deleting
Click the trash can icon to delete a Vendor.
Updated: 7/31/2023