How Do I Manage Program Goals?
This article explains how to add a goal to a client's program enrollment.
Overview
Program Goals allow staff members to track whether a client accomplished a goal within an enrollment based on demographic, service, or time-based data. To use Program Goals, they must first be enabled for the program.
Getting Started
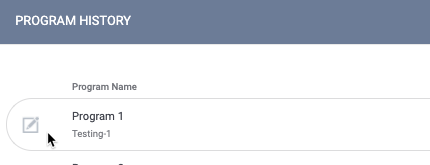
To work with Program Goals, go to the client record PROGRAMS tab and click the edit icon next to the applicable enrollment.

Click the Goals tab within the enrollment.
Adding a Goal
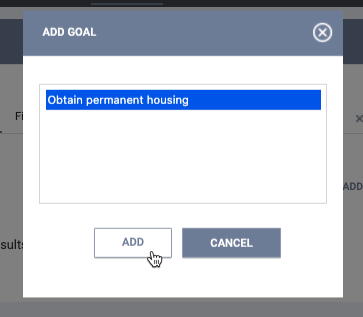
To add a goal to the enrollment, click ADD GOAL.

The ADD GOAL pop-up appears. Select the desired goal from those listed in the menu, then click ADD.

Note: If a program has Default Goals, those goals will automatically be assigned when you enroll a client into that program and will appear under the Goals tab.
The accomplishment of a goal can be documented in three different ways, depending on the Measure assigned to the goal in the Goal Template:
- Demographic-Based: through a program status assessment
- Service-Based: by providing a program service
- Time-Based: after a specified length of time passes
For more information on how goal measures are established, see Goal Templates. If you have questions about the criteria for achieving a specific goal, check with your local system administrator.
A program goal that has been accomplished is displayed with a green check box icon next to the goal.

Recalculating a Goal
Program goals will automatically be recalculated after any of the following actions:
- Adding, removing, or restoring a service.
- Changing data on an enrollment screen.
- Adding, deleting, or editing data on an assessment (status, annual, current living situation, or follow-up).
- Restoring an assessment (status, annual, current living situation, or follow-up).
- Entering or editing data on an exit screen.
To manually recalculate a goal, hover over the goal and click the Recalculate icon.

Deleting a Goal
To delete a goal, hover over the goal and click the trash can icon.

Updated: 05/28/2024