Overview
This article explains how to configure the permissions and settings associated with INVENTORY's dashboard function. For details on how to use the dashboard to view Unit details and locations, refer to our INVENTORY Dashboard article.
Access Role Permission
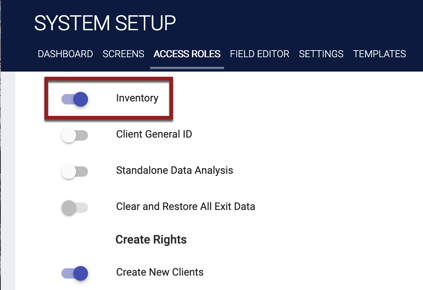
To access the INVENTORY dashboard, users will need to have the INVENTORY access role permission enabled. This permission is available for Admin, Manager, and Enterprise Role Types. Other pre-existing sharing settings will control what users can see in INVENTORY.
Staff Inventory Access
The ability for an agency’s users to view Units in the INVENTORY dashboard is controlled by a Staff Inventory Access setting on the AGENCY OVERVIEW page.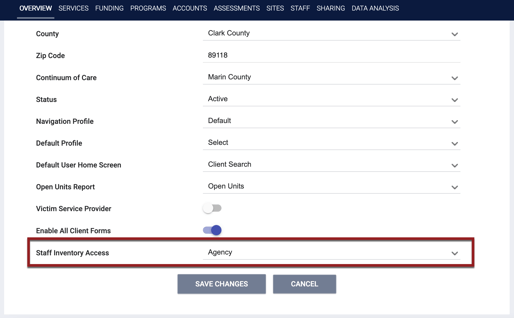
This setting provides a picklist with three options:
- “Agency”: The agency’s users will only be able to see Units in that agency. This is the default selection for this picklist.
- “Coordinated Entry Type”: The agency’s users will be able to see all Units in either the CoC or the Primary Sharing Group, depending on the system’s Coordinated Entry Type setting.
- “System”: The agency’s users will be able to see all Units in the system.
Individual Staff Member Inventory Access
To control an individual staff member’s ability to view Units in the INVENTORY dashboard, use the Inventory Access setting on the MANAGE > STAFF page.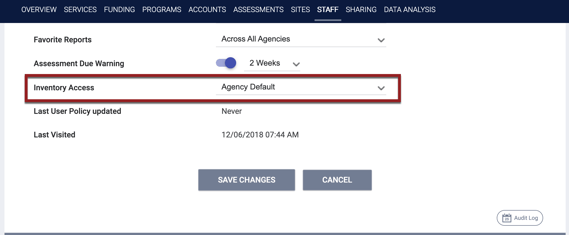
This setting provides a picklist with four options:
- “Agency Default”: The staff member will be able to see Units according to the level selected for the agency’s Staff Inventory Access setting (set on the AGENCY OVERVIEW page). This is the default selection for this picklist.
- “Agency”: The staff member will only be able to see that agency’s Units.
- “Coordinated Entry Type”: The staff member will be able to see all Units in either the CoC or the Primary Sharing Group, depending on the system’s Coordinated Entry Type setting.
- “System”: The staff member will be able to see all Units in the system.
Offline Reason Picklist Options
When users add an Offline status for a Unit/Bed, they must select an Offline Reason, which initially just contains an "Other" option.
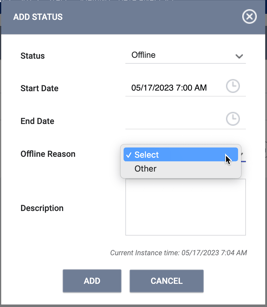
To provide users with options in addition to “Other,” you can edit the offline_reason field in FIELD EDITOR to add picklist selections that are appropriate for the community, such as the examples shown below.

Custom Fields
System Administrators may create Housing Inventory Custom fields and add them to Housing Inventory screens to identify specific attributes of an INVENTORY entity, such as whether a Building allows pets, or whether a Unit has a washer/dryer. Refer to our INVENTORY Setup Best Practices article for additional details.
After creating a Housing Inventory Custom field and adding it to the appropriate Housing Inventory screen, turn on the field’s Display on Inventory Card toggle in the SCREEN FIELD EDITOR.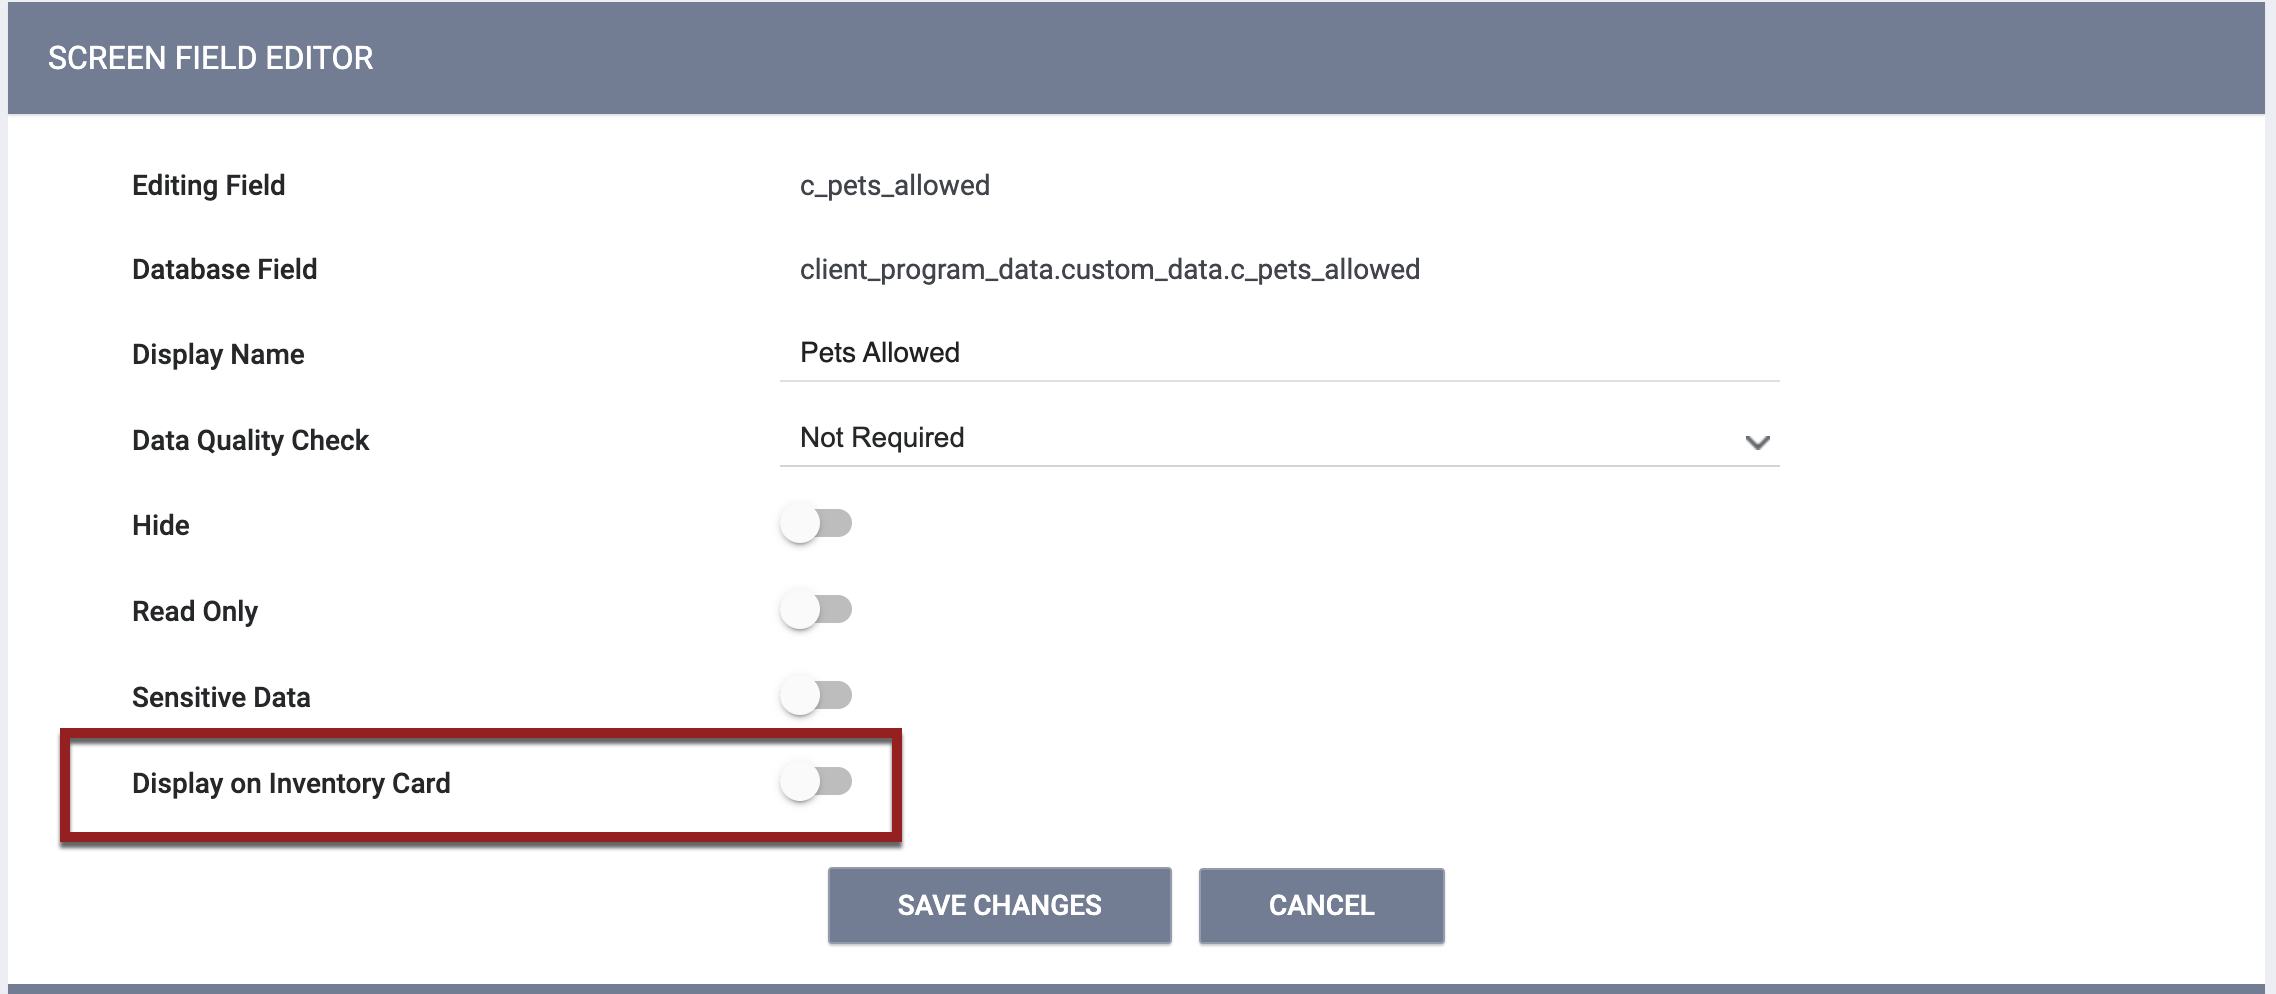
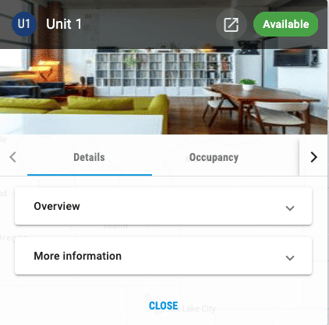
Fields for which you have enabled this toggle will appear in the More information section of the Details tab on the Unit Card.

If you enable the Display on Inventory Card toggle for a Checkbox or Picklist field in SCREEN FIELD EDITOR, the Include As Inventory Filter toggle appears.
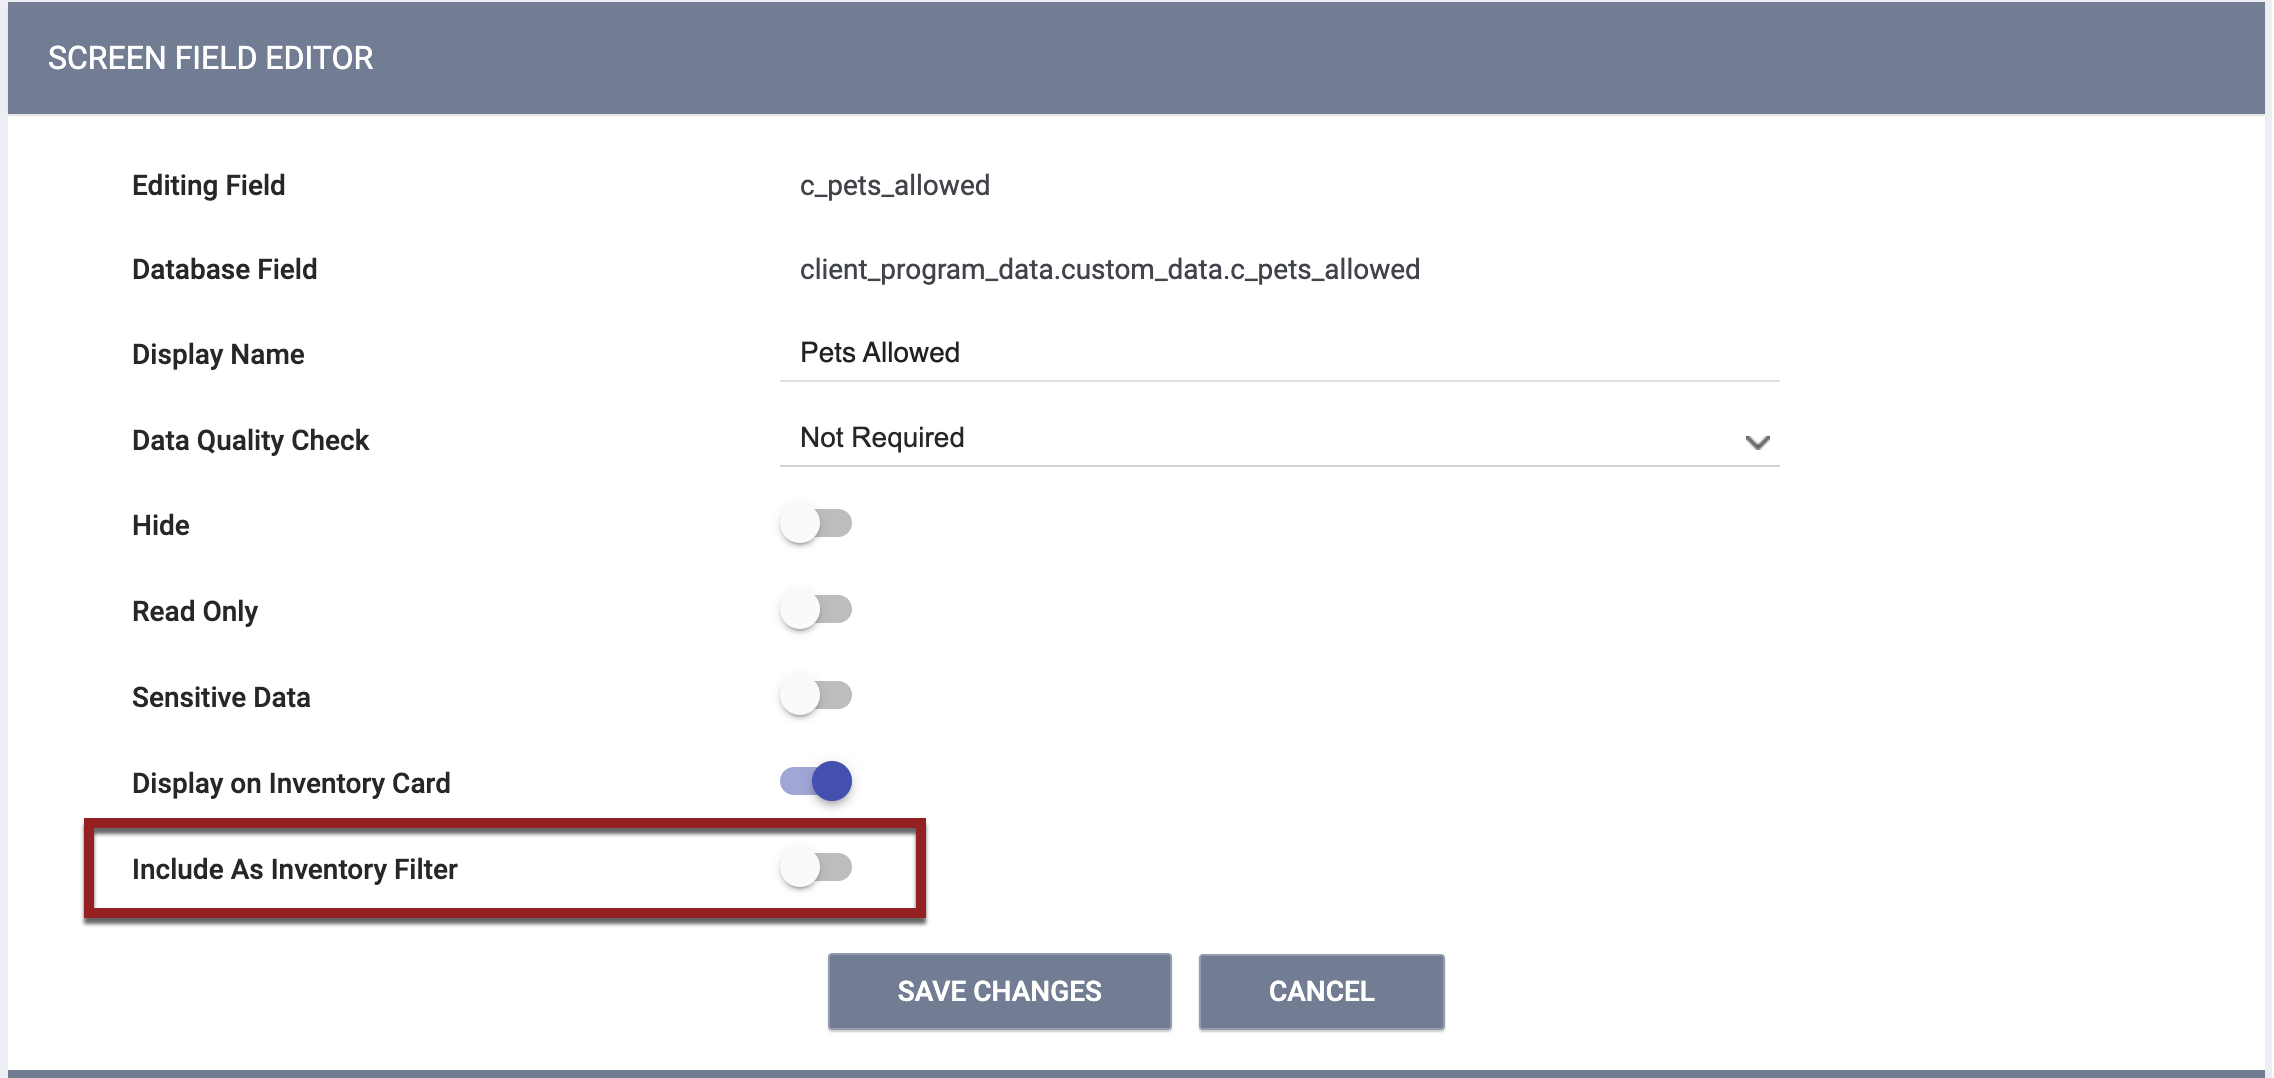
Turn on this toggle to add the field as a custom filter on the INVENTORY dashboard, allowing users to search for Units with this feature.

Notes:
- The system will only display the Include as Inventory Filter toggle if the field type is "Picklist" or "Custom."
-
If “Field Marker” is enabled for a custom housing inventory field used on a Bed screen, then the Display on Inventory Card and Include as Inventory Filter options do not appear.
Modify Units
One or more inventory units can be edited directly from the inventory dashboard if a system administrator has enabled Housing Inventory Unit Screen Field Editor Settings and the end user has the appropriate access rights to edit and/or bulk edit units.
The ability to edit units and bulk edit units is dependent on the following:
- Only those fields with Edit in Inventory - Site Managers or Edit Inventory - Field Editors enabled on the Unit Screen Field Editor can be edited from the inventory dashboard.
- End users must have the Edit Sites - Administrative and Housing Inventory Entities access right or the Inventory - Edit Fields access right enabled for their access role.
Unit Card
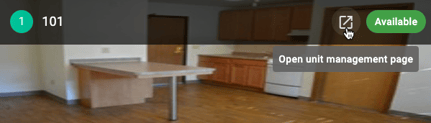
The header of the Unit Card includes an “edit” icon that is visible to users when Manage Agency - Sites is enabled for a user’s access role. Clicking the icon opens the Unit management page, also known as the MODIFY UNIT page.
Unit Photo
If a photo of the Unit has been uploaded to the system, it will be displayed on the Unit Card. Refer to Adding INVENTORY Photos for instructions on adding a photo of the Unit.
Updated: 04/06/2026