Overview
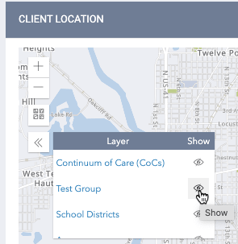
Users can show or hide groups of Map Layers as desired.
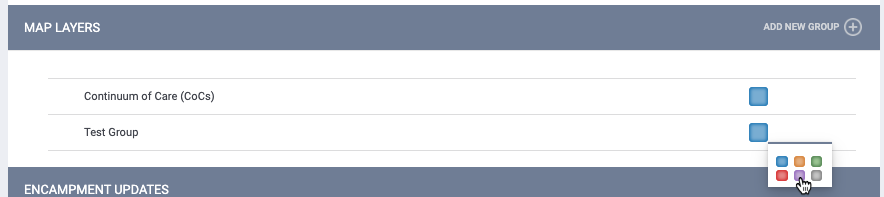
System administrators can add and customize Map Layer Groups by navigating to SETUP > SETTINGS, clicking Location and Outreach in the Advanced Options sidebar, selecting a CoC to edit, and scrolling to the MAP LAYERS section.
Continuum of Care Map Layer Group
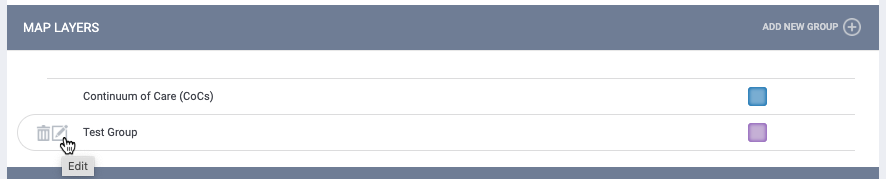
By default, each CoC has a Continuum of Care (CoC) Map Layer Group. System administrators cannot modify or delete the CoC Map Layer Group's boundaries. All CoCs are listed in the MAP LAYERS section. System administrators can change the display color for each CoC area by clicking the color box icon for the CoC.

Adding a New Map Layer Group
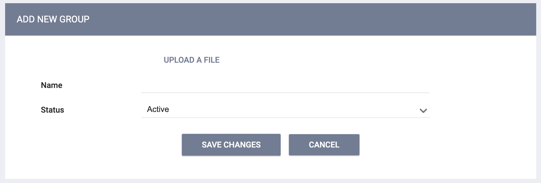
To add a new Map Layer Group, click ADD NEW GROUP.

The ADD NEW GROUP page appears. Click UPLOAD A FILE.
The UPLOAD NEW GROUP FILE page appears.
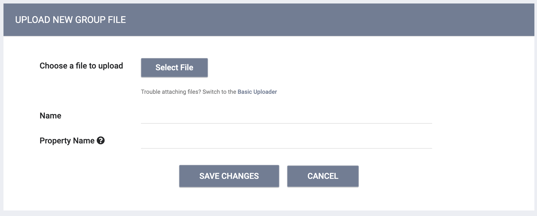
- Click Select File and select a GeoJSON or EsriJSON file to upload.
- Enter a Name for the Map Layer Group.
- The Property Name field pertains to naming each layer in the group.
-
The files used in creating Map Layers contain "properties" (such as "name," "color," "description," etc). When a file is uploaded, the system will look for the "name" property and assign that value for each layer as the name of that layer.
-
If the file does not have a "name" property, use the Property Name field to enter the property you would like to use as the Map Layer name. The Property Name entered should match a property name within the file being uploaded. For example, if the file does not have the "name" property but does have a "county" property, you could enter "county" in the Property Name field so that each layer would be named with that layer's value for "county."
-
- Click SAVE CHANGES.
Notes:
Modifying Map Layer Groups
To change the display color for a Map Layer Group, click the color box for that group and select the desired color.
To modify a Map Layer Group, click its Edit icon.
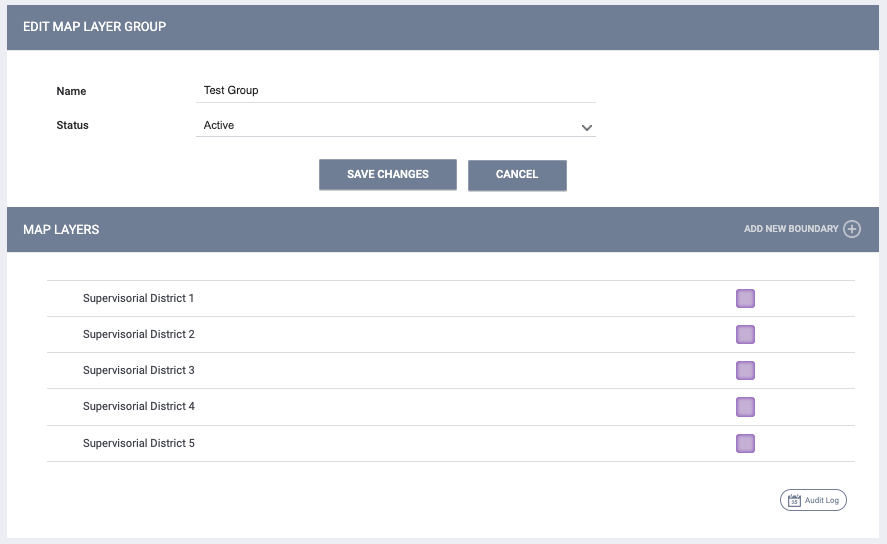
The EDIT MAP LAYER GROUP page appears.
Adding a New Map Layer
On the EDIT MAP LAYER GROUP page, click ADD NEW BOUNDARY.

The ADD NEW BOUNDARY page appears.
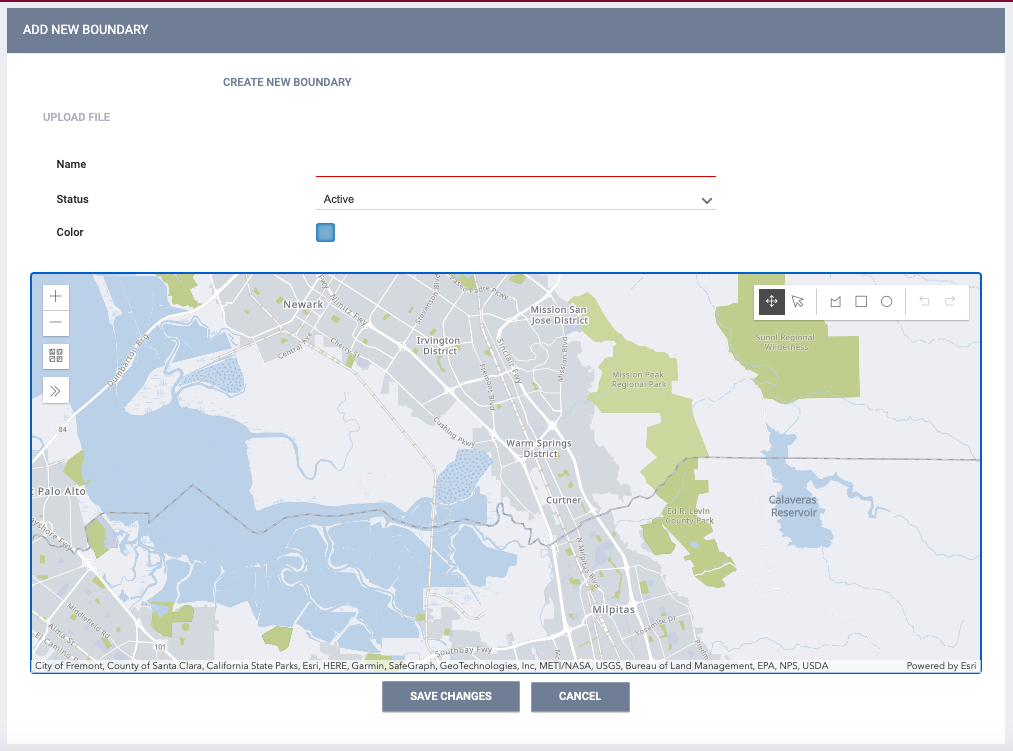
- Enter a Name for the layer.
- The default selection for Status is "Active," but you may select "Inactive" to prevent users from seeing the layer.
- Select a display Color for the layer.
- To establish the boundary of the new layer:
- Use the tools in the upper right corner of the map to draw the boundary. (Refer to our Managing Encampments in Outreach article for details on using the tools.)
OR - Click UPLOAD FILE and select a GeoJSON file to upload.
- Use the tools in the upper right corner of the map to draw the boundary. (Refer to our Managing Encampments in Outreach article for details on using the tools.)
- Click SAVE CHANGES.
Modifying Map Layers
To change the display color for a Map Layer, click the color box for that layer and select the desired color.

To edit the Name or Status of the layer, or reshape its boundaries, click the Edit icon for that layer.

The EDIT BOUNDARY page appears.
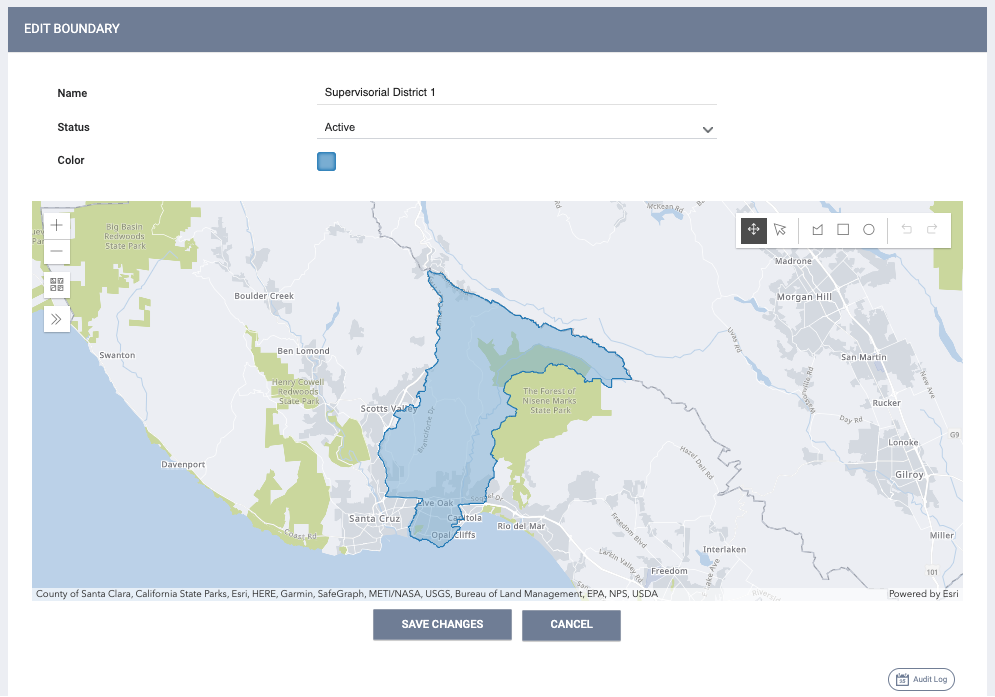
- Edit the Name of the layer if desired.
- Select "Inactive" for the Status to prevent the layer from appearing in Outreach.
- The layer's Color can also be changed here, just as it could on the previous page.
- You may use the tools in the upper right corner of the map to edit the boundary. (Refer to our Managing Encampments in Outreach article for details on using the tools.)
- Click SAVE CHANGES.
Audit Log
Users with the appropriate access can click the Audit Log button to view the following:
- The Audit Log on the EDIT MAP LAYER GROUP page for a Map Layer Group tracks the following:
- Adding that Map Layer Group
- Changing its Name
- Changing its Status
- Changing its color
- Adding/deleting boundaries
- The Audit Log on the EDIT BOUNDARY page for a boundary within a Map Layer Group tracks the following:
- Adding that boundary
- Changing its Name
- Changing its Status
- Changing its Color
- Changing the shape of the boundary
Updated: 08/12/2025