
This article is for the new Clarity interface. Screenshots and descriptions will be updated as features are released. For the current interface article, see Customer Portal: Mass Sending.
Table of Contents
Overview
The new Clarity interface includes a Client Portal tab that lets you send the same message or request to multiple recipients simultaneously.
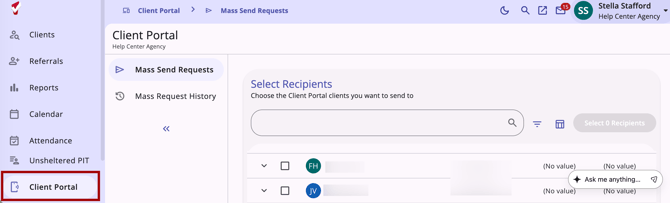
The Client Portal tab only appears when the Customer Portal is enabled for the Instance and for users who have the Customer Portal Blast Messages access right and/or the Customer Portal Blast Requests access right enabled for their access role.
From the Client Portal tab, you can access:
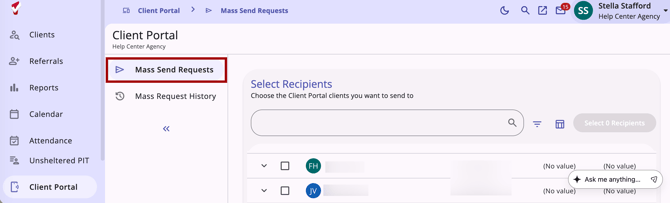
- Mass Send Requests: Create and send a new mass request.
- Mass Request History: Review the status and details of previously sent mass requests.
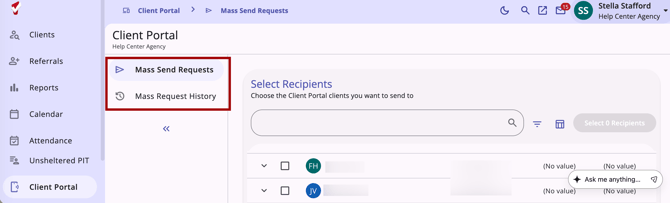
Mass Send/Request
Navigate to Client Portal > Mass Send Requests.
Use the Search box and Filter options to build your list of recipients.
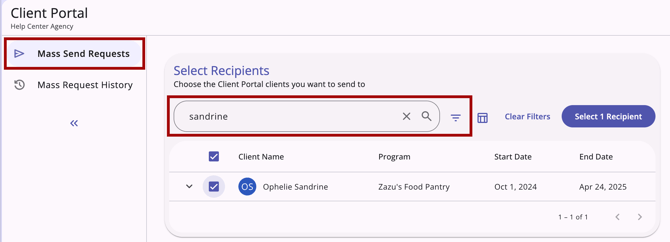
- Only clients with an active, Connected Client Portal status appear in the list. Clients with a status of Not Connected or Invite Pending will not appear.
- Use the Program and Status filters together to narrow the list. A client matches the filter if any of their enrollments meet the combined criteria (for example, "Active in Program A").
- Use the Search field to find clients by name.
Select clients individually using the checkboxes, or use the Select all checkbox to select all clients matching your current filters across all pages.
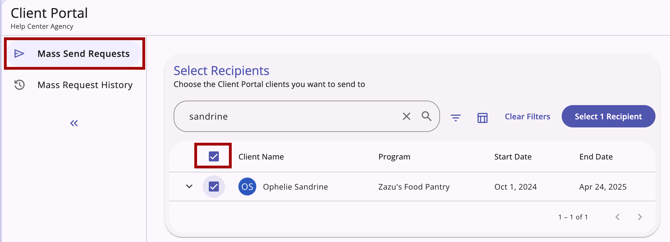
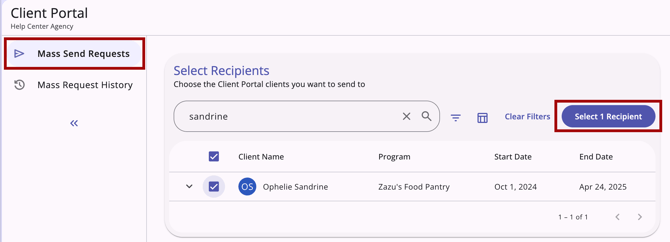
As you select recipients, the Select Recipients button updates to reflect your running total (for example, "Select 2 Recipients"). This button remains disabled until at least one recipient is selected.
Choosing a Request Type
Once you've selected your recipients, click Select Recipients to move to the Available Requests step. This step lists Message, File, Location, ROI, and Assessments, filtered to show only the types enabled for your agency and permitted for your access role.
- Each request type requires that the agency has enabled the type of item and requires the user to hold the corresponding access rights.
- A Privacy (lock) icon lets you mark the request as private. This icon defaults to unlocked and is hidden entirely when Message or ROI is selected, since those types cannot be sent privately.
You cannot advance to the next step without selecting a request type.
Composing the Request
What you see next depends on the request type you selected:
- Message: A rich text editor appears with formatting options (bold, italic, links, bulleted/numbered lists). There is no character limit on the message body, and the message field cannot be left blank. [Add screenshot]
- Assessment: Choose from a dropdown of assessments that have the Enable on Customer Portal toggle turned on. [Add screenshot]
- File: Choose a Document Category and Predefined Name from the available options. [Add screenshot]
- Location and ROI: These request types skip directly to the preview step, since no additional preferences are needed. [Add screenshot]
For Assessment and File requests, a Connect Requests to Enrollment toggle is available (default off). When turned on, each recipient's request is connected to their own program enrollment.
Reviewing and Sending the Request
Before sending, you'll see a preview of exactly what will be sent and to whom. The preview shows your composed message or selected document/assessment details, the Connect Requests to Enrollment toggle state (if applicable), the total recipient count, and a scrollable list of recipients.
If any recipients chosen will be skipped, they're flagged in the preview along with the reason. Use the one-click Remove Skipped Recipients option to clear them from your list. Recipients may be skipped because:
- The client already has a pending Location update request.
- The client already has a pending Assessment request for that assessment type.
- The client already has a pending ROI request.
- The number of permitted requests for the selected document has been exceeded.
If you need to make edits, you can close the sidebar; your selected recipients will be preserved, though any written message or dropdown selections will be lost. You'll see a confirmation prompt before discarding them.
When you're ready, click Send. A success message confirms that your request has started and that a confirmation email will follow.
You can start another mass send process immediately. Multiple mass sends can run simultaneously for your agency.
Confirmation
Once your batch completes, you'll receive:
- A confirmation email summarizing the results in an "X of Y sent successfully" format, with an itemized list showing whether each recipient's request succeeded or failed.
- A matching notification in your Staff Inbox.
Mass Request History
To review past mass sends, navigate to Client Portal > Mass Request History.
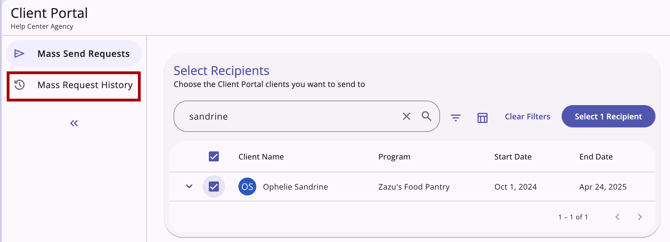
This page lists all mass requests you've sent, along with their Request Type, Requested Date, and Status (Pending, Complete, or Failed).
Click any row to open a detailed view showing the request content (message text, assessment name, or document name and category) and the delivery status for each recipient.
Updated: 09/16/2026