Overview
Working with IP whitelists can be very tricky, and if this feature is not understood or set up properly, it will have a significant impact on your Clarity Human Services site. Please read this article very carefully.
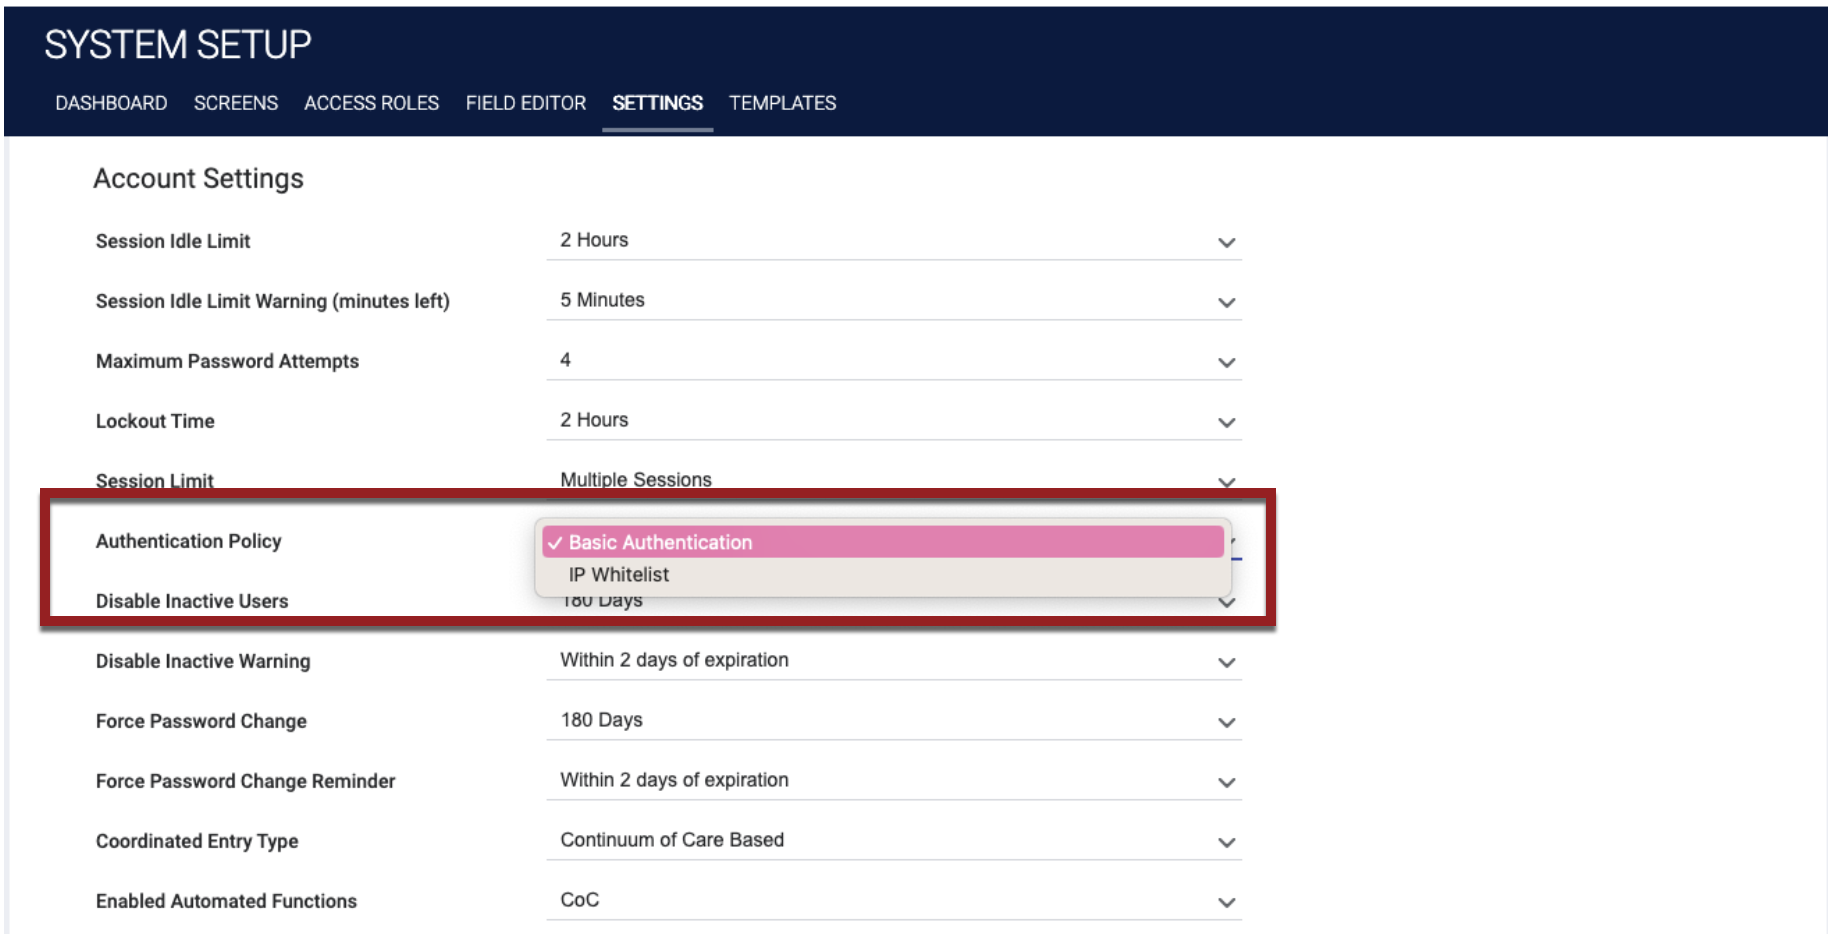
The Authentication Policy setting offers two options for users to access your Clarity Human Services site:
- "Basic Authentication" means that all of your users can log in to your site without having to use a specific IP address.
- "IP Whitelist" means that only users whose IP address has been added to the IP Whitelist can log in to your site. When the Authentication Policy is set to “IP Whitelist,” any user attempting to log in with an IP address that is not set up in the instance will not be able to log in to the instance. If a user who has been IP whitelisted leaves an agency, remove their IP address from the instance so that it is not possible for them to log in.
Important Considerations when using the IP Whitelist Feature:
- Authentication Policy is a system-level setting that applies to all users in the system. It is not possible to apply the “IP Whitelist” option to some agencies and the “Basic Authentication” option to the rest of the agencies.
- It is very important to add the IP addresses of all devices (office locations, mobile devices, VPNs, Bitfocus Help Desk, etc) that will be used to access the system. Users will not be allowed to access Clarity Human Services with an IP address that is not set up in the instance.
- If you want to use the “IP Whitelist” feature, you will need to add the IP addresses to the IP Whitelist as described below before selecting “IP Whitelist” as the Authentication Policy. Be sure to add all IP addresses that will be used to access the system.
The process of setting up an IP Whitelist involves two steps:
- Entering the IP addresses that will be used to access the system.
- Setting “IP Whitelist” as the Authentication Policy.
Entering IP Addresses
When you add an IP address to the IP Whitelist, you will need to designate whether the IP address will be associated with any agency or with a specific agency.

- If an IP address is listed as “Any Agency,” all users can log in from that IP address, regardless of their primary agency.
- If an IP address is listed for a specific agency, it means that only users who have that agency as their primary agency can log in from that IP address.
Note: If the same IP Address is listed for both “Any Agency” and for a specific agency, the “Any Agency” setting is the one that will apply. All users will be able to log in from that IP address, regardless of their primary agency.
"Any Agency" Access
To add IP addresses that all agencies’ users can log in from, navigate to SETUP > SETTINGS. In the Advanced Options sidebar, select Global IP Whitelist.
The global IP WHITELIST page appears, displaying all IP addresses that have been added for the system, whether they are for any agency or for a specific agency. The SEARCH function on this page allows you to search for IP addresses that contain specific numbers or are associated with a specific agency (the default search option, “Any agency,” displays all IP addresses that have been added).

To add a new IP address, click CREATE A NEW IP ADDRESS.

The ADD IP ADDRESS pop-up appears. In the Agency picklist, select “All Agencies.”
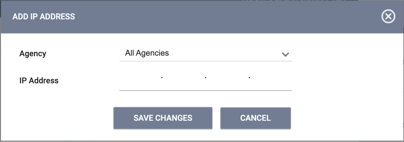
In the IP Address field, enter the IP Address that will be accessing the system. (To find your IP address, visit www.whatismyip.com or type “what’s my IP address?” into a search engine.)
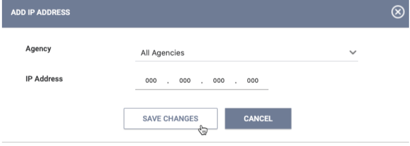
Click SAVE CHANGES . The IP address will now appear on the global IP WHITELIST page and will be identified as “Any Agency” in the Agency column.
![]()
Restricting Access by Agency
Clarity Human Services also provides the ability to restrict access from an IP address to just the users who have a specific agency as their primary agency.

For example, if an IP address of 12.34.255.89 has been added for the Hometown Partners agency:
- Alicia has primary agency access to “Hometown Partners” and the office’s IP address is 12.34.255.89. She will be able to log in to her Clarity account because she has primary agency access to Test Agency 2, and she is logging in from the IP address that has been set up.
- James does not have primary agency access to “Hometown Partners,” but he is attempting to log in to his Clarity account from the same office IP address (12.34.255.89). He will not be allowed to log in to Clarity because he does not have primary agency access to the correct agency.
You may enter agency-specific IP addresses from either the global IP Whitelist page or the agency's IP Whitelist page.
From the global IP Whitelist page:
- As described above, navigate to SETUP > SETTINGS, select Global IP Whitelist in the Advanced Options sidebar, then click CREATE A NEW IP ADDRESS.
- On the ADD IP ADDRESS pop-up, the Agency picklist will default to the agency you are currently switched into. Select a different agency as appropriate.
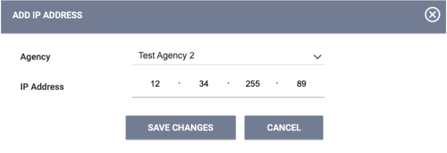
- In the IP Address field, enter the agency-specific IP Address.
- Click SAVE CHANGES.
From an agency's IP Whitelist page:
Navigate to MANAGE > SHARING for that agency and select IP Whitelist from the Advanced Options sidebar.

The agency IP WHITELIST page will be displayed. Any IP addresses specific to this agency that have been added here or on the Global IP Whitelist page will be displayed. Note that the SEARCH function on this page is just for numbers, not agencies, since all IP addresses on the page are associated with the same agency.
Click ADD NEW ADDRESS.

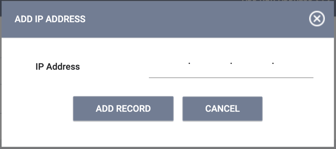
On the ADD IP ADDRESS pop-up, enter the agency-specific IP address and click ADD RECORD.
The IP addresses that are added for specific agencies will appear on both the global IP Whitelist page and the IP Whitelist page for the associated agency.
Add additional IP addresses for specific agencies as appropriate.
Setting “IP Whitelist” as the Authentication Policy
Once you have set up all the IP addresses that will be allowed to access Clarity Human Services, navigate back to SETUP > SETTINGS , scroll down to Account Settings, and change the Authentication Policy from “Basic Authentication” to “IP Whitelist.”
Once you click MODIFY SETTINGS at the bottom of the page, any users accessing Clarity Human Services from an IP address that is not set up in the IP whitelist settings will be immediately locked out of the system.
Updated: 03/20/2024