Overview
Service Taxonomy allows administrators to create custom categories that can be applied to service items. Service Taxonomy is set up at the system level and applied at the service item (or agency) level. Any given service item can have multiple taxonomy classifications.
Because these system-level custom categories are applied at the service item level, administrators can pull reports about service items that belong to the same custom category, even if those service items are not within the same program or even the same agency. Service Taxonomy can be looked at as a means of “tagging” service items, with the intent of using that “tag” for reporting.
For example, if several different names are used throughout the system for service items that help clients to pay rent ("Rent Help," "Assistance for Rent," etc.), we can "tag" each of those service items with a single taxonomy such as "Rental Assistance." Then we can run a system-wide report on "Rental Assistance" that will include all of the service items associated with the "Rental Assistance" taxonomy.
Configuring Taxonomy Items
Taxonomies are configured as "Taxonomy Items" that are grouped in Categories. For example:
- A Category of "Food Services" with Taxonomy Items of "Breakfast," "Lunch," "Dinner," and "Snack."
- A Category of "Financial Assistance" with Taxonomy Items of "Rental Assistance," "Utility Assistance," and "Mortgage Assistance."
The first step is to create a Category.
Click the launchpad and navigate to SETUP > SETTINGS > Advanced Options > System Variables .

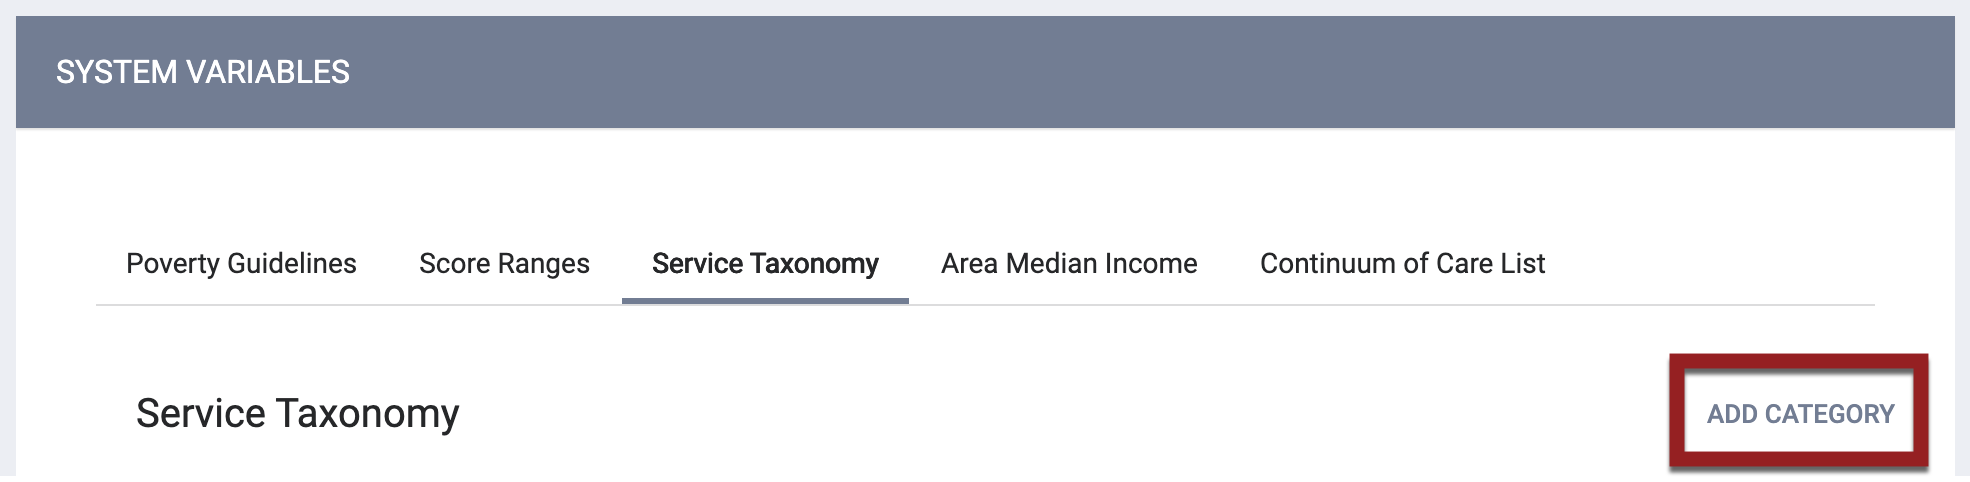
Click the Service Taxonomy tab, then click ADD CATEGORY.
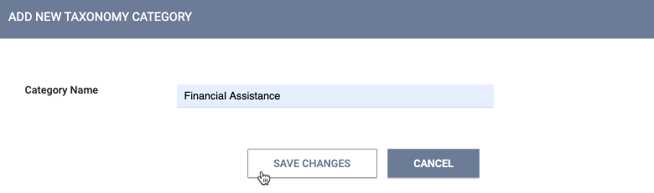
Enter a name for the Category and click SAVE CHANGES. We'll use our "Financial Assistance" example.
A TAXONOMY ITEMS section appears so that we can add the specific Taxonomy Items to the category. Click ADD NEW ITEM.

The ADD NEW TAXONOMY ITEMS window appears.
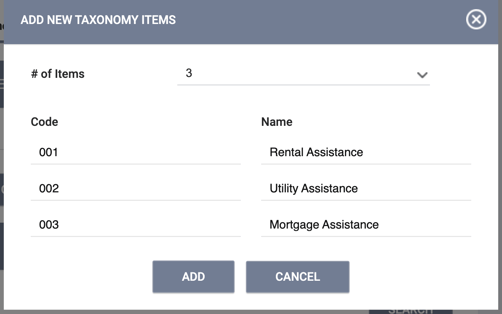
Enter the # of Items to add.
- You can add up to 10 taxonomy items at once.
- For our example, we're going to create three Taxonomy Items ("Rental Assistance," "Utility Assistance," and "Mortgage Assistance") so we'll enter "3" in the # of Items field.
For each taxonomy item, enter a Code and a Name.
- The code must be unique within the taxonomy category, but can be the same as a code in another category. In the example below, we can't add another item with the code "001" to the "Financial Assistance" category because we have already used that code for "Rental Assistance." However, we can use "001" in another category (for example, if we have a "Food Service" category, we can create a taxonomy item for "Breakfast" with code "001").
Click ADD when you are done adding the taxonomy items.
The items that have been added will appear in the TAXONOMY ITEMS section.
Editing and Deleting Taxonomy Items
To edit or delete an individual item, click the item's trash can icon or Edit icon.
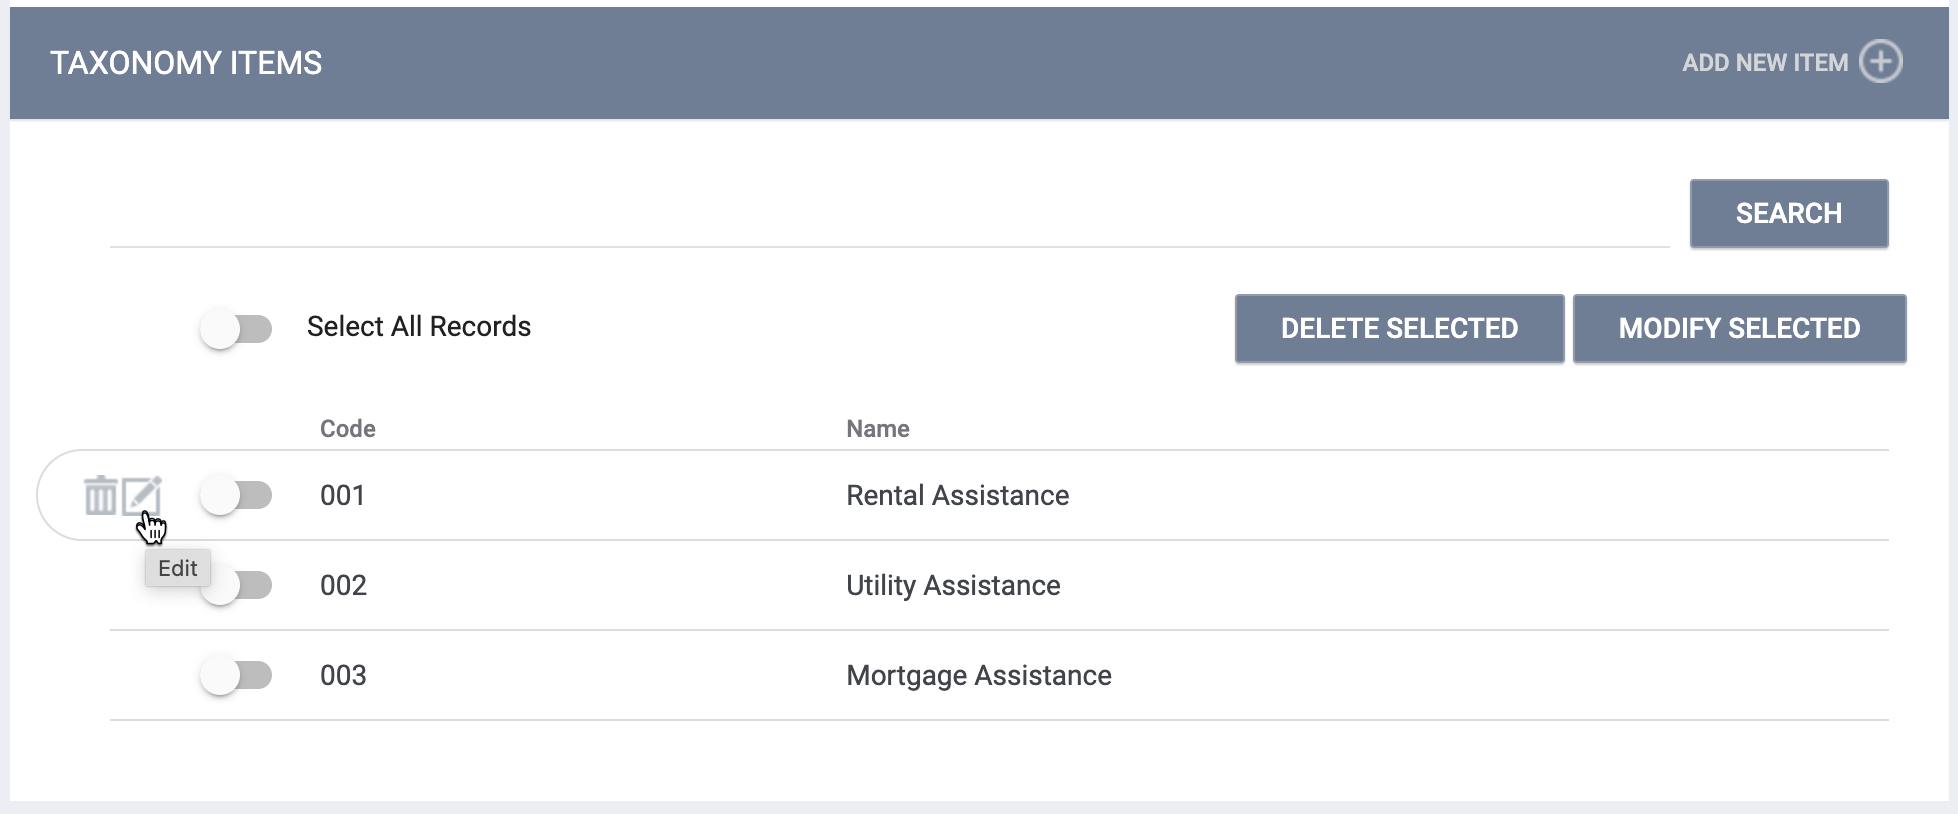
To edit or delete multiple items, turn on the toggle for those items (or turn on Select All Records if you want to delete or modify all of the items), then click DELETE SELECTED or MODIFY SELECTED. If you click MODIFY SELECTED, the selected items will appear in a single pop-up for you to edit.

Adding Taxonomy Items to Service Items
Once taxonomy items are configured in system settings, they can then be added to service items as explained in our Creating and Editing Service Items article.
Updated: 2/23/2023