System Advanced Options: Report Library
This article explains how system administrators can configure access to reports in the Report Library.
Overview
In the System Advanced Option Report Library section, reports can be configured to only be available to only certain agencies, access roles, or made inactive.
Configure Report Access
Click the Launchpad and navigate to SETUP> SETTINGS > Advanced Options > Report Library.
Once in the Report Library section, click the edit icon next to the Report Category of your choice.

Next, select the report you would like to enable the access role to have access to by clicking the edit icon next to it.

Access Role-based reporting feature allows the system administrator to regulate access to reports by designating which access roles will be allowed to access each report. You will be able to assign each report to a single or multiple access roles.
Before configuring report access, you'll need to create the access role and assign it to the staff member.
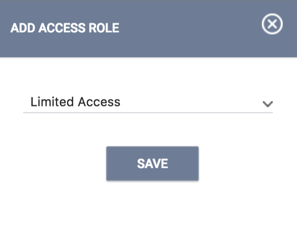
Once in the report screen, select the Add Role icon in the Authorized Access Roles section. A pop-up box will appear with a drop-down menu. Select the access role(s) that you would like to give access to this report.
Note: This process can be repeated allowing the user to select multiple access roles from the pop-up box.

The report will then only be available to the access role(s) you select from this list.
You can repeat this process for any report in the Report Library.
Restricting Report Access
To restrict the ability of end-users to access a particular report, simply don’t select their access role from the drop-down menu of the report in the Authorized Access Roles section.
Updated: 04/24/2025