Overview
Clarity Human Services includes a calendar function that allows you to create client appointments and print a record of the details for the client.
Making the Appointment
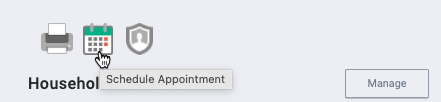
In the client record, click on the Schedule Appointment icon in the right sidebar.
The ADD APPOINTMENT window opens. Enter the Start date, Start time, End date, End time, and Location for the appointment.

Note: You can use the Location field to record additional information related to the appointment (for example, "client to bring SSN card").
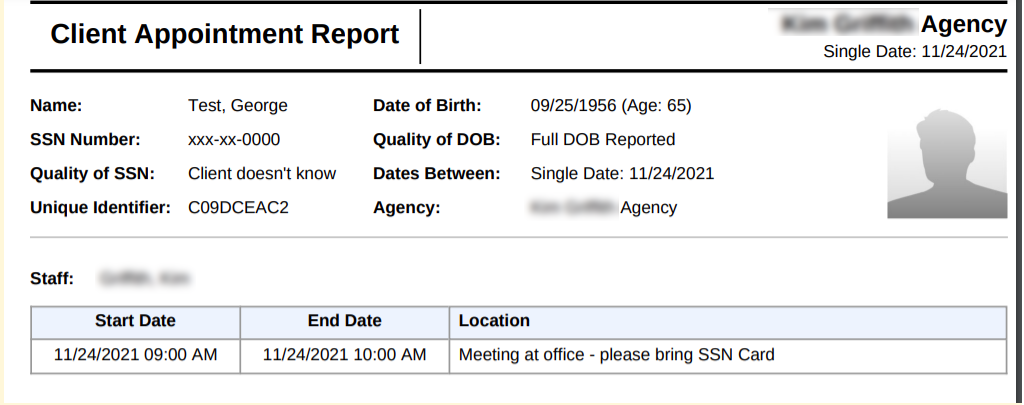
Printing an Appointment Report
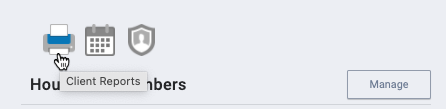
If the client requires a printed copy of the appointment details, click the Client Reports icon in the right sidebar.
Note: Although the Client Reports icon looks like a printer, it is not used for printing. It is used for running a Client Report, which can be produced as a PDF that can then be printed.
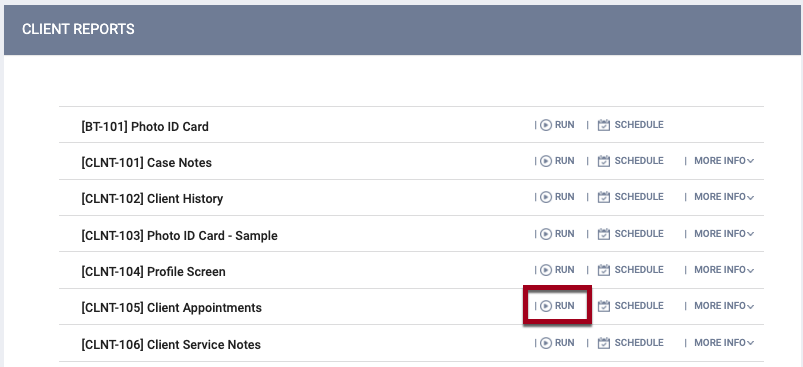
Then click RUN for the [CLNT-105] Client Appointments report.
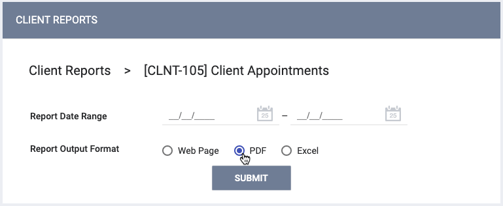
Enter a date range for the appointment(s), select PDF as the Report Output Format, then click SUBMIT.
Once the system has processed the report, print the PDF and give a copy to the client.
Viewing Appointments on the Calendar
Once you have created the appointment, you will be able to see it on your Clarity Human Services Calendar (Launchpad > CALENDAR).

To link appointments to your personal calendar, click the SUBSCRIBE TO ICALENDAR button in the bottom left corner of your calendar page and follow the prompts.

Updated: 04/08/2025