Overview
The Coordinated Entry Type setting is an instance-wide setting that establishes boundaries for all the Coordinated Entry (CE) systems within the instance. Refer to our Coordinated Entry Type article for guidance in selecting “Continuum of Care Based” or “Sharing Groups Based.”
This article describes the steps for configuring the desired Coordinated Entry Type.
“Continuum of Care Based” Coordinated Entry Type
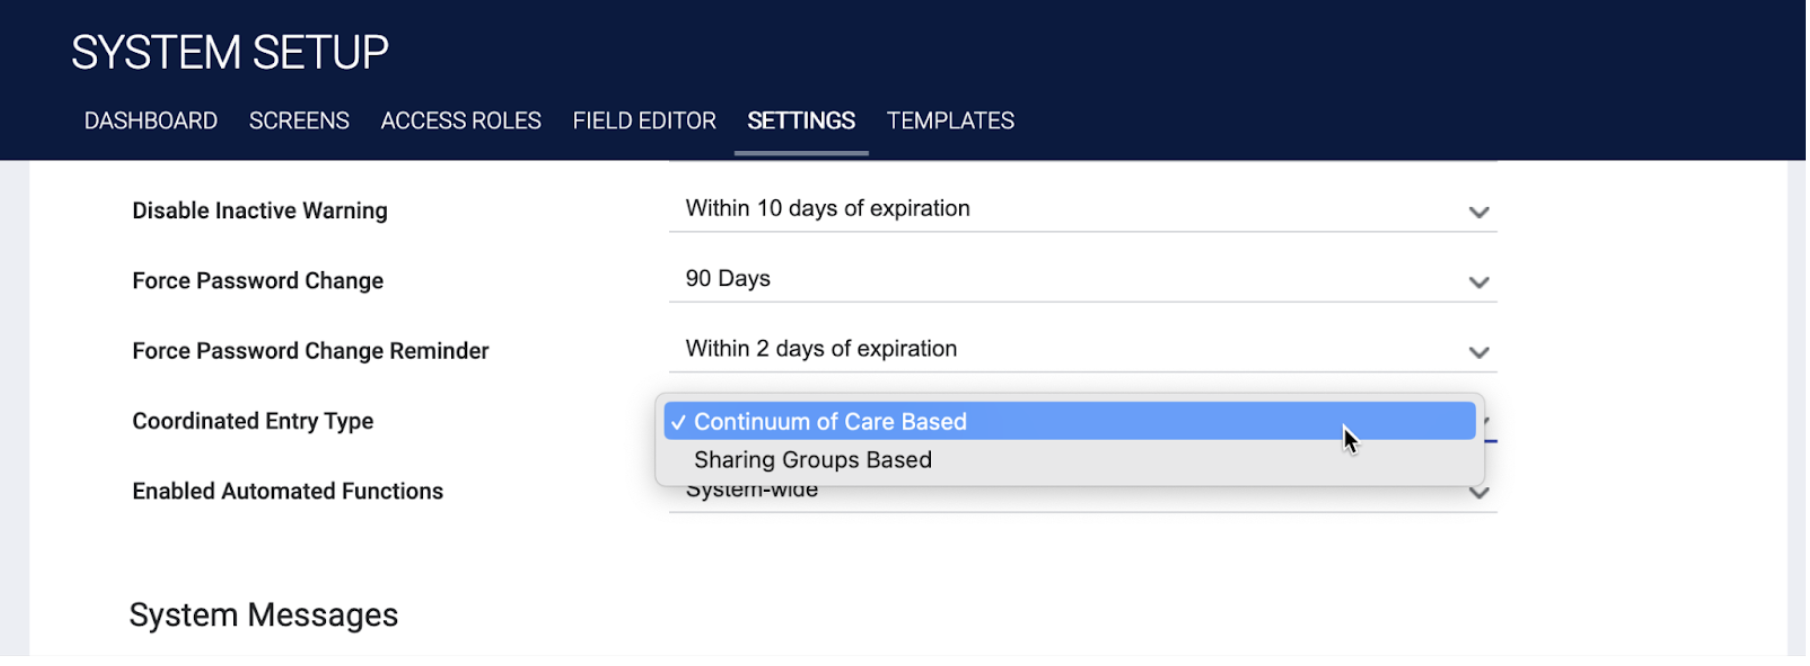
To base your CE system on an entire CoC, navigate to SETUP > SETTINGS > Coordinated Entry Type and select “Continuum of Care Based.” The system will follow the Referral Settings associated with the agency’s CoC.
Note: For new implementations, if there’s a possibility that you eventually might want to use the “Sharing Groups Based” option, we recommend that you set up your system as “Sharing Groups Based” from the start, and create each CoC as a Sharing Group.
Configuring “Sharing Groups Based” Coordinated Entry Type
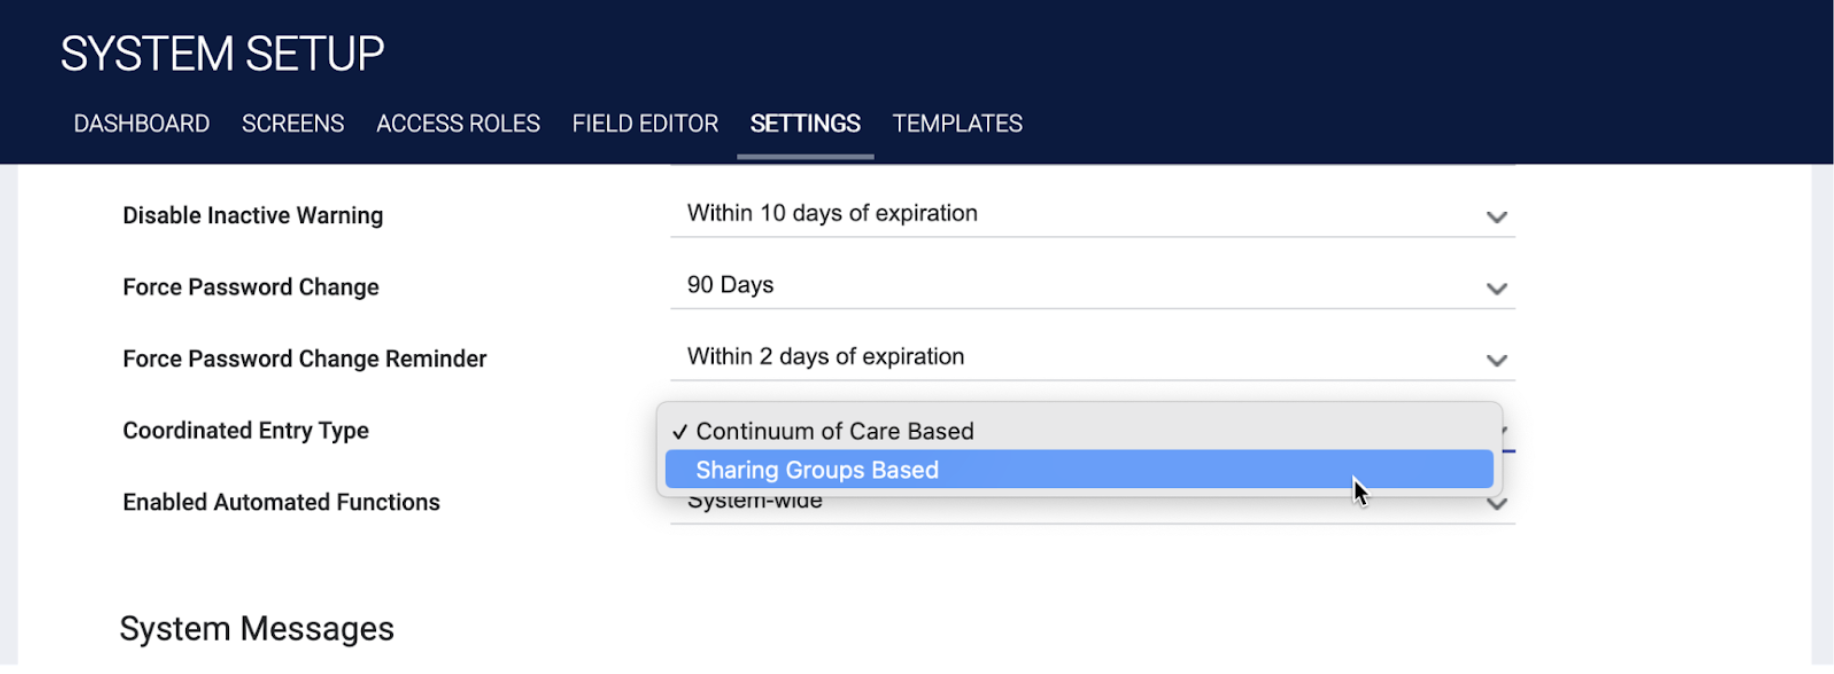
To base your CE system on a Sharing Group of agencies or CoCs within an instance, navigate to SETUP > SETTINGS > Coordinated Entry Type and select “Sharing Groups Based.”
Each Sharing Group should reflect an individual CE system.
- If your whole instance will be a part of one CE system, the Default Sharing Group will be used; you do not need to create additional groups.
- If your instance will have multiple CE systems, you will need to create a Sharing Group to reflect each CE system as described below.
Complete the following steps for each new Sharing Group:
- Create the Sharing Group
Navigate to TEMPLATES > Sharing Groups and click CREATE A NEW SHARING GROUP.
Enter a Name for the Sharing Group, select the sharing settings for each component of the client record as described in our “Working with Sharing Groups” article, and click SAVE CHANGES.
- Configure Referral Settings if needed
Each Sharing Group associated with a CE system must have Referral Settings associated with it. If there are no Referral Settings for a particular Sharing Group, the system will use Default Referral Settings. The system will determine which Referral Settings and associated Community Queue(s) to follow according to the Sharing Groups Based logic described in the Coordinated Entry Type article.
To create new Referral Settings:
Navigate to SETTINGS > Referral Settings and click ADD NEW REFERRAL SETTINGS.
Select the Sharing Group you just created.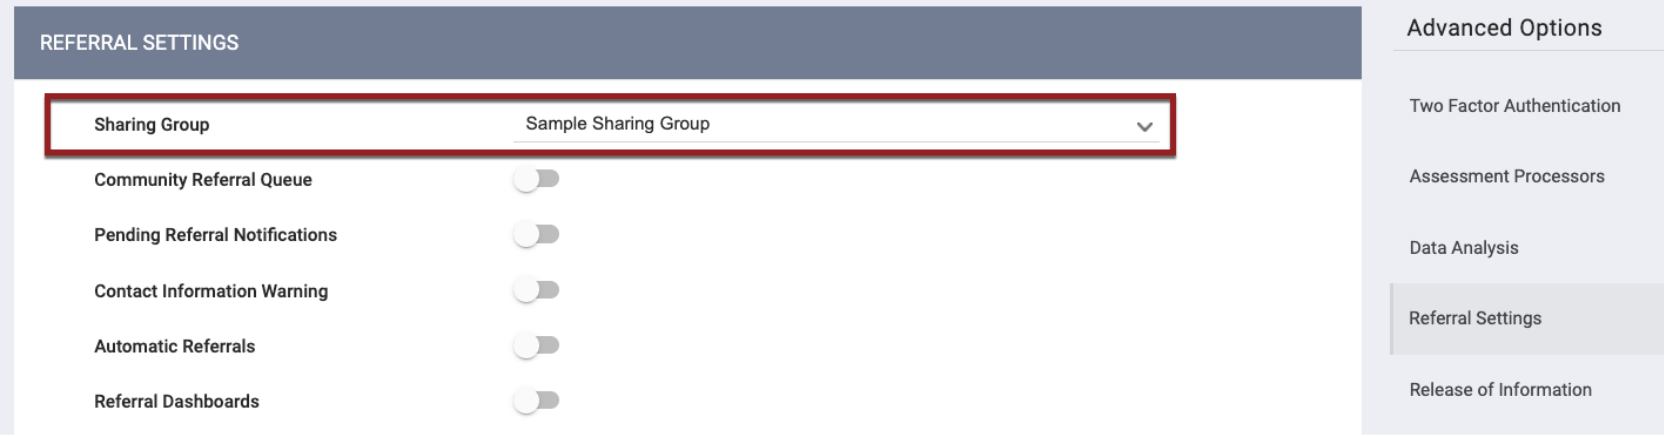
Configure the REFERRAL SETTINGS as you normally would. - Add the Sharing Group to each agency
Complete the following for every agency in the Sharing Group that participates in the CE system, regardless of their role:
-
- Navigate to MANAGE > SHARING and click ADD SHARING GROUP.
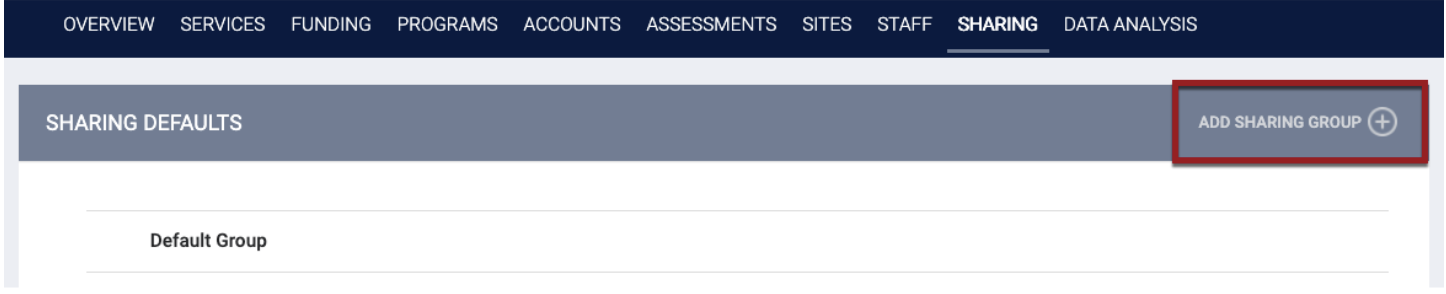
- Select the Sharing Group you just created, and click ADD RECORD.

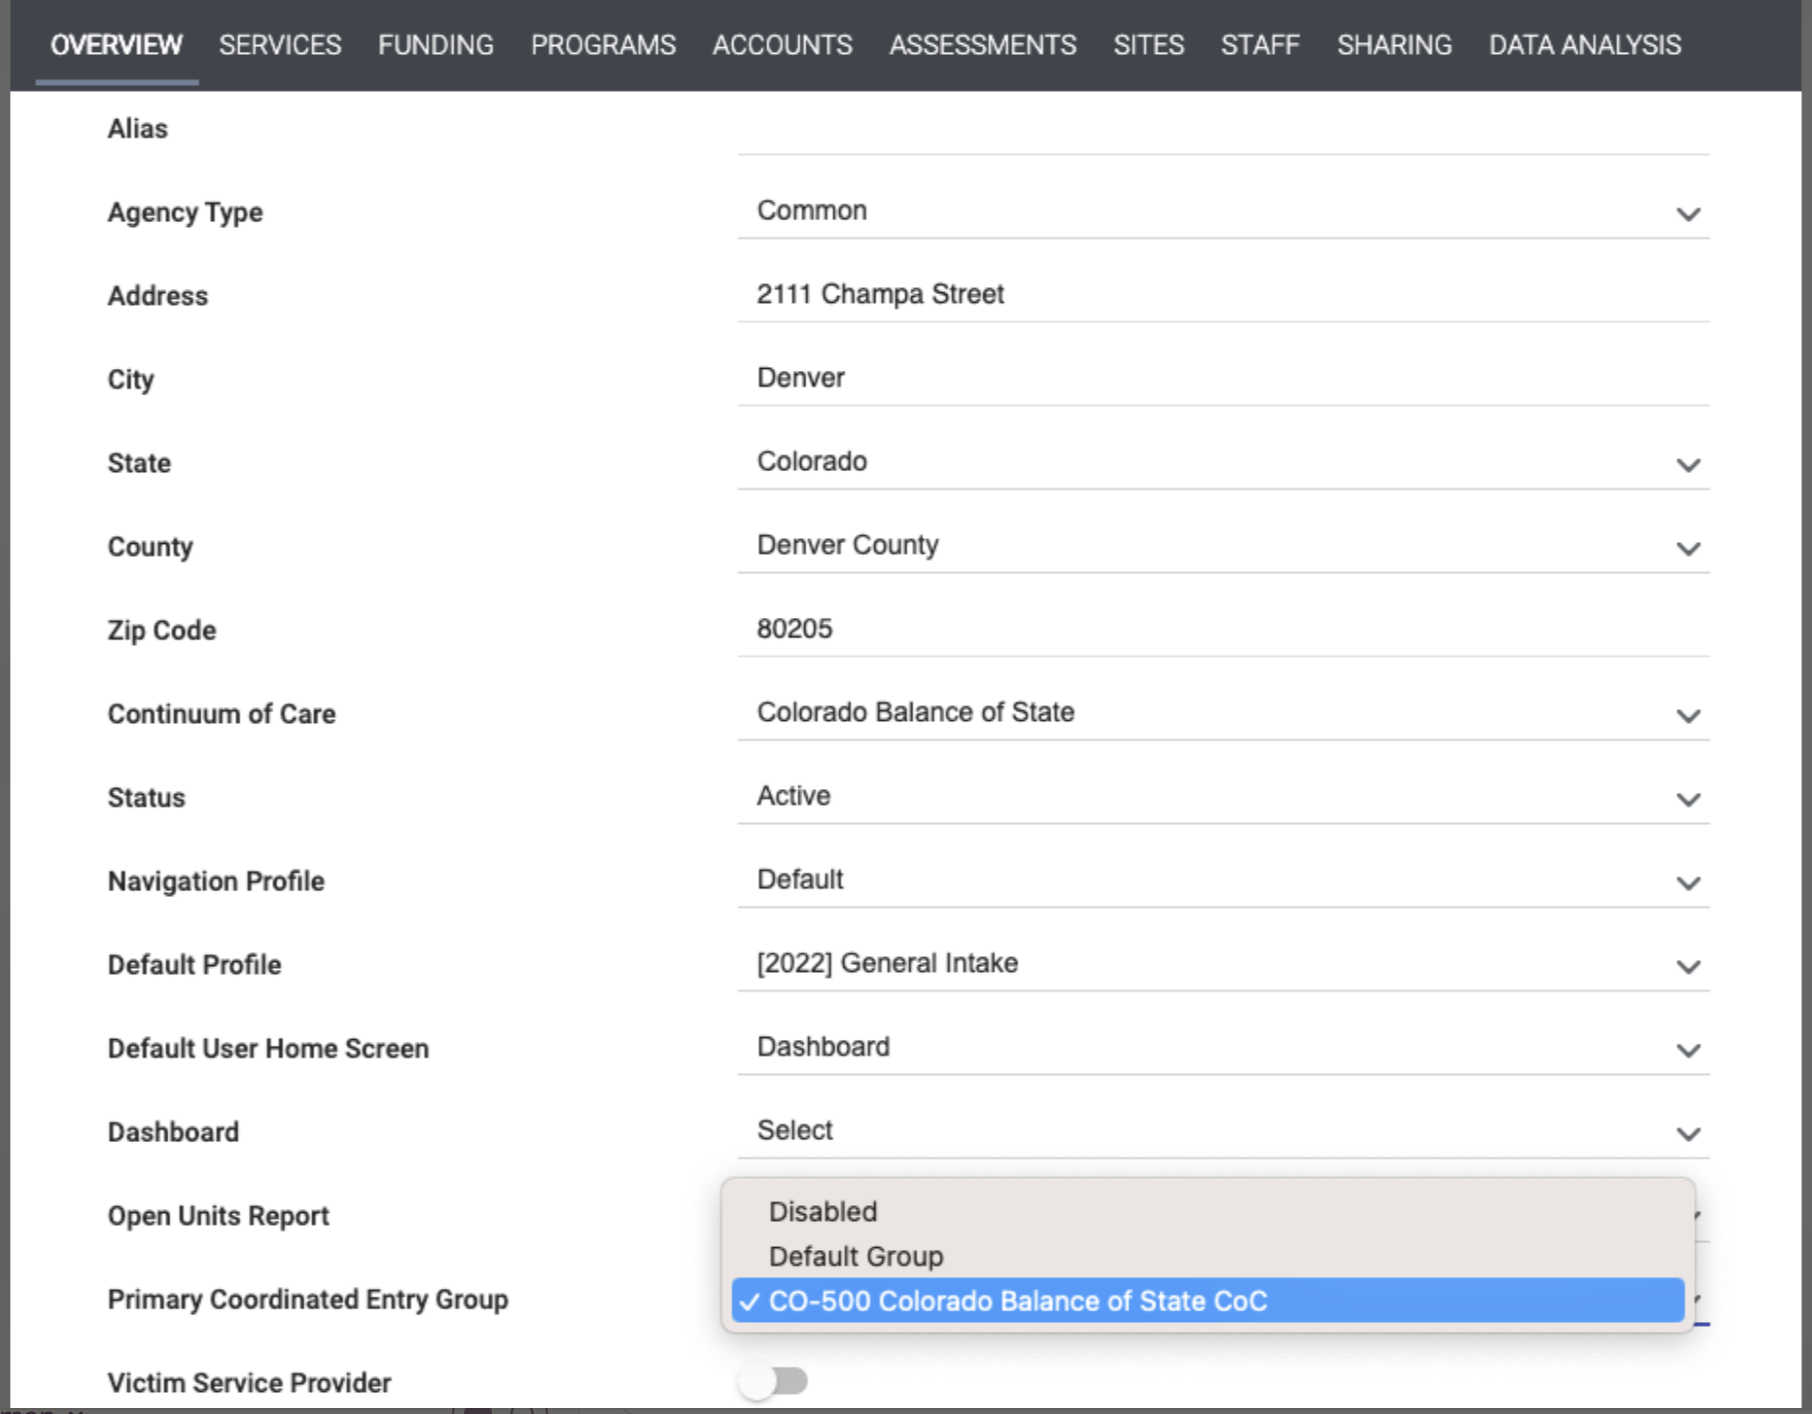
- On the OVERVIEW page, scroll down to the Primary Coordinated Entry Group setting and select the Sharing Group you just created.
- Navigate to MANAGE > SHARING and click ADD SHARING GROUP.
Once the Sharing Groups are created and assigned appropriately, and all Referral and Community Queue settings are created, active referrals will display on the Community Queue(s) as defined by the new settings. The system will determine which Referral Settings and associated Community Queue(s) to follow for each referral according to the Sharing Groups Based logic described in the Coordinated Entry Type article.
Published: 7/10/2023