
Overview
Clarity Human Services includes a calendar function that allows you to create client appointments. This calendar can be connected to an external calendar application.
NOTE: This article discusses calendar functionality as it pertains to the Client Portal. For general calendar functionality see article Calendar and Scheduling Appointments.
Navigating the Client Portal Calendar View
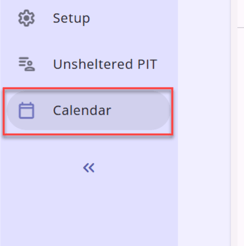
Navigate to your calendar on the left side toolbar.
Users with Client Portal functionality set up in their instance will see two calendar type views. Switch between the General client appointment view and the Portal view by selecting the button in the top left of the calendar screen.
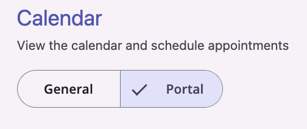
While the General calendar is only managed by the Clarity user, clients using the Portal can book appointments which are then shown in the Portal calendar. Clients themselves can not view the calendar.
Clarity users can add a portal appointment by clicking the (+) icon and selecting Add an Event. Required fields include:
- Client
- Start On (Date/Time)
- End On (Date/Time)
- Geolocation
- Note (Optional)
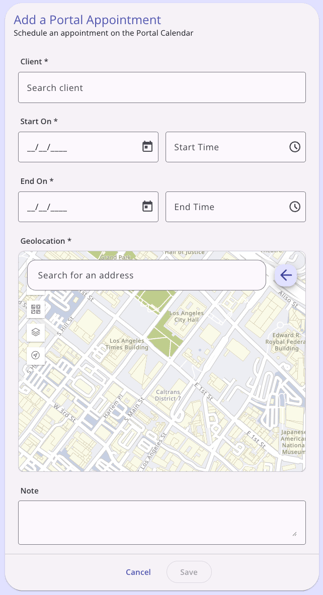
Clicking save immediately adds the appointment to the calendar.
Manage Availability
Clarity users can set availability rules to limit when clients can book Portal appointments by clicking the (+) icon and selecting Add New Slot.
Required fields include:
- Frequency
- Start On (Date/Time)
- Duration
Optional fields include:
- End On (Date/Time)
- Count
- Interval
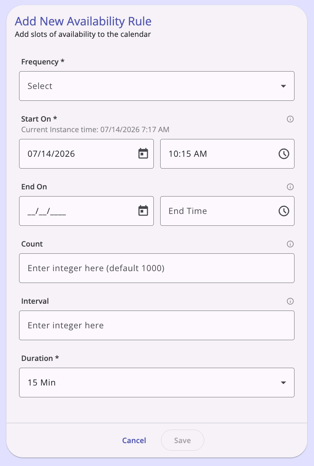
Once saved the Portal Calendar updates immediately.
Note: Portal calendar availability only appears in Month, Week, and Day views.
A validation warning dialogue will appear if the End On date comes before the Start From date. The dialogue reads: “End date/time must be after the start date/time.”
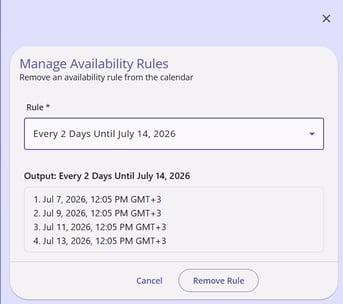
Availability rules can be removed by clicking Manage Slots. By selecting a rule, an Output box shows the upcoming dates and times this rule applies. Users select click Remove Rule to update the calendar or Cancel to close out of the box.
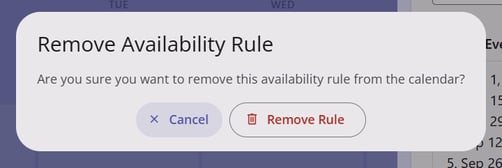
A warning dialogue box requires a user to confirm the rule should be deleted. The text box says “Are you sure you want to remove this availability rule from the calendar?” The user is presented with Cancel and Remove Rule choices.
Published: 07/13/2025